How to Build an Aquarium Rack: Step-by-Step Guide
Nothing transforms a fish-keeping hobby into a serious operation like adding multiple tanks. When space becomes limited and you’re ready to expand your aquatic collection, a custom-built aquarium rack becomes essential. Commercial options often don’t match your specific room dimensions or tank configurations, leaving DIY as the most practical solution. Building your own aquarium rack gives you complete control over dimensions, weight capacity, and layout while saving significant money compared to pre-fabricated alternatives. This guide delivers everything you need to construct a rock-solid, professional-grade aquarium rack that will safely support your aquatic ecosystem for years to come.
Aquarium racks must handle extraordinary weight—water weighs approximately 8.34 pounds per gallon, not including substrate, rockwork, equipment, and the tank itself. A single 55-gallon aquarium setup can easily exceed 700 pounds. When building multiple tiers, the structural integrity becomes paramount. This isn’t a project where you can cut corners; one failure can mean catastrophic flooding and loss of aquatic life. By following this guide, you’ll create a rack engineered specifically for your tanks’ dimensions and weight requirements, with proper reinforcement that prevents catastrophic failure.
Why Your Commercial Rack Won’t Cut It for Serious Aquarists
Pre-made aquarium stands often lack the customization serious hobbyists need. They typically accommodate standard tank sizes but rarely provide the flexibility for mixed tank configurations or specialized breeding setups. Most commercial racks are designed for aesthetics rather than maximum weight capacity, using thinner materials that compromise safety. Building your own rack allows you to precisely match shelf heights to your specific tanks, incorporate plumbing channels, and reinforce critical stress points that manufacturers often overlook. You’ll also save 40-60% compared to commercial alternatives while gaining the satisfaction of creating a professional-grade solution tailored to your exact needs.
Critical Materials Checklist for a 4-Tier 55-Gallon Rack
Before cutting any wood, verify you have these essential components:
- Lumber: (16) 8-foot 2x4s (kiln-dried SPF), (4) 8-foot 2x6s for shelf supports
- Hardware: 3-inch structural screws (150+), 1/2-inch lag bolts with washers (16), heavy-duty corner brackets (8)
- Shelving: 3/4-inch marine-grade plywood (cut to 24″x72″ for each shelf)
- Safety Components: Wall-anchoring kit, rubber leveling feet, waterproof sealant
- Tools Required: Circular saw, impact driver, 4-foot level, framing square, stud finder, tape measure
Pro Tip: Always purchase 10% extra lumber to account for measurement errors or warped boards. Pressure-treated wood should never contact aquariums directly due to potential chemical leaching—use kiln-dried SPF lumber instead.
Step 1: Precision Planning for 1,000+ Pound Capacity

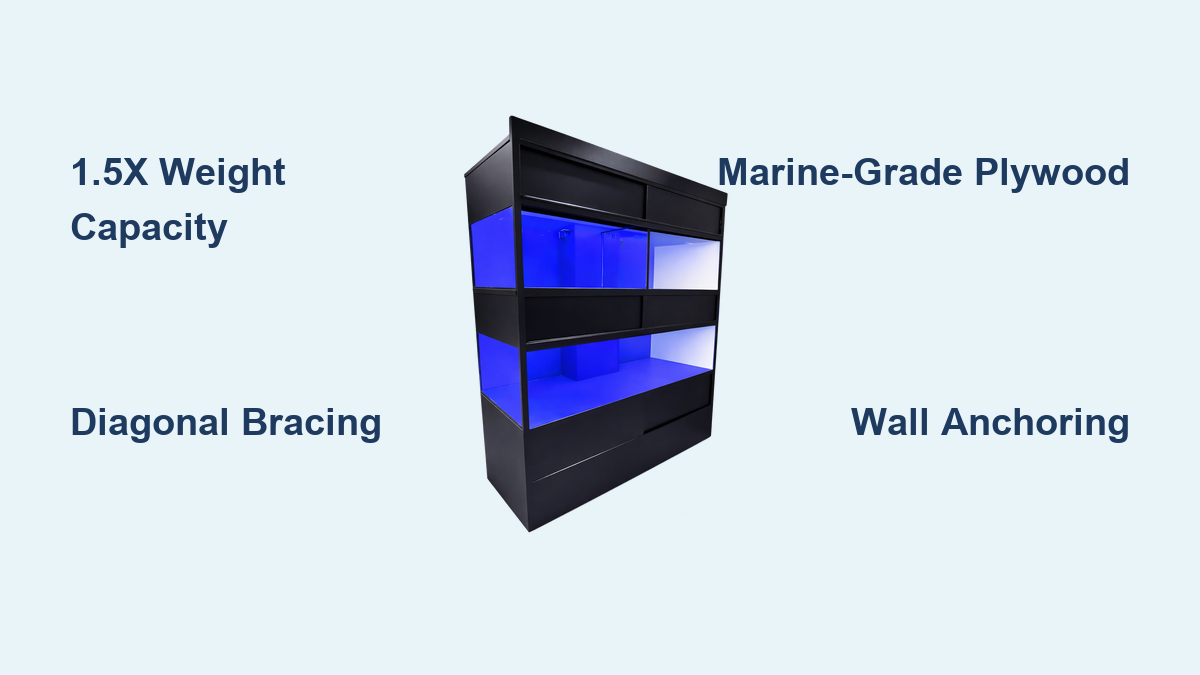
Miscalculating weight capacity is the fastest route to disaster. Each shelf must support 1.5 times your maximum expected load. For standard 55-gallon tanks (780 lbs fully loaded), design for 1,170 lbs per shelf minimum.
Critical Measurements:
* Shelf depth: 24 inches (standard tank depth + 3 inches clearance)
* Shelf height spacing: 30 inches (tank height + 12 inches working space)
* Bay width: 13 inches wider than your tanks (for equipment access)
* Base width: Minimum 24 inches for stability
Weight Calculation Formula: (Gallons × 8.34) + substrate weight + tank weight + equipment. A 75-gallon tank with 100 lbs of rock requires: (75 × 8.34) + 100 + 150 + 50 = 875.5 lbs. Your rack must support at least 1,313 lbs per shelf.
Step 2: Building the Foundation That Won’t Collapse
Begin with the bottom frame—the rack’s structural heart. Cut four 2x4s to 84 inches (for a 7-foot tall rack) for vertical supports. Assemble two identical side frames by connecting verticals with three horizontal 2x4s spaced at 30-inch intervals using 3-inch structural screws.
Key Reinforcement Technique: Install diagonal 2×4 braces from bottom outer corners to top inner corners on both side frames. This triangular bracing prevents “racking” (parallelogram distortion) when weight is applied. Secure with three 3-inch screws at each joint and reinforce with metal corner brackets.
Once side frames are complete, connect them with front and back 2×4 rails at the base and top. Use 1/2-inch lag bolts with washers through the verticals into the rails—this creates a rigid box structure that won’t twist under load. Check for square by measuring diagonally corner-to-corner; both measurements must be identical.
Step 3: Installing Fail-Proof Shelf Supports

The shelf support system determines your rack’s safety margin. Never rely on simple cleats—they’ll pull out under heavy loads. Instead:
- Cut 2×6 ledger boards to length (typically 72 inches for 55-75 gallon tanks)
- Position ledgers 3 inches below desired shelf height (for plywood thickness)
- Secure with three 3-inch structural screws through vertical supports into ledger ends
- Add vertical 2×4 “cripple studs” beneath each ledger at 16-inch intervals
- Reinforce with 2×4 diagonal braces from ledger to vertical support
Visual Checkpoint: When pressed firmly, the ledger should show zero deflection. If it bends even slightly, add more cripple studs or upgrade to 2×8 supports.
Step 4: Creating Waterproof, Level Shelves
Marine-grade plywood is non-negotiable for shelf material—standard plywood delaminates when exposed to moisture. Cut shelves to exact dimensions (24″x72″ for standard tanks), then seal all edges and surfaces with two coats of marine epoxy.
Leveling Technique: Place a 4-foot level across the front-to-back and side-to-side dimensions of each shelf support. Shim uneven spots with cedar shingles until perfectly level in all directions. Even 1/8-inch of tilt creates dangerous pressure points on tank glass.
Pro Installation Method: Place shelves on supports, then secure through the plywood into the ledger with counter-sunk 2-inch stainless steel screws every 8 inches along the perimeter. This prevents shelf movement while allowing for wood expansion.
Step 5: Final Reinforcement Against Catastrophic Failure

The most overlooked safety step is wall anchoring. A fully-loaded 4-tier rack can weigh over 3,000 pounds—enough to tip forward if bumped. Install two 16-gauge steel French cleats at the top rear of the rack, secured to wall studs with 3-inch lag bolts. This transfers tipping forces to your building’s structure.
Critical Safety Test: Before adding tanks, load the rack with equivalent weight (sandbags work well) for 72 hours. Check for:
– Any screw pull-out or wood cracking
– Shelf deflection exceeding 1/8 inch
– Frame twisting when pushed laterally
– Wall anchor stability
If any issues appear, reinforce immediately before proceeding.
Three Deadly Mistakes That Cause 90% of Rack Failures
1. Ignoring Concrete Floor Expansion Joints
Placing racks across expansion joints creates differential movement that cracks tank seams. Always position entire racks on a single concrete slab section, away from joints by at least 6 inches.
2. Using Particleboard or MDF for Shelves
These materials absorb moisture, swell, and lose 70% of their strength when wet. One minor leak turns your shelf into a sponge that collapses under tank weight.
3. Skipping Diagonal Bracing
Racks without diagonal bracing become unstable parallelograms under load. The back panel must form triangles, not rectangles, to prevent catastrophic failure. Install at least two diagonal braces per side frame.
Maintenance Protocol for Long-Term Safety
Your rack requires ongoing attention to maintain safety:
– Monthly: Check all screws for tightness and wood for cracking
– Quarterly: Reapply waterproof sealant to shelf edges
– Annually: Test wall anchors by applying sideways pressure
– Immediately after any leak: Inspect for water damage and reinforce as needed
Pro Tip: Place 1/4-inch rubber matting between tanks and shelves. This absorbs vibration, prevents glass scratching, and provides minor leveling correction.
Conclusion: Your Path to a Professional Fish Room
Building a safe, durable aquarium rack requires precision engineering, not just carpentry skills. By designing for 1.5x your expected load, using marine-grade materials, implementing diagonal bracing, and properly anchoring to your structure, you create a foundation that protects your investment and aquatic life. Start with meticulous planning—measure twice, cut once—and never compromise on reinforcement. The time invested in proper construction pays dividends in safety, functionality, and the ability to expand your aquatic collection without limitations. When you hear the gentle hum of multiple healthy tanks on your custom rack, you’ll know the effort was worth every precise measurement and reinforced joint.