How to Clean Gravel in Planted Aquarium
Your thriving planted aquarium suddenly looks murky. Dead leaves cling to your Amazon sword roots, fish waste collects near the driftwood, and that vibrant carpet of dwarf hairgrass appears suffocated under a layer of debris. You know how to clean gravel in a planted aquarium requires special care—but plunge a siphon too deep, and you’ll destroy root systems and beneficial bacteria. Get it right, and you’ll remove harmful waste while preserving vital nutrients. This guide reveals the exact plant-safe techniques professionals use to clean substrates without disturbing delicate ecosystems. You’ll learn where to vacuum, how deep to go, and why standard fish-only tank methods could kill your plants.
Most beginners make the critical error of deep-cleaning gravel like a bare-bottom tank. In planted aquariums, that top ½ inch of substrate houses nutrient cycles that feed your plants and sustain nitrifying bacteria. Aggressive vacuuming strips away this biological foundation, causing plant melt and ammonia spikes. The solution? A surgical approach targeting only surface detritus while leaving nutrient layers intact. By the end of this guide, you’ll execute flawless gravel cleanings that maintain water clarity and boost plant health—without uprooting a single stem.
Essential Tools for Safe Planted Tank Gravel Cleaning
Grab these five non-negotiable tools before touching your substrate. Using the wrong equipment risks plant damage and cloudy water that lingers for days. A standard wide-diameter gravel vacuum? Too aggressive for delicate roots. Your kitchen bucket? Chemical residues could poison your tank.
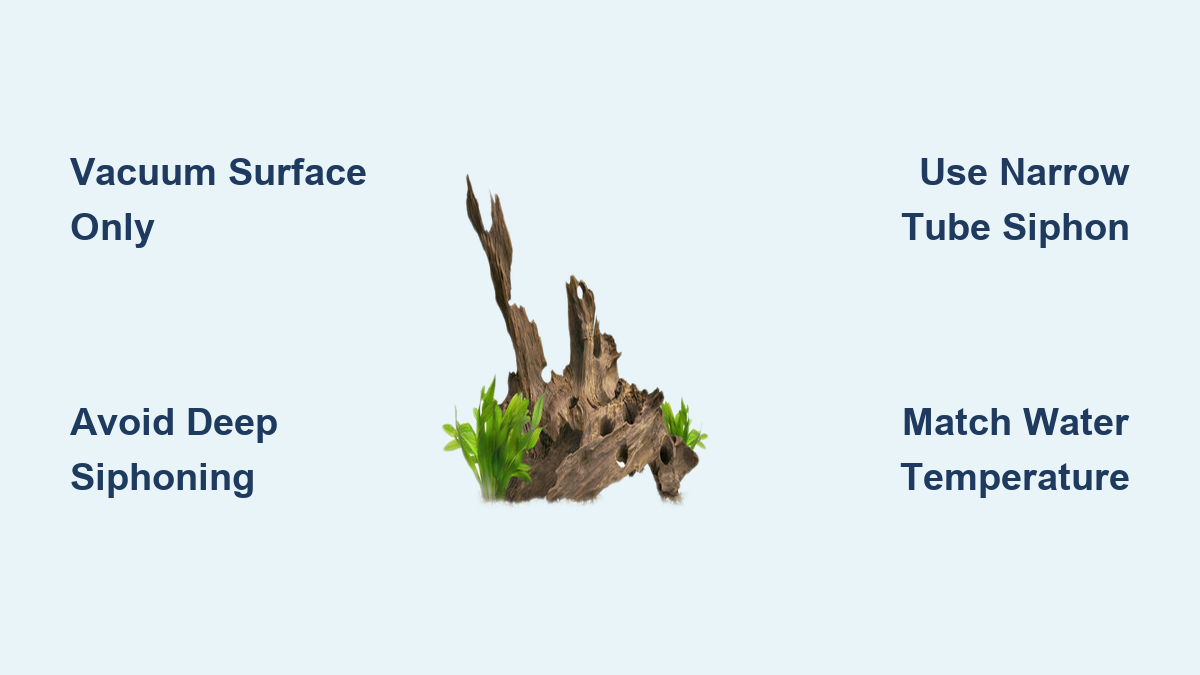
- Narrow-tube aquarium siphon (3/8″ diameter max): The slim profile prevents accidental root suction while lifting surface mulm.
- Dedicated 5-gallon aquarium bucket: Never share with chemical containers—residual soap destroys beneficial bacteria.
- Digital thermometer: Critical for matching replacement water to tank temperature within 1°F.
- Dechlorinator (liquid, not tablets): Neutralizes chloramines instantly without clouding water.
- Soft algae pad or old toothbrush: For manual decor cleaning without scratching hardscape.
Pro Tip: Wrap your siphon intake in fine mesh (like a cut-up pantyhose leg) if cleaning near carpeting plants. This blocks delicate roots from being sucked in while still pulling debris.
Prep and Plan Your Planted Tank Gravel Cleaning Session
Unplug heaters and filters immediately—never work near live equipment. Now assess your tank layout for high-risk zones. Identify carpeting plants like Monte Carlo or delicate stems like Rotala that need special protection. Sketch a mental path starting from the back corners toward the front glass, avoiding root-dense areas near Amazon swords or cryptocorynes.
For tanks with dense root networks, reduce cleaning frequency to every 3-4 weeks instead of weekly. Vacuuming too often strips essential nutrients. If you spot visible root growth through the substrate (common with Vallisneria), skip vacuuming within 2 inches of those zones entirely. This planning phase takes 2 minutes but prevents 90% of plant damage during cleaning.
Critical Mistake to Avoid: Don’t clean the entire tank in one session. Focus on 60% of the substrate per cleaning—rotate zones weekly to avoid overwhelming the biological balance.
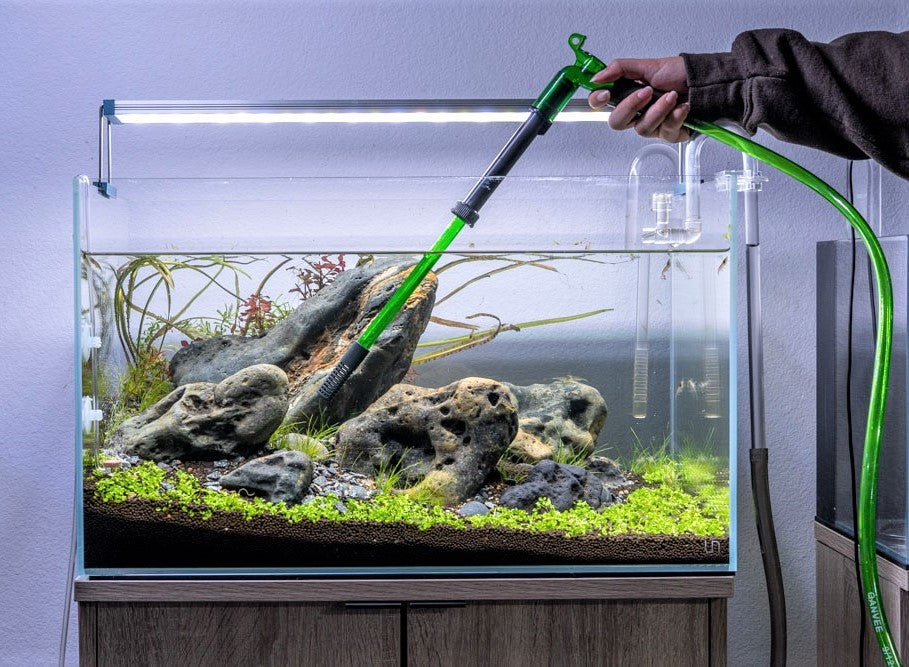
Master the Vacuuming Technique for Live Plants
Hold your siphon tube ½ inch above the gravel—not buried deep like in fish-only tanks. Gently wiggle the tip in a circular motion to lift surface debris without disturbing the nutrient layer below. You’ll see dark mulm swirl upward while the substrate stays firmly in place. Stop when the water runs slightly cloudy; prolonged agitation releases tannins from decomposing matter.
For fine sand substrates (common in planted tanks), lower the siphon to ¼ inch above the surface. Sand compacts easily, so use shorter 5-second bursts per spot. Time yourself: A 20-gallon tank needs just 8-10 minutes of targeted vacuuming. If your gravel clouds instantly, you’re digging too deep—lift the tube higher immediately.
Visual Cue: Healthy vacuuming creates a “dust storm” effect—debris lifts briefly then clears within 10 seconds. Persistent cloudiness means substrate disturbance.
Target Problem Areas Without Damaging Plant Roots
:strip_icc()/GettyImages-993654368-e1cf7ab63ccd4c26a882a596ac7bb5c5.jpg)
Focus on three critical zones where waste accumulates fastest:
1. Front glass edges (where food collects)
2. Hardscape bases (rocks/wood trap detritus)
3. Open substrate patches (between plant groupings)
Hover the siphon over plant crowns—not directly on roots. For stem plants like Hornwort, vacuum around the base in a donut shape, leaving a 1-inch buffer zone. With root-feeding plants (e.g., Anubias), skip vacuuming entirely within their root zone—use a turkey baster to dislodge debris instead.
Pro Tip: Place a mesh screen over carpeting plants before vacuuming. Lift the screen after debris removal to shield delicate shoots.
Execute a Plant-Safe Water Change During Gravel Cleaning
Stop vacuuming after removing 15% of your tank’s water volume—never exceed 20%. Adding too much new water shocks plants and crashes nutrient levels. Fill your bucket with tap water, then add dechlorinator at double the bottle’s recommended dose (planted tanks need extra protection from chloramines).
Match temperatures precisely: Float the bucket in your tank for 15 minutes, then verify with your digital thermometer. Pour new water slowly over a plate to avoid substrate disruption. Adding water too fast creates mini-tsunamis that uproot carpeting plants. Complete the entire water change within 30 minutes to minimize stress.
Critical Warning: Never use distilled or RO water for water changes in planted tanks—it lacks essential minerals plants need to absorb nutrients.
Manage Algae Buildup on Gravel and Decor Without Chemicals
Brown diatoms on gravel indicate new tank syndrome, while green spot algae thrives on high phosphates. Avoid algae scrapers near substrate—scratching glass releases particles that settle back onto plants. Instead, during vacuuming:
- Gently stir algae-covered gravel sections with your siphon tip
- Let debris rise into the water column
- Capture it with short, precise vacuum bursts
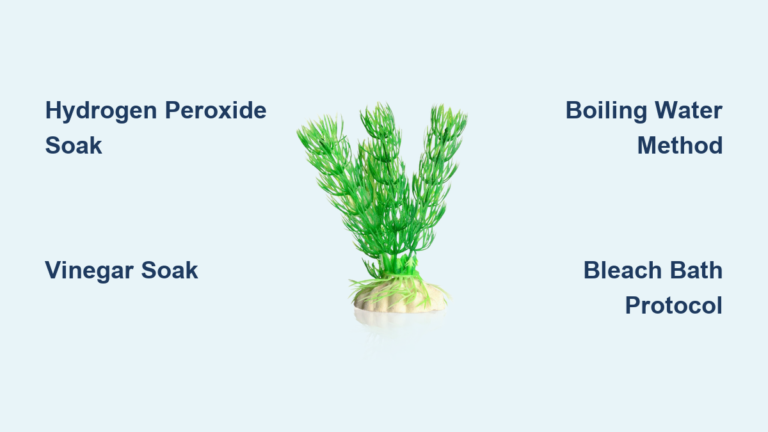
For algae-caked rocks, remove them during water changes. Soak in 3% hydrogen peroxide (1:4 ratio with water) for 2 minutes, then scrub with your toothbrush underwater in the bucket. Never use vinegar—it alters pH and harms plant roots.
Expert Note: Algae on gravel often signals overfeeding. Reduce food portions by 25% if vacuuming reveals excessive uneaten pellets.
Advanced Care for Nutrient-Rich Plant Substrates

If you use specialized substrates like ADA Aquasoil or CaribSea Eco-Complete, abandon standard vacuuming entirely. These clay-based mediums cloud for days when disturbed and contain pre-loaded nutrients. Instead:
- Hover the siphon 2 inches above the surface
- Vacuum only visible debris floating on top of the substrate
- Never insert the tube into the substrate layer
For stubborn mulm pockets, use a turkey baster to lift debris without disturbing the substrate structure. In Walstad method tanks (with soil substrates), skip gravel vacuuming altogether—rely on snails and shrimp to process waste naturally.
Time-Saver: Vacuum nutrient substrates only when debris is visibly thick (usually monthly). Healthy tanks with cleanup crews rarely need manual intervention.
Critical Post-Cleaning Checks for Tank Stability
Within 10 minutes of refilling, verify these three stability markers:
1. Cloudiness duration: Should clear within 60 minutes (persistent haze means substrate disturbance)
2. Equipment restart: Filters must run at pre-cleaning flow rates—check for clogs from dislodged debris
3. Temperature consistency: Fluctuations over 2°F require heater recalibration
Feed fish 50% of normal portions for 24 hours—cleaning stresses digestive systems. Within 48 hours, dose liquid carbon to help plants recover from minor root exposure. If plants show yellowing tips, add root tabs directly to affected zones—never dose the entire tank.
Urgent Sign: Ammonia spikes above 0.25 ppm require immediate 25% water change. Test strips are unreliable—use a liquid test kit for accuracy.
Cleaning gravel in a planted aquarium demands precision, not power. By targeting only surface waste and preserving nutrient layers, you’ll maintain crystal water while fueling plant growth. Remember: Your goal isn’t sterile cleanliness—it’s strategic waste removal that supports the entire ecosystem. Perform these gentle cleanings every 2-3 weeks, and you’ll see fewer algae outbreaks, stronger root development, and vibrant colors that last. For ongoing maintenance, add a few Amano shrimp—they’ll handle 70% of daily debris cleanup while avoiding root zones. Now that you know exactly how to clean gravel in a planted aquarium safely, your tank will thrive with minimal intervention.