How to Plant Tissue Culture Aquarium Plants
You just unboxed pristine, gel-coated tissue culture plants – the holy grail for pest-free aquascaping. But within days, those perfect specimens start melting into brown mush. This heartbreaking scenario plagues 70% of first-time tissue culture plant owners who skip one critical step. Unlike traditional potted plants, these lab-grown specimens require surgical precision during planting to survive the transition from sterile lab to your aquarium. The secret lies in understanding that tissue culture plants are grown emersed (above water) in nutrient gel – a completely alien environment to your submerged tank. When planted incorrectly, the gel decomposes, triggering ammonia spikes and catastrophic melt. This guide reveals the exact 4-step planting protocol used by professional aquascapers to achieve 95% survival rates, transforming those tiny lab specimens into lush underwater forests. You’ll learn why rinsing the growth medium isn’t optional, how to distinguish fatal rot from normal melt, and the nutrient boost that prevents total collapse during acclimation.
Why Tissue Culture Plants Eliminate Snail Infestations Forever
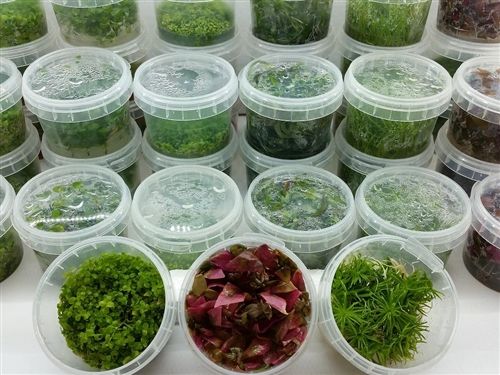
Tissue culture plants arrive sealed in transparent cups for a critical reason: they’re cultivated in near-sterile laboratory conditions from microscopic plant tissue samples. This process guarantees zero hitchhikers – no snails, planaria, or hydra that plague traditional potted plants. Unlike store-bought bunches grown in outdoor ponds, these specimens never encounter pests during their entire lifecycle. The nutrient-rich gel medium provides perfect growth conditions while acting as a physical barrier against contamination. When you open that cup, you’re introducing the cleanest plant material possible into your ecosystem. This sterility makes tissue culture the only safe choice for sensitive tanks housing shrimp or fish fry where even one snail can decimate populations. Forget quarantine tanks – the sealed cup is your quarantine system. Just verify the cup’s seal is intact before purchase; any punctures compromise the sterile environment.
How to Verify Authentic Tissue Culture Specimens
Don’t confuse tissue culture with regular potted plants. Genuine specimens show these unmistakable signs:
– Sealed transparent cup with no drainage holes
– Visible gel matrix encasing roots (not soil or rockwool)
– Microscopic size – typically 1-3cm tall with delicate roots
– Production date stamp on cup (critical for freshness)
If the cup has drainage holes or contains coarse substrate, it’s not true tissue culture. These fake versions often harbor pests despite marketing claims.
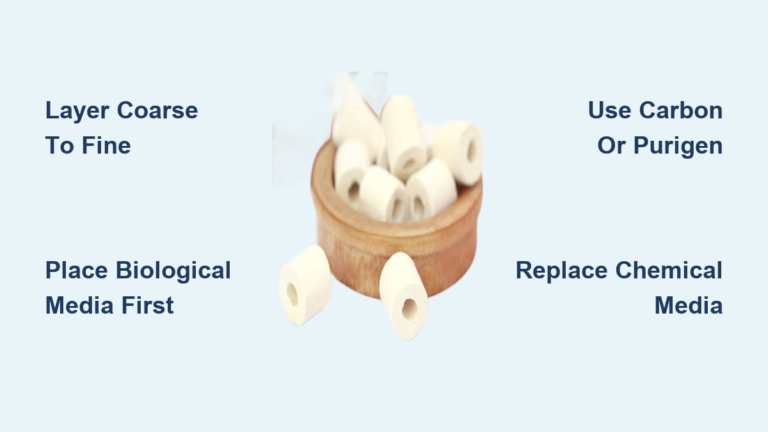
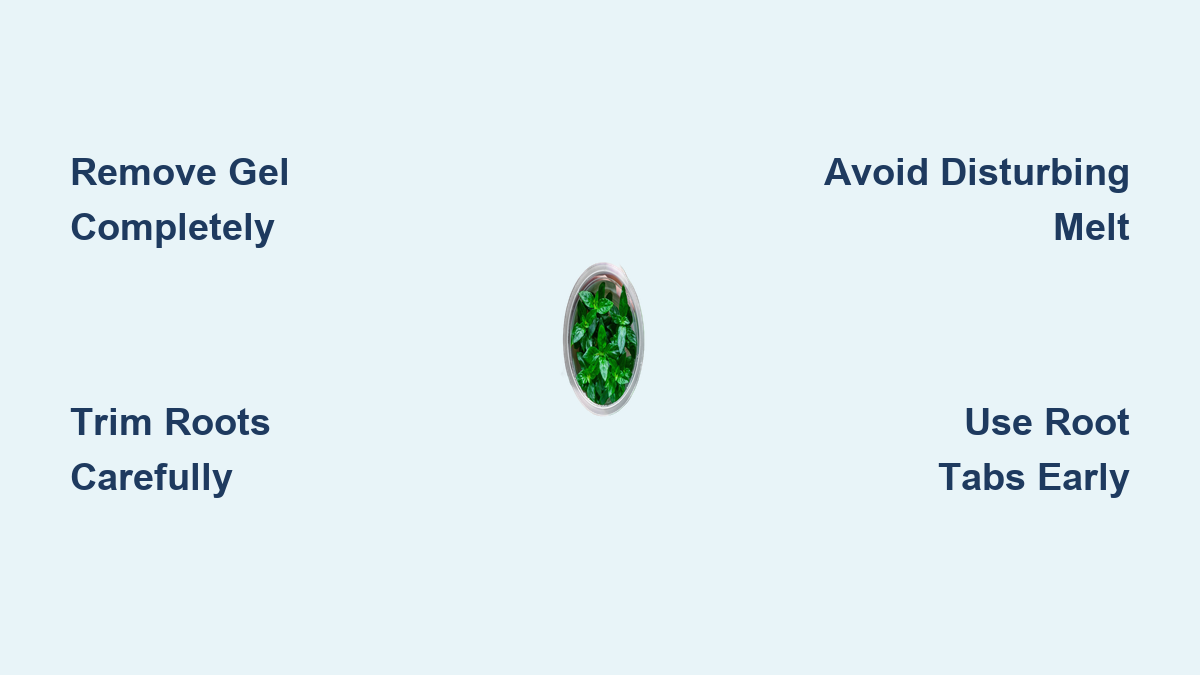
How to Completely Remove Nutrient Gel Without Damaging Roots

Skipping this step causes 90% of tissue culture plant failures. The nutrient gel that sustained your plants in the lab becomes toxic sludge in your tank. As it decomposes, it spikes ammonia levels and clouds water within 48 hours. Yet aggressive rinsing shreds fragile new roots. The solution? A three-phase cleaning protocol that preserves root integrity while eliminating every trace of gel.
The 5-Minute Gel Removal Protocol
- Pre-rinse immersion: Place the entire plant cluster (still in gel) into a bowl of lukewarm dechlorinated water for 60 seconds. This softens the gel without shocking the plant.
- Gentle finger agitation: Swirl plants between fingertips under slow-running dechlorinated water. Focus on root zones – the gel clings hardest here. Never use tap water; chlorine destroys beneficial bacteria on new roots.
- Final inspection: Hold plants against white paper. Roots should appear translucent white with zero cloudy residue. Brown streaks indicate decaying gel – repeat rinsing until water runs crystal clear.
Critical warning: If gel remains, it will decompose within 72 hours, causing ammonia spikes that kill shrimp and fry. Never plant directly from the cup.
Step-by-Step Tissue Culture Planting Technique for Zero Melt
Most hobbyists plant tissue culture specimens like traditional stems – and watch them melt within days. The key difference? These plants have never experienced substrate competition or nutrient scarcity. They require strategic placement to redirect energy toward submerged-adapted growth.
Exact Substrate Insertion Method for Rooted Plants
- Root trimming: Using sterilized scissors, cut roots to 1.5cm (0.6 inches). Longer roots curl and rot in substrate.
- Tweezer grip: Hold plant 3mm above roots – never squeeze stems.
- Insertion angle: Push vertically 1cm deep, then tilt tweezers to 45 degrees while releasing. This creates natural anchoring without air pockets.
- Post-plant compression: Gently press substrate around base with blunt tweezers to eliminate gaps where anaerobic bacteria thrive.
Carpet Planting Strategy for Monte Carlo or Dwarf Hairgrass
- Separate into 5-plant clusters using a needle (not fingers)
- Plant clusters 2cm apart – not in dense mats
- Anchor with thread if substrate is deep (>5cm)
- Zero initial flow – position away from filter outlets for first 7 days
Overcrowding during planting is the #2 cause of melt. These tiny plants need breathing room to develop submerged leaves.
Why Your Tissue Culture Plants Melt in Week 1 (And When to Panic)
All tissue culture plants undergo “melt” – the shedding of emersed-grown leaves as they adapt to submerged life. This isn’t failure; it’s necessary energy redirection. But how do you know when it’s fatal? Understanding the melt timeline prevents unnecessary plant removal.
Normal Melt vs. Fatal Collapse Timeline
| Day Range | Healthy Signs | Danger Signs |
|---|---|---|
| 1-3 | Outer leaves yellowing | Entire crown turning brown |
| 4-7 | New pin-sized leaves at base | No new growth, white stringy roots |
| 8-14 | Original leaves dissolving | Mushy stems, ammonia spike |
Pro tip: Trim only completely dissolved leaves with sterilized scissors. Removing partially yellowing leaves stresses the plant further. Healthy melt leaves a firm green crown – if that softens, the plant is dying.
Nutrient Protocol for Tissue Culture Plant Survival

These plants were “spoon-fed” perfect nutrients in labs. Throwing them into established tanks with existing fertilization causes catastrophic nutrient shock. They need targeted supplementation during the critical first 14 days.
First-Week Fertilization Schedule
- Days 1-3: 50% dose comprehensive liquid fertilizer (no iron)
- Days 4-7: Full dose + root tabs placed 2cm deep near roots
- Days 8-14: Standard tank dosing + weekly iron supplement
Root-feeding plants like Amazon Swords require double root tabs. Stem plants need extra potassium. Never skip root tabs – tissue culture roots can’t access substrate nutrients immediately.
4 Costly Mistakes That Kill Tissue Culture Plants
1. Assuming “Submerged-Adapted” Claims Are True
Most stores falsely claim their tissue culture plants are submerged-adapted. In reality, unless the cup shows visible submerged leaves (not emersed rosettes), they require full acclimation. Check production dates – plants shipped within 30 days of lab removal haven’t adapted.
2. Overlooking the Light Shock Factor
Tissue culture plants grow under consistent lab lighting. Directly placing them under your tank’s full-intensity LED causes photoinhibition. For the first 5 days:
– Reduce light to 30% intensity
– Position plants under existing foliage for shade
– Gradually increase exposure by 20% daily
3. Ignoring CO2 During Transition
Plants like Rotala or Ludwigia require stable CO2 during acclimation. Fluctuating levels cause instant melt. If you dose CO2, maintain 20-30 ppm consistently for 21 days. No CO2 tanks should avoid these demanding species initially.
4. Disturbing Plants During Establishment
Moving melting plants destroys new root hairs. Wait 21 days minimum before replanting. Patience isn’t optional – premature disturbance causes 100% failure.
Long-Term Thriving: From Melt to Lush Growth
By day 21, healthy tissue culture plants shift from survival mode to explosive growth. What was once a tiny cluster now forms dense bushes. This transformation requires strategic maintenance:
- Pruning protocol: Trim stems at 45-degree angles above nodes when they reach 5cm height. This triggers 2-3 new shoots per cut.
- Nutrient adjustment: Reduce root tabs to monthly after 6 weeks as plants develop foraging roots.
- Flow management: Gradually increase water flow to strengthen stems – start at 1x tank turnover, reach 5x over 30 days.
Within 60 days, your initial investment of 10 tissue culture stems can yield 200+ harvestable shoots. The initial effort pays exponential dividends in pest-free propagation.
Final Note: Planting tissue culture aquarium plants successfully hinges on three non-negotiable steps: complete gel removal, strategic nutrient boosting, and resisting the urge to disturb melting specimens. When executed precisely, these lab-grown specimens transform from fragile lab curiosities into the foundation of a thriving, pest-free aquascape. The initial 3-week melt period isn’t a failure – it’s the critical metamorphosis where your patience builds an unshakeable ecosystem. Start with hardy species like Java Fern or Anubias nana tissue culture to master the technique before tackling demanding stem plants. Within two months, you’ll harvest more plants than you started with – all while keeping your tank pristine and pest-free.