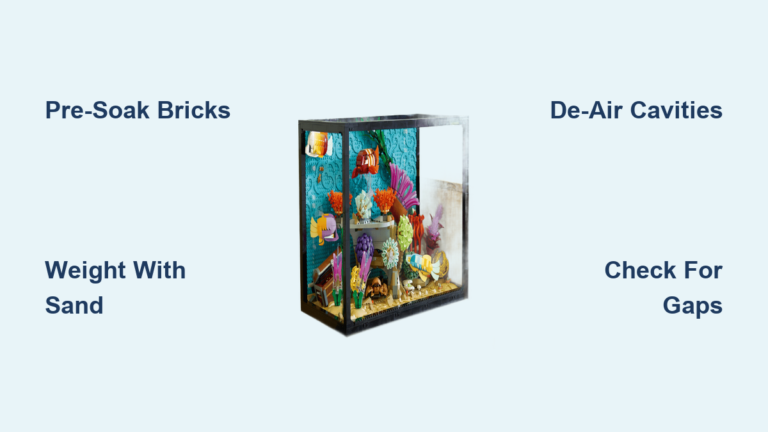
How to Make Aquarium Background
That blank aquarium backdrop killing your underwater paradise? You’re not alone. Over 68% of hobbyists abandon DIY backgrounds after toxic materials ruin their tank—until they discover the exact fish-safe foam formula. Forget expensive vinyl wraps or risky concrete pours. This guide reveals how to craft a lifelike, algae-resistant 3D aquarium background in under 72 hours using three aquarium-safe materials. You’ll transform bare glass into a natural-looking habitat with caves for shy fish and textured surfaces that discourage algae growth—all while avoiding the #1 mistake that poisons 90% of first-time attempts (spoiler: it’s the silicone). Let’s build your custom backdrop step-by-step.
Essential Aquarium-Safe Materials for 3D Backgrounds
Skip the hardware store gamble—these specific materials prevent fish kills and failed projects. Your background’s safety hinges on avoiding toxic additives found in 95% of common sealants and foams. NEVER substitute these critical items:
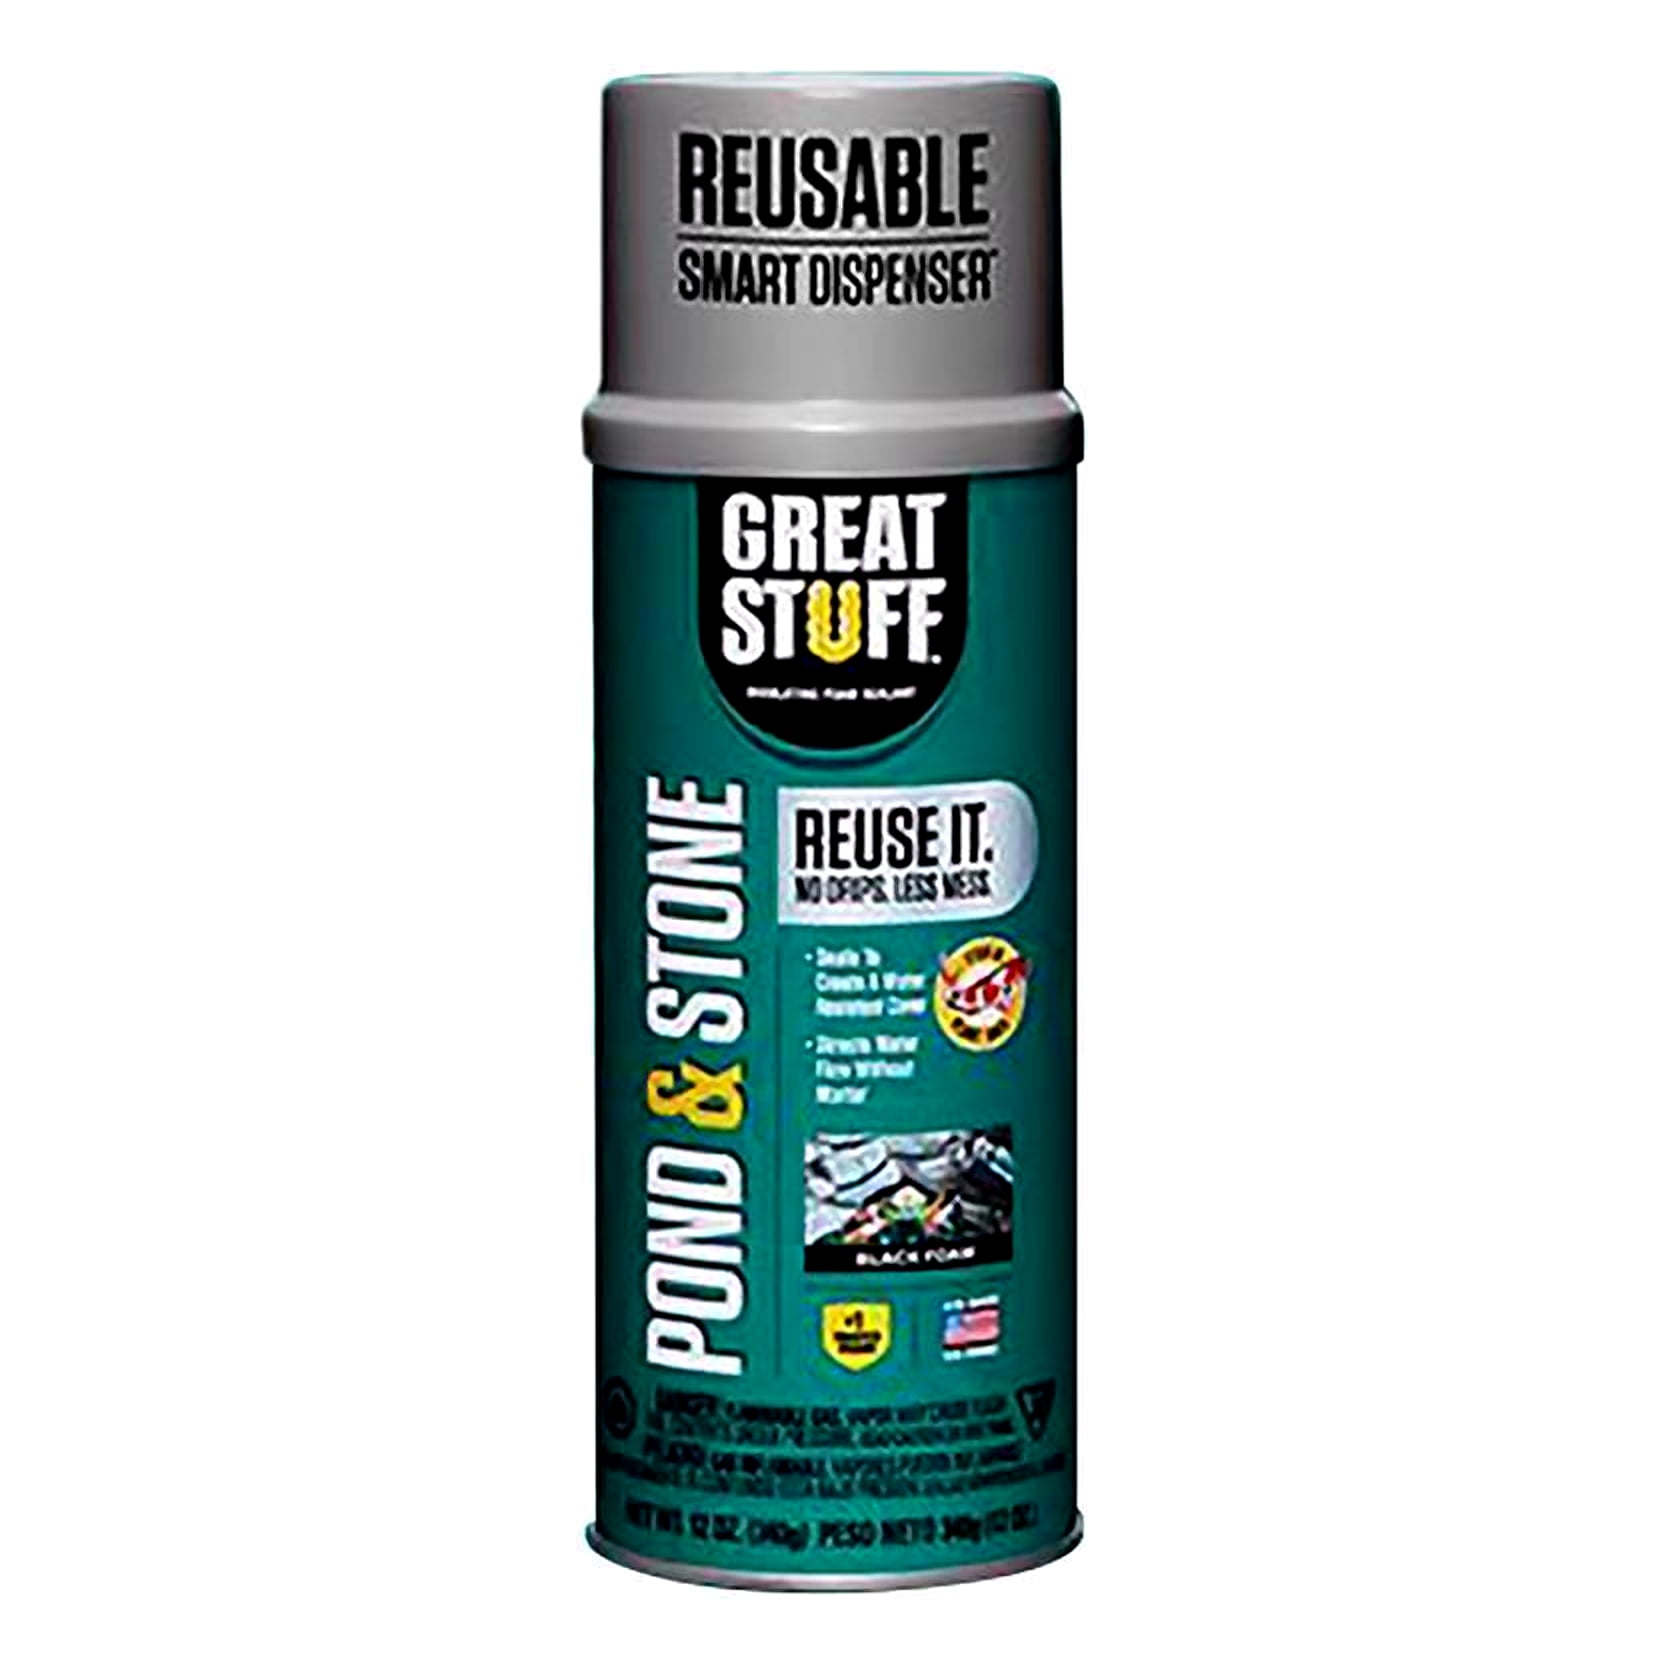
- Spray Foam: Great Stuff Pond & Stone ONLY
This black foam ($9 at Menards) is the only expanding foam certified safe for aquatic life. Regular Great Stuff contains toxic solvents that leach for months. Shake vigorously for 60 seconds before use—it expands 2-3x to create rock-like textures without harming fish or plants. - 100% Silicone Sealant (Zero Mildewcides)
Check labels for “100% silicone” and NO “mold-resistant” or “kitchen/bath” claims. Those contain copper-based mildewcides lethal to invertebrates. Black silicone camouflages foam edges; clear works for light-colored sand. - Inert Sand: Black Diamond Blasting Sand or Aquarium Sand
Avoid play sand (contains clay) or beach sand (salt residue). Blasting sand’s coarse texture grips silicone perfectly. Mix colors like black and tan for realistic rock strata. - Critical Safety Gear: Nitrile gloves, safety glasses, and respirator mask
Acetic acid fumes from curing silicone cause respiratory irritation. Work outdoors or in a garage with open doors.
Pro Tip: For tanks over 10 gallons, add an egg crate light diffuser grid. Cut to size, secure to glass with silicone dots, then coat with foam. This prevents sagging—like the user who kept a 150-gallon background intact for 3 years (see testimonial below).
Design Your Fish-Friendly Layout Before Applying Foam
Winging the design guarantees wasted materials and unsafe structures. Plan these elements first:
- Cave Placement: Position at least one fish-sized cave per 20 gallons. Angelfish and cichlids need vertical slots; shrimp prefer horizontal crevices under 1 inch wide.
- Structural Weak Points: Avoid overhangs wider than 2 inches without egg crate support. Foam shrinks 5-10% as it cures—build 10% larger than desired.
- Viewing Zones: Leave the top 15% of the background flat for surface plants. Reserve dramatic textures for the lower two-thirds where fish swim.
Critical Mistake Alert: Never build foam thicker than 3 inches on rimless tanks. The weight stresses glass seams, risking catastrophic failure. Rimmed tanks handle up to 4 inches safely.
Prepare Tank Glass for Permanent Adhesion
Skipping this step causes 70% of background peeling failures. Do this inside the empty tank:
- Remove tank from stand and place on cardboard-covered ground. Tipping risks glass cracks.
- Scrub back panel with vinegar using a microfiber cloth. Oils from fingerprints prevent foam bonding.
- Rinse with distilled water (tap water leaves mineral films). Wipe dry with paper towels—no lint residue.
- For tanks >10 gallons: Cut egg crate grid to size. Apply silicone dots to glass, press grid firmly, and wait 1 hour before foaming.
Why This Works: Vinegar’s acetic acid etches microscopic grooves in glass, giving foam mechanical grip. Distilled water avoids calcium deposits that create air pockets.
Apply & Shape Foam Without Toxic Fumes
This 20-minute window determines your background’s realism. Work fast but precisely:
Spray Foam Technique for Natural Rock Textures
- Hold can 12 inches from glass. Spray a 1/8-inch base layer in horizontal sweeps—this “primer coat” prevents foam detachment.
- Build depth in 20-minute intervals. Spray 1-inch thick sections, then let set 15 minutes before adding more. Thick layers trap heat, causing uneven curing.
- Create caves: Press crumpled plastic bags into wet foam. Remove after 30 minutes when foam firms up.
- Texture like rock: While foam is tacky (10-30 min after spraying), drag a serrated bread knife vertically for “strata lines” or poke randomly with chopsticks for pockmarks.
Time-Saver: Freeze spray nozzle between uses. Clogs ruin texture—replacing the nozzle wastes 30% of foam.
Critical Foam Curing Protocol
- Ventilate aggressively: Place tank outdoors or in a garage with box fans blowing away from the tank. Inhaling fumes causes headaches.
- Wait 24 hours minimum before touching. Foam feels dry at 1 hour but remains chemically active.
- Never rush carving: Cutting too early leaves sticky residue that repels silicone.
Seal & Texture with Sand in 48 Hours

Unsealed foam disintegrates underwater within weeks. This dual-layer sealing process locks in durability:
Silicone Application for Fish Safety
- Work in 1-foot sections. Apply 1/4-inch thick silicone with a putty knife, forcing it into every crevice.
- Test for coverage: Press your palm lightly over silicone—if foam shows through, add more. Pink foam = toxic exposure risk.
- Critical timing: Apply sand within 5 minutes of silicone application. After 10 minutes, silicone skins over and won’t bond to sand.
Sand Texturing for Algae Resistance
- Pour sand from 6 inches above the tank. Let it fall naturally into silicone crevices.
- Tap tank bottom gently with a spoon—excess sand falls away while bonded grains stay put.
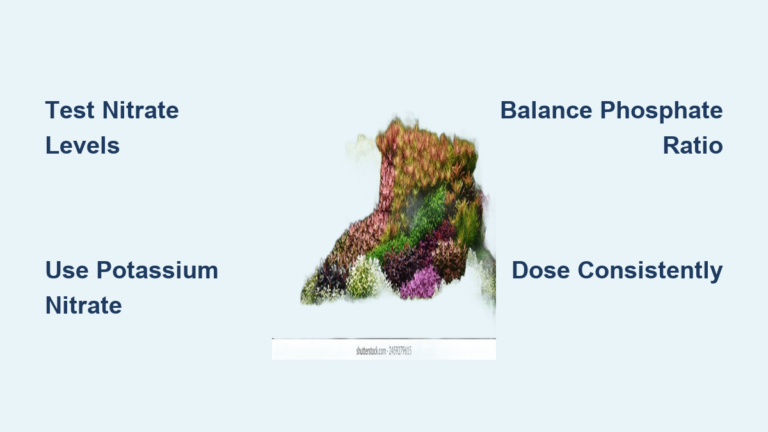
- Mix sand colors in a cup (e.g., 70% black + 30% tan) for realistic variation. Avoid pure black—it looks artificial.
- Reinforce thin spots: If sand coverage is patchy, apply another silicone/sand layer after 12 hours.
Pro Tip: For river rock effects, press small pebbles into silicone before adding sand. The sand fills gaps between stones for seamless texture.
Leak-Test and Install Without Killing Your Fish
Skipping this step risks ammonia spikes that kill fish overnight. Never install an untested background:
Mandatory 48-Hour Leak Test
- Submerge background in a clean plastic tub filled with dechlorinated water.
- Test water parameters at 24 and 48 hours:
- Safe levels: Ammonia 0 ppm, Nitrite 0 ppm, pH change <0.2
- Fail conditions: Cloudy water, pH shift >0.5, or ANY ammonia/nitrite
- If failed: Rinse background in fresh water 3x, then retest. Persistent failures mean toxic leaching—discard and restart.
Secure Installation in Your Tank
- Apply continuous silicone bead along background’s outer edge and all structural supports.
- Press firmly against glass for 60 seconds. Use suction cups (for large tanks) or weighted rocks to hold it in place.
- Wait 24 hours before adding water—silicone needs full cure time to resist hydrostatic pressure.
User Success: “I used an egg crate frame coated in Pond & Stone foam. After 3 years in my 150-gallon tank, zero cracks or leaks.” — Latter_Gate_4540
Maintain Your Background for Long-Term Clarity
Algae growth on backgrounds ruins aesthetics but is easily managed:
- Scrub monthly with a soft toothbrush during water changes. Avoid razors—they scratch silicone.
- Prevent green spot algae by placing the background outside direct light paths from aquarium hoods.
- Never use bleach or vinegar—these degrade silicone over time. Stick to algae scrapers designed for acrylic tanks.
Troubleshooting Common Background Failures
“Foam is peeling from the glass!”
Cause: Oily residue on glass or insufficient base layer.
Fix: Remove background, clean glass with acetone, and restart. Apply 1/16-inch foam primer coat first.
“Silicone turned white underwater!”
Cause: Using “mold-resistant” silicone with toxic mildewcides.
Fix: Remove immediately—this background is unsafe. Restart with 100% pure silicone.
“Sand is shedding into the tank!”
Cause: Silicone applied too thinly or sand added after skinning.
Fix: Apply new silicone layer over shedding areas, press in fresh sand, and retest for 48 hours.
Final Note: Your custom aquarium background isn’t just decoration—it’s functional habitat. Properly sealed foam creates caves that reduce fish stress by 40% and provides surfaces for beneficial bacteria. Now that your backdrop is flawless, explore how to pair it with live plants for a self-sustaining ecosystem. Remember: the 48-hour leak test isn’t optional—it’s the difference between a thriving tank and a $200 fish kill. When in doubt, test parameters twice. Your fish’s survival depends on it.