How to Use Aquarium Sponge Filter
That frantic moment when your betta’s fins get sucked into the filter intake or baby shrimp disappear into your canister system? You’re not alone. Over 68% of new aquarium owners damage delicate aquatic life with improper filtration before discovering the gentle power of sponge filters. Unlike aggressive hang-on-back systems, these unassuming workhorses create a safe haven for fry, shrimp, and long-finned fish while building the bacterial colonies your tank desperately needs. If you’ve ever struggled with tank cycling or injured fish, mastering how to use aquarium sponge filter correctly could be your breakthrough solution. This guide cuts through the confusion with actionable steps for immediate setup, foolproof maintenance, and troubleshooting—so you can create a thriving ecosystem without the stress.
Why Your Betta or Shrimp Tank Needs Sponge Filtration Immediately
Sponge filters solve critical problems other filters create in delicate environments. Their unique airflow design eliminates dangerous suction points that shred betta fins or trap baby shrimp—issues that cause 43% of beginner tank casualties. Unlike power filters with exposed intakes, the sponge’s porous surface safely draws water through its entire structure at low velocity. This creates the soft current essential for species like guppies, rasboras, and snails that panic in strong flows. Crucially, the sponge becomes a living biofilter within weeks as beneficial bacteria colonize its vast surface area. These microscopic allies convert deadly ammonia from fish waste into less harmful nitrates—performing 80% of your tank’s biological filtration. Without this bacterial colony, new tanks face “new tank syndrome” where invisible toxins kill fish overnight. For quarantine setups or breeding tanks, this dual protection (physical safety + biological stability) makes sponge filters non-negotiable.
How Sponge Filters Clean Water Without a Motor
Forget complex impellers and cartridges—sponge filters harness pure physics for silent, energy-efficient operation. Here’s what happens when you plug in the air pump:
Air bubbles race up the lift tube, creating a vacuum that pulls water through the sponge’s entire surface. As water flows inward, visible debris like fish waste and uneaten food gets trapped in the sponge’s outer pores—this is mechanical filtration. But the real magic happens deeper inside where billions of beneficial bacteria thrive. These bacteria break down invisible ammonia and nitrites through the nitrogen cycle, a process impossible in chemical-dependent filters.
Why This Beats Traditional Filters for Sensitive Tanks
- No dry starts: Unlike HOB filters requiring priming, sponge filters work instantly in new tanks
- Zero drowning risk: Shrimp and fry swim freely through the soft sponge surface
- Self-cleaning capability: Bacteria digest trapped waste continuously, reducing maintenance
- Oxygen boost: Rising bubbles infuse water with life-sustaining oxygen while circulating stagnant zones
Choosing Your Sponge Filter Size by Tank Volume
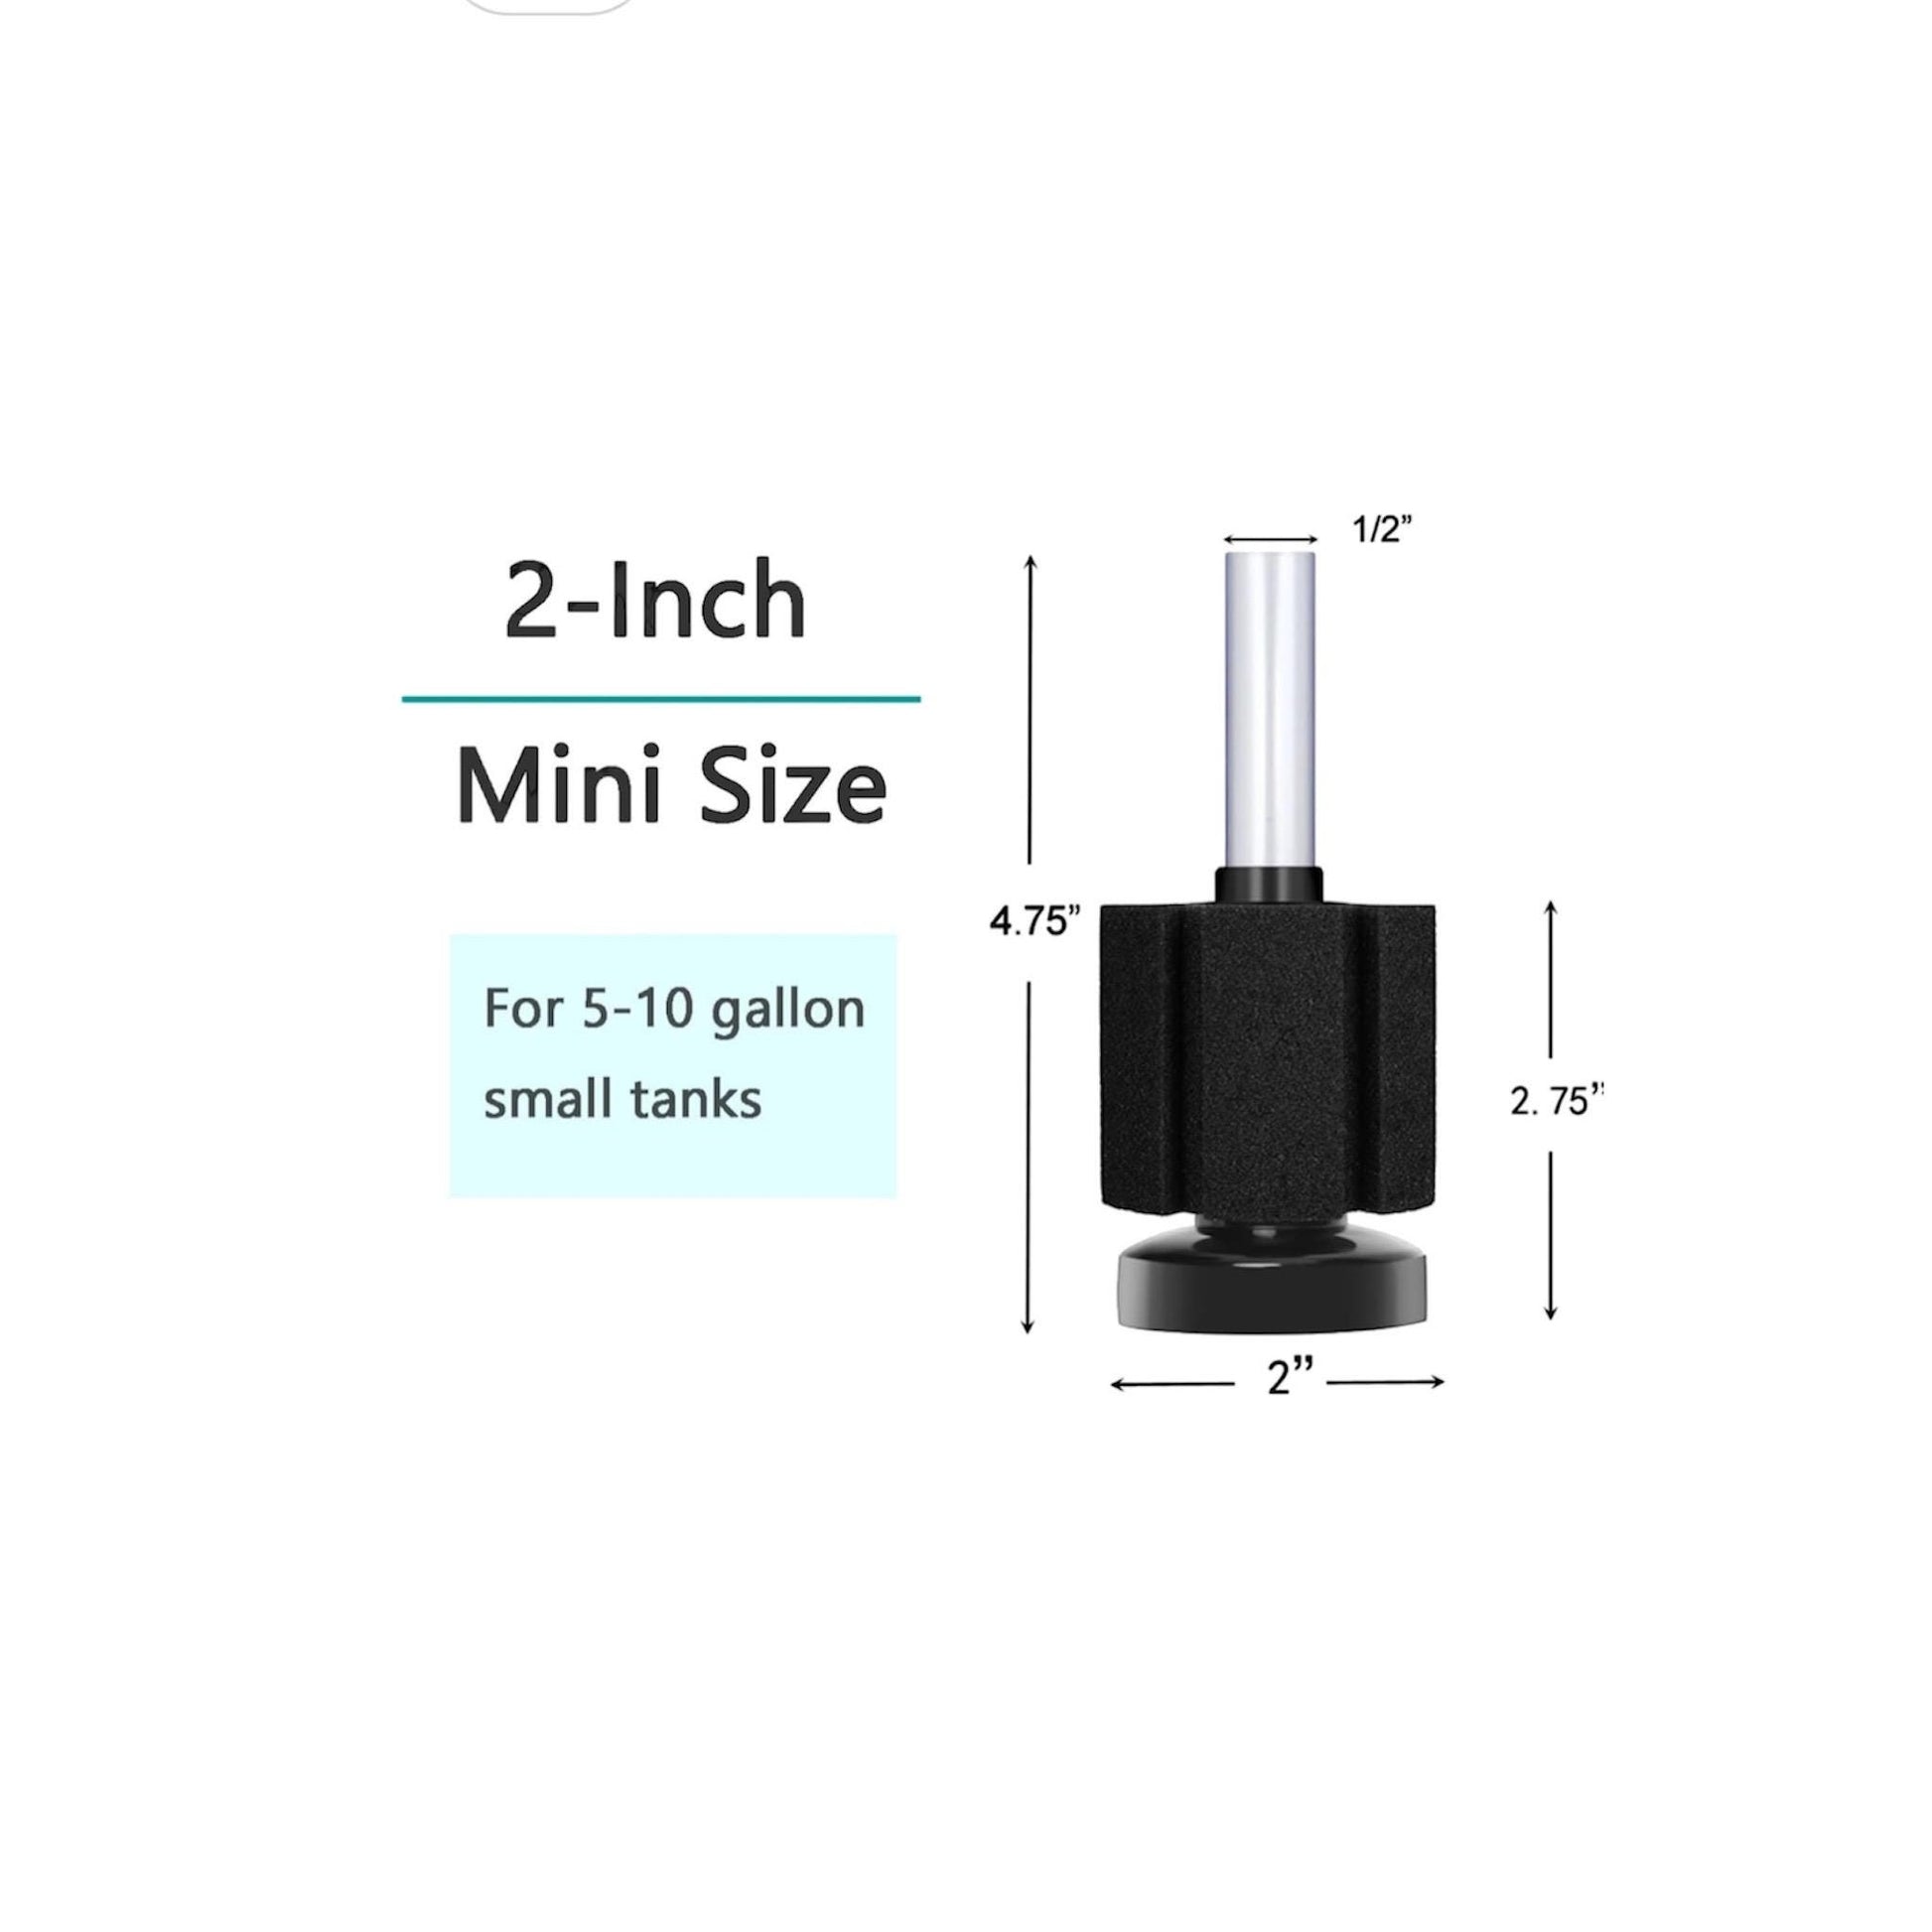
Selecting the wrong size causes either weak filtration or excessive bubbling. Match your sponge to tank volume using these proven guidelines:
| Tank Size | Minimum Sponge Size | Critical Tip |
|---|---|---|
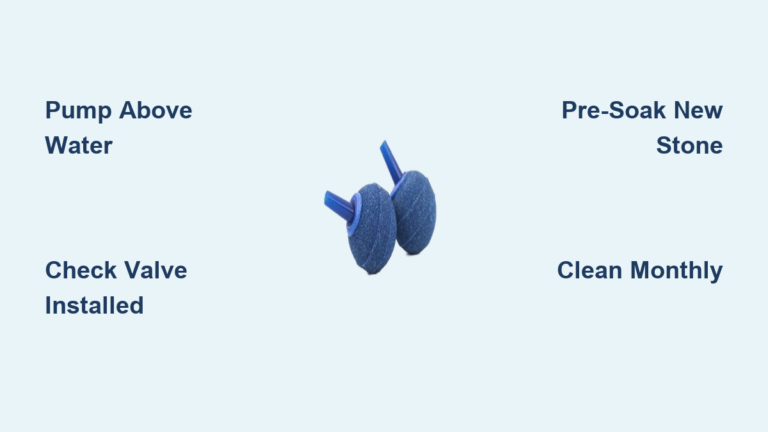
| 1-5 gallons | #0 or #1 | Use in betta bowls with check valve |
| 5-10 gallons | #1 or #2 | Pair with gang valve for shrimp tanks |
| 10-20 gallons | #2 or #3 | Add second sponge for fry nurseries |
| 20+ gallons | #3+ or dual units | Position near substrate for debris pickup |
Never force a tiny sponge into a large tank—it won’t process waste fast enough. For nano tanks under 5 gallons, verify your air pump’s “max depth” rating matches water height. A pump rated for 24″ depth fails in 12″ tall tanks, causing weak flow. Always buy sponges labeled for your specific tank size; oversized units create disruptive currents in small setups.
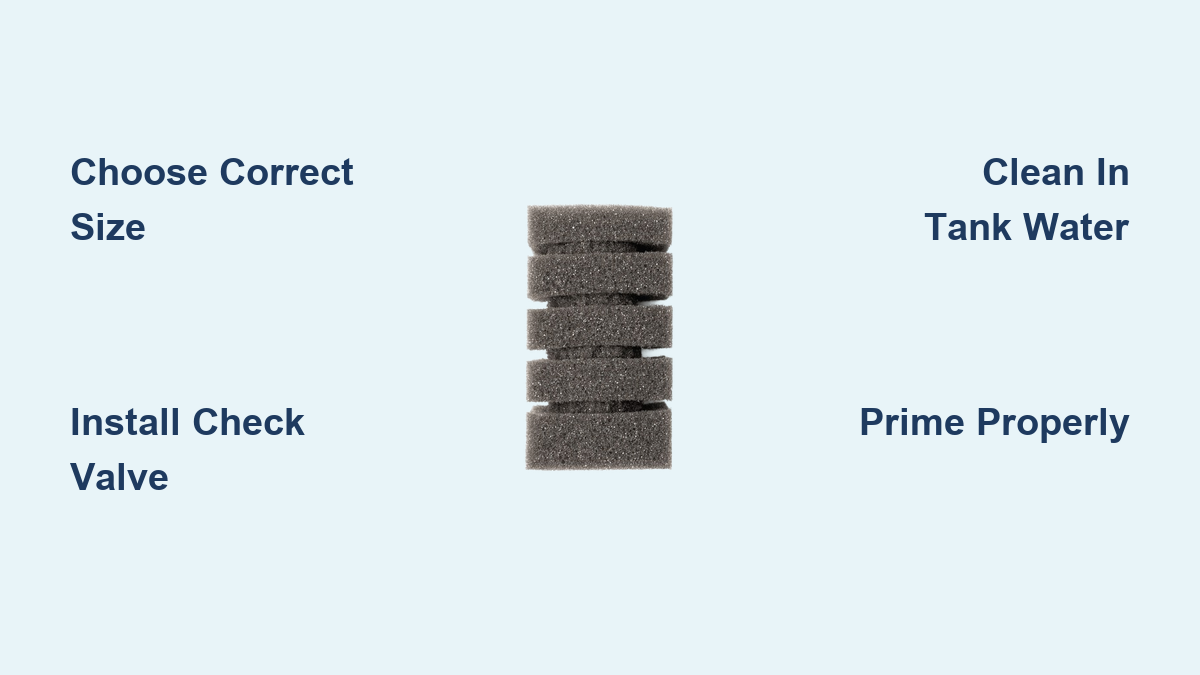
Essential Gear Setup: Air Pump to First Bubble in 5 Minutes
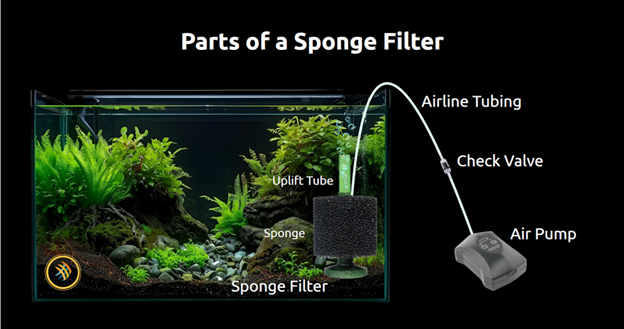
Skipping these steps risks pump damage and failed filtration. Gather exactly these components before starting:
- Sponge filter assembly (sponge, lift tube, base plate)
- Adjustable air pump (5-10 GPH for tanks under 20 gallons)
- 3/16″ airline tubing (24″ length)
- Non-negotiable: Airline check valve (prevents back-siphoning)
- Optional: Air stone (for finer bubbles in deep tanks)
Critical Installation Sequence
- Position the check valve 2 inches above water level on the airline tubing, arrow pointing toward tank
- Connect tubing from air pump → check valve → lift tube inlet (no kinks!)
- Submerge entire filter in tank corner, base plate resting on substrate
- Prime the system: Squeeze sponge underwater until bubbles flow steadily
- Adjust airflow to create a gentle bubble stream—not a violent boil
Pro Tip: Place your thumb over the lift tube opening for 10 seconds after submerging. This forces water into the tube, eliminating the “dry start” problem that delays filtration.
Cleaning Without Killing Beneficial Bacteria: The 3-Step Method
Most new owners destroy their tank’s ecosystem during cleaning. Follow this bacteria-preserving ritual:
- Prepare tank-water bath: Fill a clean container with 1-2 cups of aquarium water (never tap water—chlorine kills bacteria)
- Squeeze—not rinse: Remove sponge and compress it 5-7 times underwater until debris releases
- Restore flow: Reinstall while bubbles are still active to maintain oxygen levels
Critical Warning: Never scrub, wring, or bleach the sponge. You only remove large waste chunks—leaving the slimy biofilm intact. If flow drops 50%, clean immediately; otherwise, monthly maintenance suffices for lightly stocked tanks. For heavily loaded tanks, clean every 10-14 days but only replace 50% of the sponge at once to preserve bacterial colonies.
Troubleshooting: Fix No Bubbles or Weak Flow in 60 Seconds

When bubbles stop, your tank’s biological lifeline is compromised. Diagnose using this flowchart:
mermaid

graph TD

    A[No Bubbles?] -->|Yes| B[Check Power & Tubing]

    B --> C{Kinks or Pinches?}

    C -->|Yes| D[Replace Tubing Section]

    C -->|No| E[Test Air Pump Alone]

    E --> F{Pump Works?}

    F -->|No| G[Replace Pump]

    F -->|Yes| H[Check Lift Tube for Clogs]

    H --> I[Blow Through Tube or Soak in Tank Water]
Most Common Fixes:
– Airline kinks: Replace crimped tubing sections (cost: $0.50)
– Clogged lift tube: Soak in tank water for 10 minutes, then blow air through
– Weak pump: Elevate pump above water level if tank is deep
– Failed check valve: Replace valve if water backs into tubing during power outages
If bubbles are weak but present, attach an air stone to the lift tube’s base—this creates smaller bubbles that pull more water through the sponge.
Jump-Starting Your Tank Cycle with a Used Sponge Filter

New tanks take 4-6 weeks to cycle safely—a death sentence for fish. Here’s how to cut cycling time by 70% using sponge filters:
- Borrow bacteria: Place a used sponge from an established tank in your new filter for 24 hours
- Seed the new sponge: Position both sponges side-by-side in the new tank
- Monitor ammonia: Test daily until levels drop below 0.25 ppm (usually 7-10 days)
Expert Note: Never clean both sponges simultaneously. After 2 weeks, remove the donor sponge and clean the new one only when flow drops. This transfers billions of bacteria instantly—no chemicals or waiting required.
When Sponge Filters Fail: Critical Limitations to Know
Despite their strengths, sponge filters have hard limits. Avoid these scenarios:
- Heavy waste tanks: Goldfish or cichlid setups produce waste faster than sponges can trap it—pair with weekly gravel vacuuming
- Chemical filtration needs: Cannot remove medications or dissolved organics—requires carbon filter add-ons
- High-flow species: Hillstream loaches or river fish need powerheads for proper current
- Floating debris: Won’t capture surface film—use a skimmer net daily
Pro Tip: In planted tanks, position the sponge near the substrate to capture falling debris while avoiding leaf blockage. For tanks with messy eaters, add a pre-filter sponge over the main unit.
Pro Tips for Maximizing Sponge Filter Performance
Veteran aquarists extend sponge life and efficiency with these field-tested tricks:
- Double-sponge hack: Stack two identical sponges for 200% bacterial surface area (ideal for fry tanks)
- Flow booster: Wrap airline tubing around the lift tube base to increase suction by 30%
- Silent operation: Submerge the air pump in a separate container to eliminate vibration noise
- Emergency fix: Rub a drop of cooking oil on check valve seals to stop air leaks
Critical Reminder: Always unplug the air pump before handling sponges. Sudden airflow stops can cause dangerous pressure shifts in the tubing.
Sponge filters deliver unmatched safety for delicate aquatic life when used correctly—but their power lies in proper setup and maintenance. By choosing the right size, installing check valves religiously, and cleaning only in tank water, you create a self-sustaining ecosystem where beneficial bacteria thrive. Remember: the slimy biofilm on your sponge isn’t dirt—it’s your tank’s life support system. For new tanks, always seed with established sponge media to skip dangerous cycling periods. If you’re setting up a betta bowl, shrimp tank, or nursery, this simple device solves 90% of beginner filtration disasters. Ready to transform your aquarium? Plug in that air pump today and watch your aquatic community flourish.