How to Remove Haze from Acrylic Aquarium
That frustrating cloudiness creeping across your acrylic aquarium view frustrates every aquarist who treasures a clear window into their underwater world. When mineral deposits or fine scratches create a persistent haze, your vibrant fish and lush plants become frustratingly obscured. Unlike glass tanks, acrylic demands specialized care to remove haze from acrylic aquarium surfaces without causing irreversible damage. The good news? Most haze issues can be resolved with household items or targeted polishing techniques—no expensive replacements needed. This guide reveals exactly how to diagnose and eliminate haze while protecting your tank’s integrity, whether you’re dealing with a $20 Craigslist find or a premium custom setup.
Pinpointing Your Acrylic Haze Culprit: Minerals vs. Micro-Scratches
Why vinegar removes some haze but leaves stubborn cloudy patches
Your first critical step is identifying whether you’re battling mineral deposits or micro-scratches—because using the wrong method worsens the problem. Press your fingernail gently against the hazy area. If the film flakes off like chalky residue (common near waterline edges), you’re facing mineral deposits from hard water evaporation. These appear as powdery white streaks easily dissolved by acids. But if your nail merely drags across the surface without removing haze, you’re dealing with light-scattering micro-scratches from improper cleaning tools. This distinction determines your entire approach—never sand mineral deposits or apply acid to scratched areas.
Spot-test to confirm the haze type before proceeding
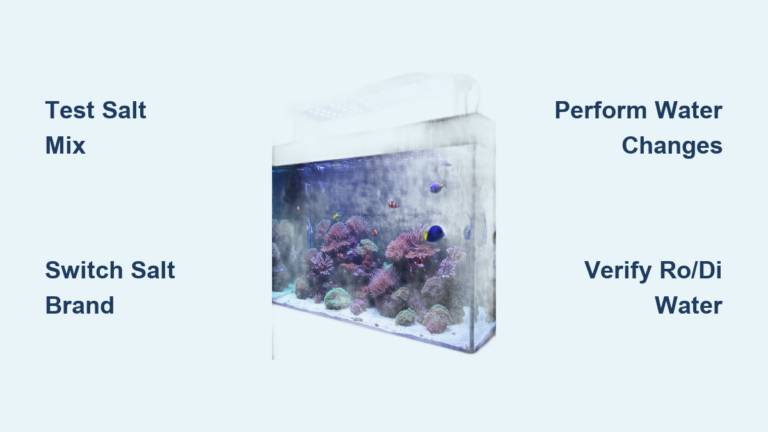
Dampen a cotton swab with white vinegar and rub a hidden corner of your tank for 30 seconds. Mineral haze dissolves within minutes, revealing clear acrylic beneath. Scratch-induced haze remains completely unaffected. For tanks where some haze lifts with vinegar but stubborn patches persist (like the 15-gallon Craigslist tank in our knowledge base), you’re facing a hybrid problem: mineral deposits trapped inside micro-scratches. This explains why fingernails can dislodge bits—the minerals sit in the scratch grooves but won’t vanish until you address both issues sequentially.
Essential Supplies for Safe Acrylic Haze Removal
Household solutions for mineral deposits (no special tools needed)
Skip commercial cleaners—distilled white vinegar dissolves 90% of mineral haze safely. You’ll need:
– 50/50 vinegar-distilled water mix (prevents mineral redeposit)
– Soft microfiber cloths (zero lint, unlike paper towels)
– Plastic credit card scraper (never metal!)
– Spray bottle for even application
Professional-grade tools only for scratch-induced haze
If vinegar tests fail, prepare a multi-stage polishing kit:
– Wet/dry sandpaper (1000, 1500, 2000, 2500 grit)
– Finesse-It II or Novus plastic polish (not automotive compounds)
– Variable-speed buffer (under 1,200 RPM to prevent melting)
– Isopropyl alcohol (90%+ for final residue removal)
Critical safety gear often overlooked
Gloves and goggles are non-negotiable when using acids or buffers. Acrylic dust inhalation during sanding causes respiratory irritation, while muriatic acid splashes (for extreme limescale) require immediate eye flushing. Work outdoors or in ventilated areas—never risk fumes near your aquatic life.
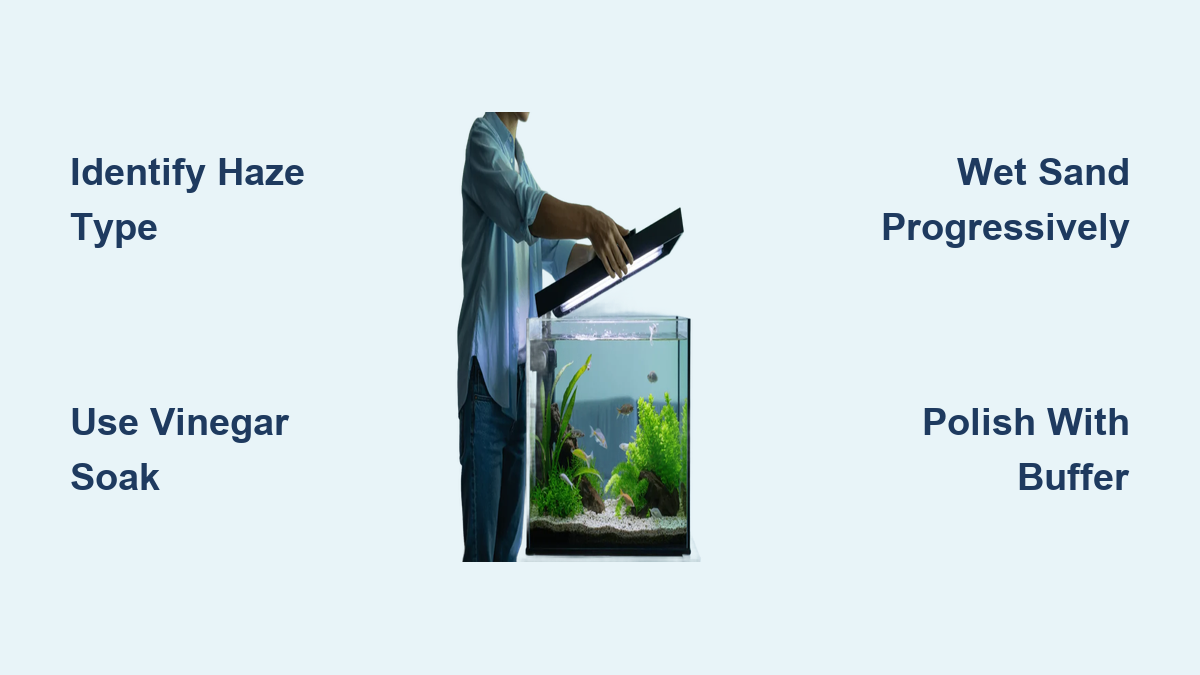
Step-by-Step Haze Elimination Process
Diagnose and Prep Your Tank Surface
Drain water below the hazy area. Wipe the section with isopropyl alcohol to remove oils—this reveals true haze severity. For hybrid cases (minerals in scratches), always remove mineral deposits first. Vinegar left on acrylic longer than 20 minutes etches the surface, worsening cloudiness. Never use baking soda—it’s abrasive enough to create new micro-scratches on acrylic.
Remove Mineral Deposits with Vinegar Soak
Soak a microfiber cloth in vinegar solution and press it against the haze for 10-15 minutes. For thick deposits, lay plastic wrap over the cloth to prevent evaporation. Gently scrape residue with a credit card held at 30-degree angle—never vertical pressure. Rinse with distilled water immediately after haze dissolves; tap water minerals redeposit during drying. If vinegar fails after three attempts, switch to 10% muriatic acid solution (1 part acid to 9 parts water) for 60 seconds max—rinse 5x with clean water. Note: Muriatic acid requires full-face shield and rubber apron; skip if uncomfortable.
Repair Scratch-Induced Haze Through Wet Sanding
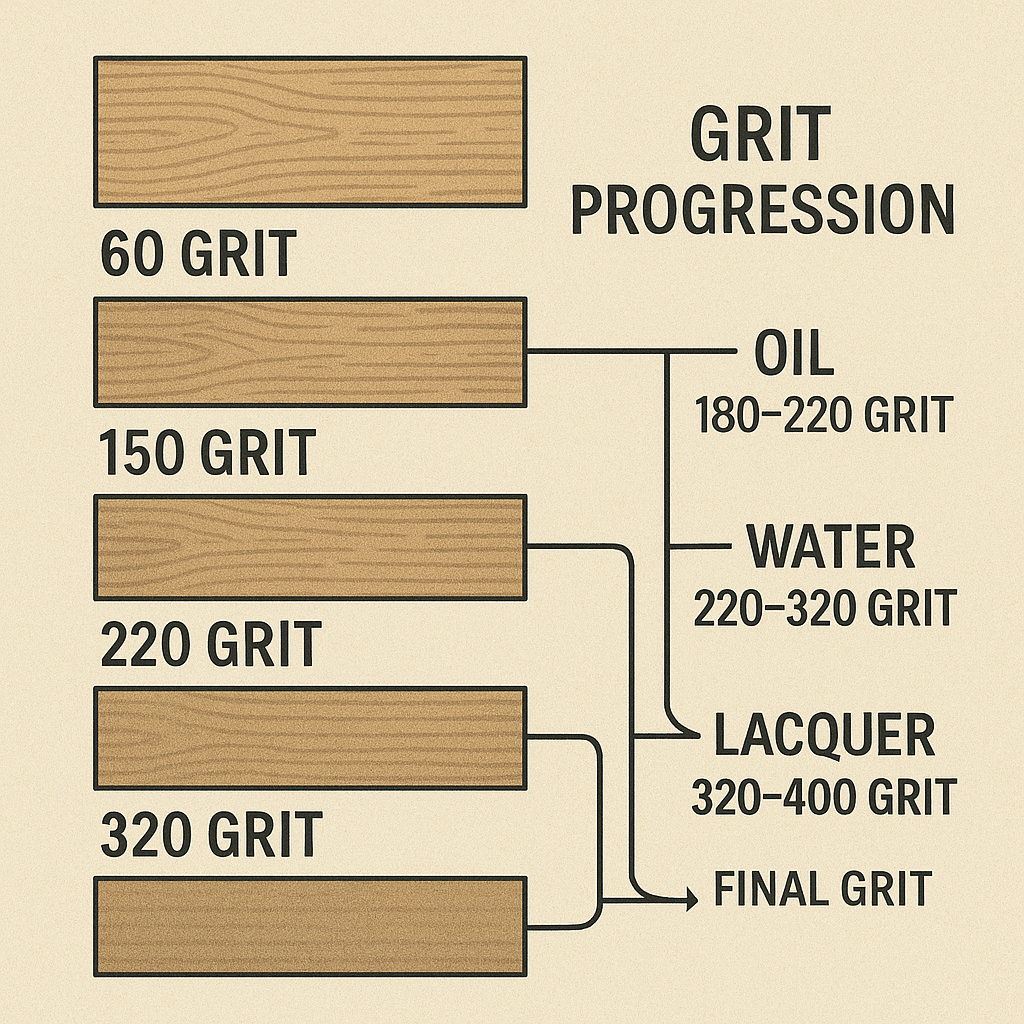
Why skipping grit progression ruins your tank
Starting with 2000-grit on deep scratches creates heat buildup that melts acrylic. Always begin with the coarsest grit that removes deepest scratches (e.g., 1000-grit for visible grooves). Sand in straight lines—not circles—with constant water flow. After each grit change, wipe the area with alcohol to check progress. Stop when surface feels uniformly smooth but still cloudy—this “frosted” appearance means you’re ready for polishing. Rushing stages (e.g., jumping from 1000 to 3000 grit) leaves visible sanding lines that require restarting the process.
Polish to Optical Clarity with Precision Buffing
Apply plastic polish to a lambswool buffing pad on your variable-speed buffer set to 800 RPM. Work in 6-inch sections using overlapping figure-8 motions. Apply firm, consistent pressure until polish dries to a haze—this takes 2-4 minutes per section. Wipe residue with alcohol-dampened cloth. Repeat with finer polish (Novus #2 then #1) until the surface reflects light like glass. Pro tip: Hold a flashlight sideways across the surface to spot missed areas—light glints reveal remaining imperfections.
Preventing Haze Recurrence: Daily Habits That Protect Clarity
The weekly cleaning ritual that avoids future haze
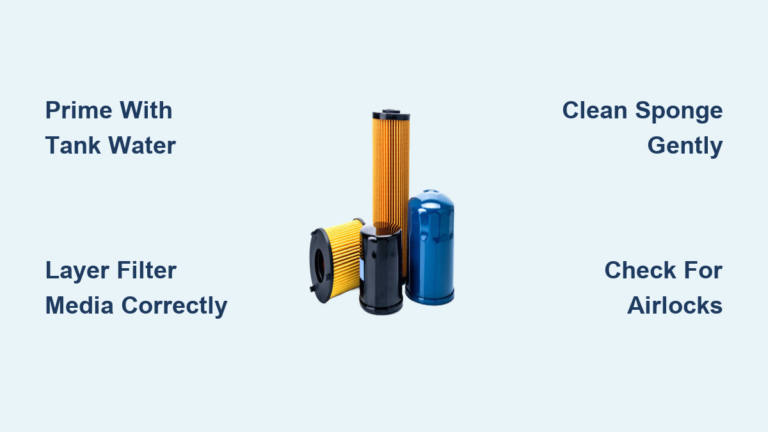
After water changes, wipe your acrylic with a microfiber cloth dampened only with tank water. This removes biofilm before it hardens into mineral deposits. Never use paper towels, sponges, or glass cleaners—ammonia in Windex crazes acrylic within weeks. For stubborn algae, use a dedicated acrylic-safe magnetic scraper with soft silicone edges.
Water chemistry adjustments that stop mineral buildup at the source
If your vinegar treatments become monthly chores, install a reverse osmosis filter for top-off water. Hard water spots reappear in days without this step. Add 1 tablespoon of white vinegar per 10 gallons to your tank monthly—it dissolves nascent mineral deposits without harming fish. Test your tap water’s KH level; values above 8°dKH guarantee recurring haze.
Critical Mistakes That Destroy Acrylic Tanks
Why fingernail scraping backfires long-term
That satisfying “scrape-off” feeling when removing mineral deposits? It’s grinding minerals deeper into micro-scratches while creating new abrasions. What looked like removable film becomes permanent haze within weeks. Always dissolve minerals chemically—never mechanically—on acrylic.
The buffer speed that melts your aquarium
Exceeding 1,500 RPM generates heat that softens acrylic, causing irreversible rippling. Test your buffer speed on scrap acrylic first—run it dry for 10 seconds. If the surface develops a waxy sheen, reduce RPM by 20%. Never use rotary tools like Dremels; their fixed high speed guarantees damage.
When to abandon DIY and call a pro
If haze covers over 30% of viewing panels or deep scratches catch your fingernail, professional polishing costs $50-$150—less than replacing the tank. Attempting advanced repairs on structural panels (seams, corners) risks catastrophic leaks. For tanks under $50 (like the 15-gallon example), weigh repair costs against replacement value—sometimes accepting minor haze is smarter.
Final Note: Consistent haze prevention beats intensive removal—integrate weekly vinegar-rinse cloth wipes and RO water top-offs to maintain optical clarity. For most acrylic aquariums, a 15-minute vinegar soak monthly eliminates 95% of mineral haze before it becomes visible. Remember: acrylic’s softness allows full restoration, but demands respect for proper techniques. By diagnosing haze accurately and matching solutions to its cause, you’ll preserve that breathtaking underwater view for years. Start with vinegar tonight—you’ll likely solve the problem before your tank finishes cycling.