How to Grow Elodea in Aquarium: Easy Tips
Your Elodea densa (Anacharis) stems keep floating to the surface no matter how deep you bury them. You’ve heard it’s impossible to plant this species without rot—but that’s a myth. This fast-growing oxygenator can transform your tank into a lush underwater forest when planted correctly, not just as a floating nuisance. In this guide, you’ll discover the exact planting technique that prevents stem decay while creating that coveted upright, jungle-like aesthetic. Forget generic advice—you’ll learn why burying 1-2 inches is the sweet spot for root development and how to position stems for maximum light exposure. Whether you’re battling algae on melting leaves or struggling with leggy growth, these proven methods work in sand, gravel, or nutrient substrates. Let’s fix your Elodea woes for good.
Plant Elodea Densa in Substrate Without Causing Stem Rot
Burying Elodea stems too deep is the #1 reason beginners see yellowing and decay. Unlike true rooted plants, Elodea doesn’t have basal roots—it develops fine white roots directly from stem nodes when anchored properly. This critical distinction explains why traditional planting methods fail.
Why Burying the Entire Stem Causes Decay
When you push stems completely into sand, the submerged portion suffocates. Without light exposure and water flow, that section enters anaerobic conditions where bacteria thrive. You’ll notice slimy, discolored stems within days as the buried tissue rots—but this doesn’t mean Elodea can’t be planted. The solution lies in strategic burial: Only the lowest 1-2 inches should touch substrate, keeping leafy sections fully exposed. This mimics how Elodea naturally anchors in wild riverbeds, where only lower nodes contact sediment.
Step-by-Step Substrate Planting Technique

1. Prepare the stem: Using sharp aquarium scissors, trim just below a leaf node (where side shoots emerge). This clean cut stimulates new root growth from the node.
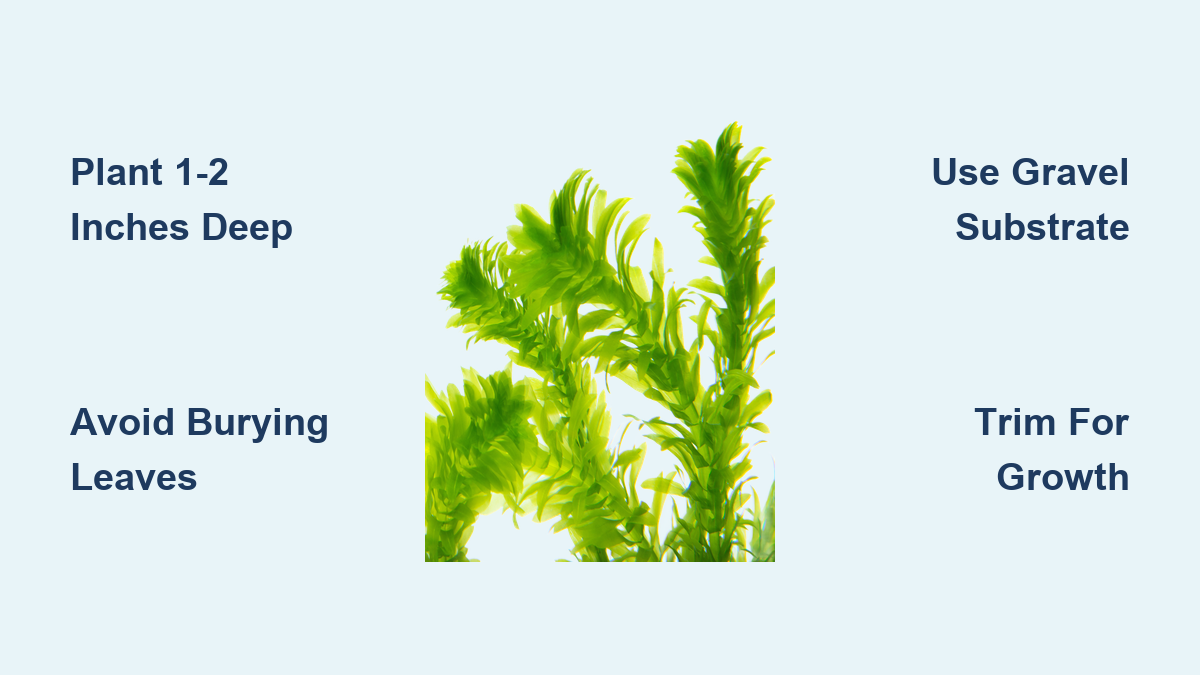
2. Insert carefully: With planting tweezers, gently push only the bottom 1-2 inches into your sand or gravel. Never bury leaves—any submerged foliage will decay and spread rot.
3. Space for growth: Position stems 1.5 inches apart to prevent shading. For background density, group 3 stems in a triangular pattern with tips angled toward light.
Pro Tip: After planting, tilt stems slightly so growth tips point upward. They’ll naturally reorient toward light within 24 hours while minimizing stress on new roots.
Let Elodea Float for Instant Coverage and Fry Shelter
Floating Elodea creates instant shade and security for baby fish—but overcrowding causes lower leaves to yellow from light deprivation. The key is managing stem density while leveraging its natural growth pattern.
How Floating Stems Develop Anchoring Roots
Simply drop healthy stems into your tank—they’ll immediately orient growth tips toward the light source. Within 7-10 days, fine white roots (up to 6 inches long) will trail downward seeking substrate. Do not force these roots into gravel. Floating roots filter water and provide ideal hiding spots for shrimp fry, but become problematic when tangled in filter intakes.
Preventing Shading with Strategic Trimming
When floating stems thicken into a dense mat:
– Identify problem zones: Look for yellowing leaves on lower stem sections (indicating light starvation)
– Trim excess growth: Cut top portions where stems reach 4-6 inches below water surface
– Replant cuttings: Use trimmed sections to fill sparse areas in your substrate planting zone
Warning: Never leave floating trimmings to decompose—they’ll spike ammonia levels. Remove excess cuttings immediately.
Critical Lighting Requirements for Healthy Elodea Growth
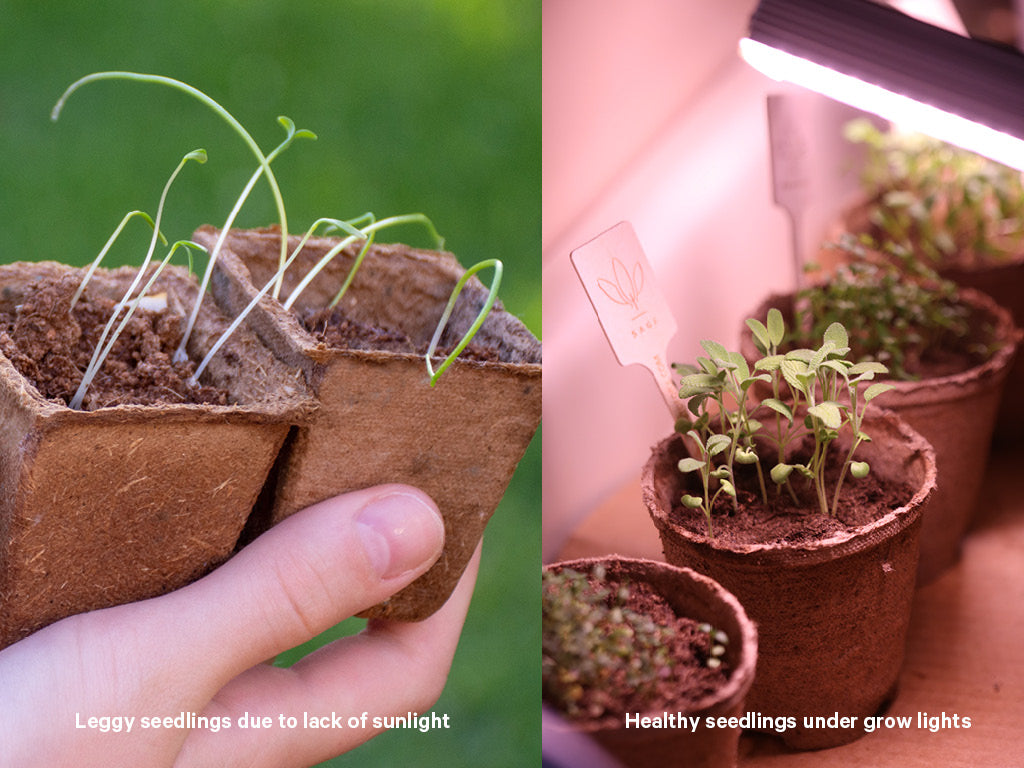
Insufficient light causes Elodea to stretch unnaturally with sparse leaves—a classic sign of light starvation. But overpowering your tank causes algae explosions on stems. The solution is targeted lighting intensity.
Why Moderate to High Light Prevents Leggy Growth
Elodea thrives under 2-3 watts per gallon of LED lighting. At this intensity:
– Stems develop compact leaf spacing (1/4 inch between nodes)
– Growth remains upright rather than horizontal stretching
– Photosynthesis outpaces algae colonization
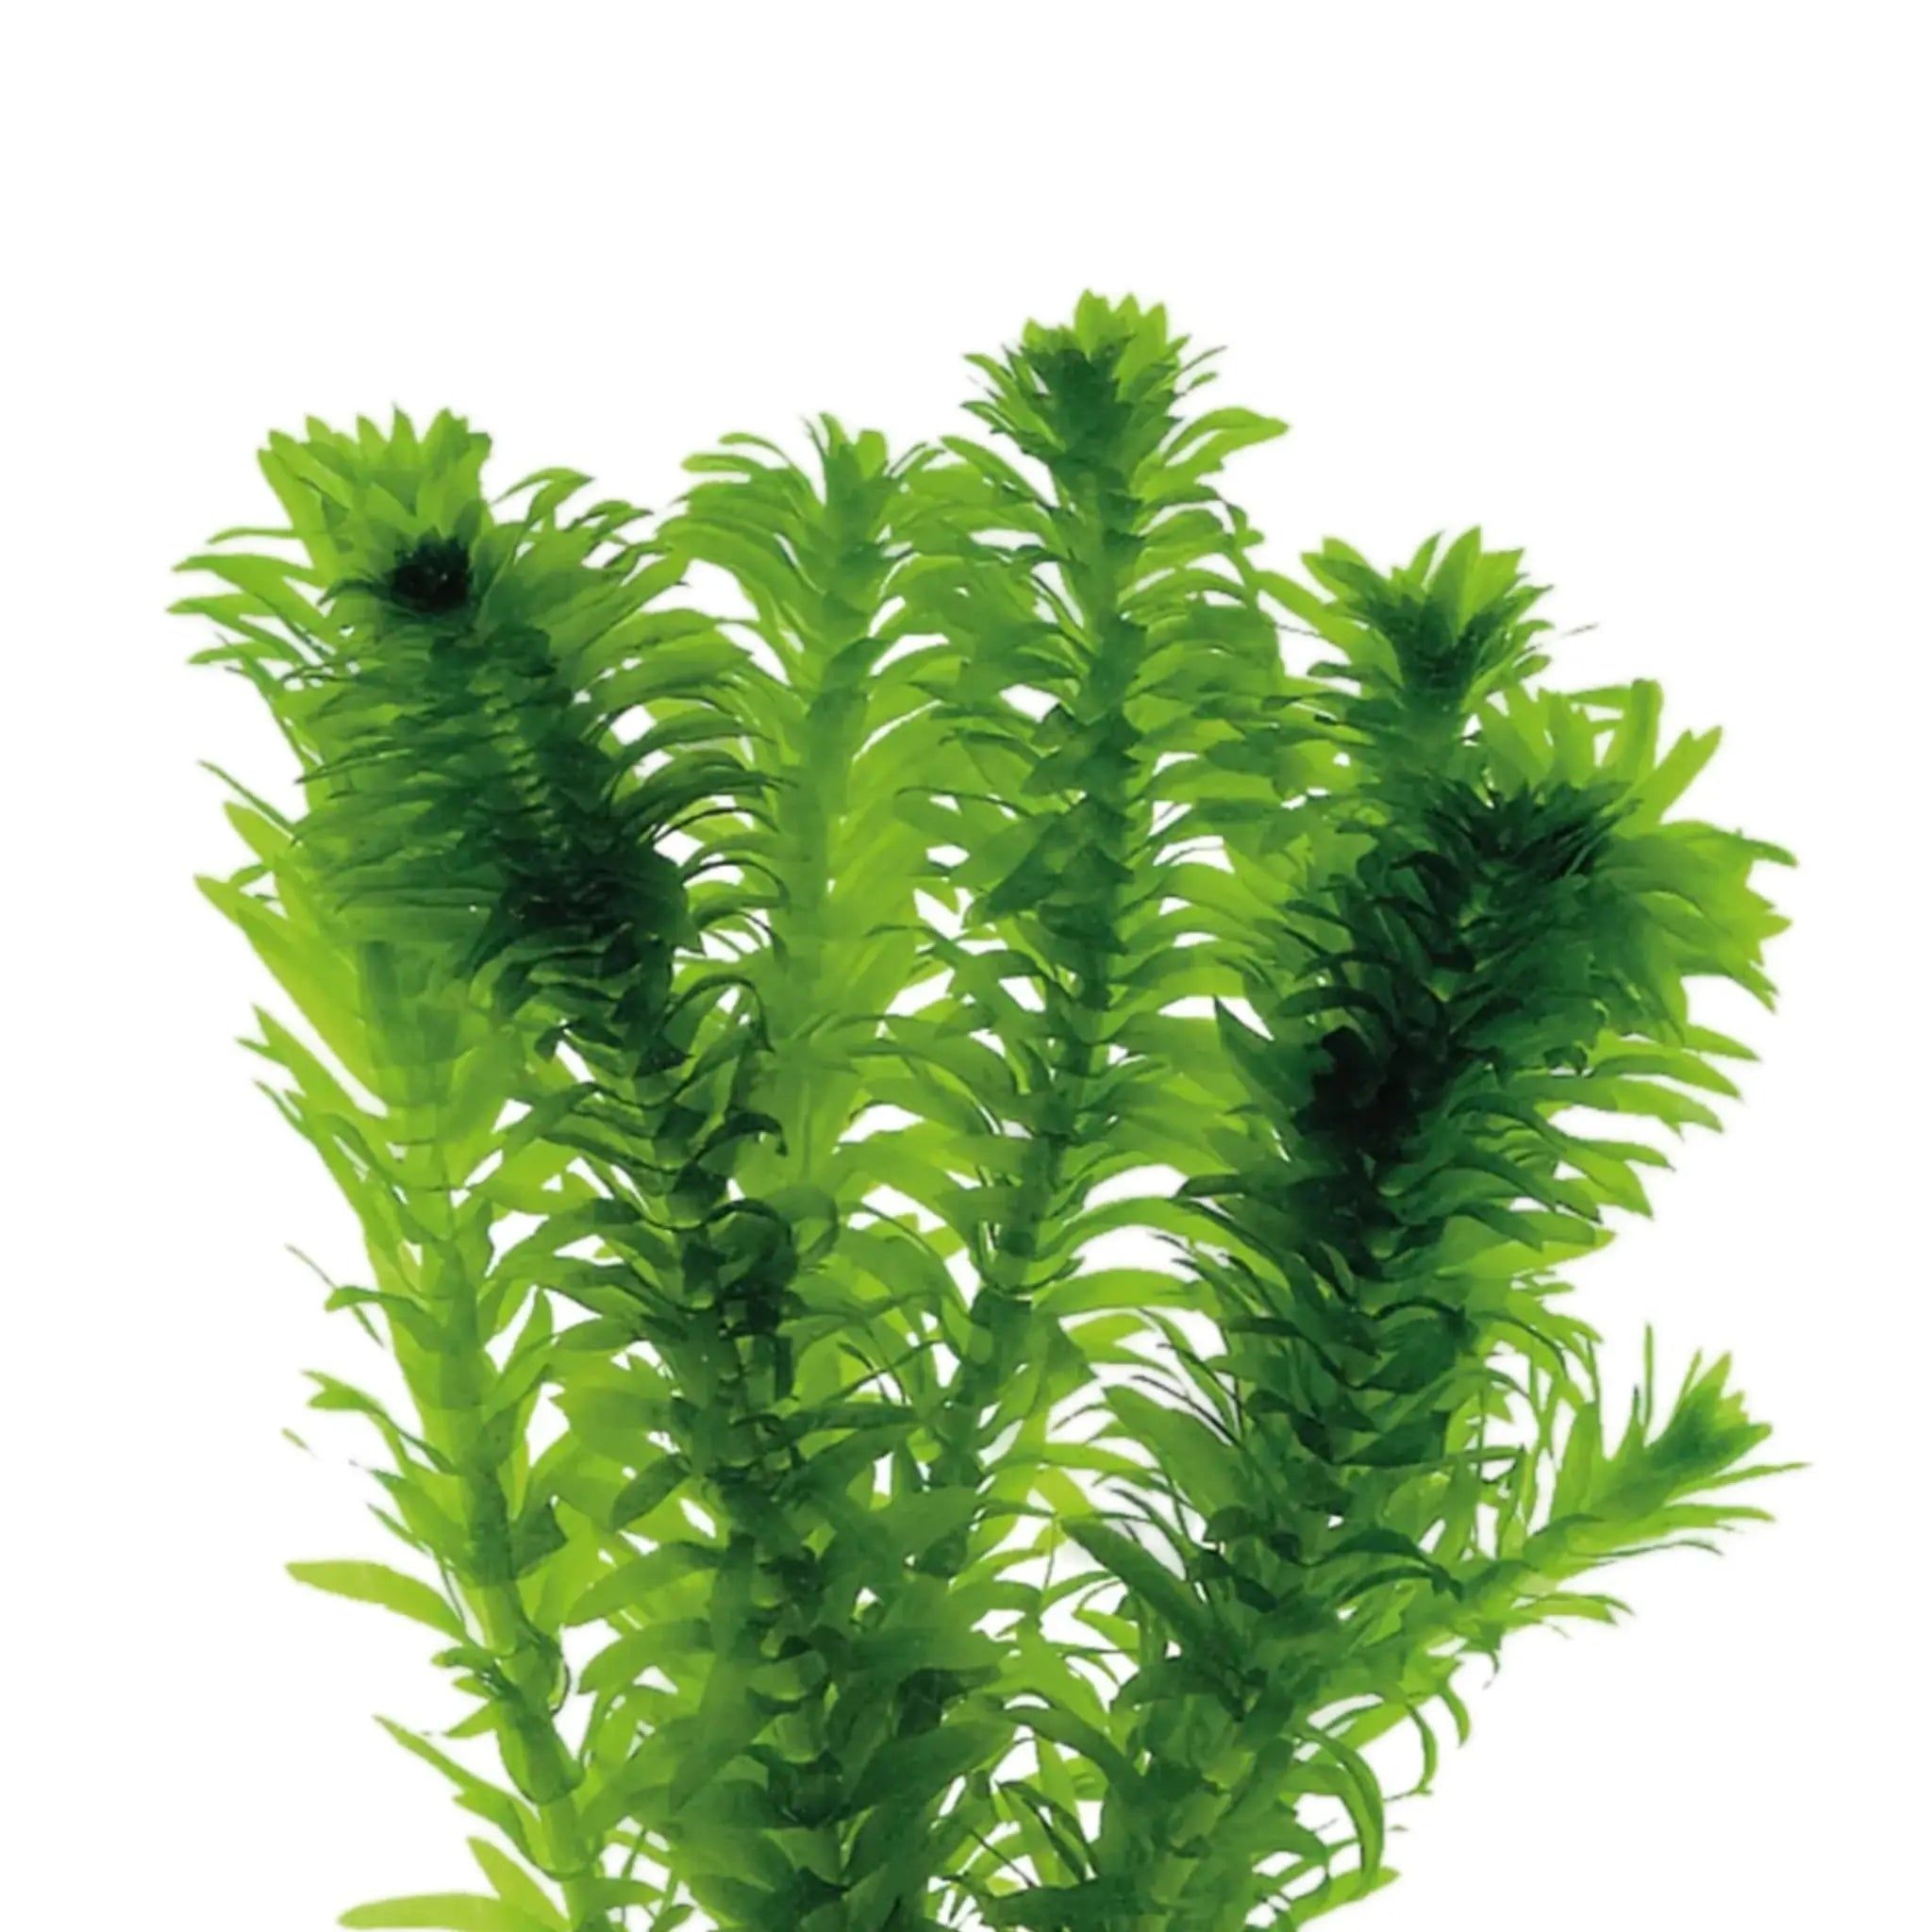
Visual Cue: Healthy stems have vibrant green leaves with no transparent sections. Pale or yellow leaves signal inadequate light.
Positioning Tips for Optimal Light Exposure
- For planted stems: Place in the mid-ground where light penetrates fully to substrate level
- For floating stems: Position under the brightest section of your fixture but leave 2-inch gaps between clusters
- Troubleshooting: If stems lean sideways, rotate your tank 180° daily for even exposure
Pro Tip: Run lights 8 hours daily—Elodea doesn’t need extended photoperiods. Longer cycles encourage algae without boosting growth.
Choosing the Best Substrate for Root Development
Sand is acceptable for Elodea but actively hinders root establishment compared to coarser options. The right substrate creates stability while preventing the decay that occurs in fine sediments.
Why Gravel Boosts Root Stability Over Sand

Fine sand compacts around Elodea stems, blocking oxygen exchange to developing roots. In contrast:
– 3-5mm gravel allows water circulation around buried nodes
– Nutrient-rich substrates (like aqua soil) provide trace elements for faster root growth
– Root development triples in gravel vs. sand within 3 weeks
Critical Note: Never use garden soil or clay substrates—they leach harmful compounds into water.
Nutrient-Rich Substrates for Faster Establishment
While Elodea absorbs nutrients through leaves, substrate contact accelerates growth:
1. Place root tabs 1 inch from planted stems (not touching)
2. Use substrates with iron content to prevent yellowing
3. Avoid fertilizers high in phosphates—they trigger algae on stems
Time Saver: Pre-soak nutrient substrates for 24 hours to prevent initial cloudiness.
Managing Water Flow to Prevent Stem Decay
Stagnant zones near the substrate create anaerobic pockets that rot buried stem sections. Proper flow oxygenates root zones while distributing nutrients—but excessive current damages delicate new growth.
Ideal Flow Rate for Planted vs. Floating Elodea
- Planted stems: Position near filter output for gentle flow (1-2 inches per second) over substrate
- Floating stems: Place in low-flow zones to prevent root tangles in intakes
- Troubleshooting: If bubbles form on leaves, flow is too strong—redirect with spray bars
Visual Cue: Healthy roots wave slightly in current. Motionless roots indicate stagnant decay zones.
Fixing Stagnant Zones Near Substrate
- Add a small powerhead aimed at tank bottom (set to lowest setting)
- Position stems near existing filter outflow using plastic mesh grid
- Vacuum substrate weekly around stems to remove detritus buildup
Warning: Never use gravel vacuums directly on Elodea roots—they’ll uproot new growth.
Debunking Common Elodea Planting Myths
Aquarists waste years believing Elodea can’t be planted due to widespread misinformation. Let’s dismantle the top myths holding back your tank’s potential.
“It’s Strictly a Floating Plant” Myth Busted
Elodea’s natural habitat includes both free-floating mats and rooted colonies in shallow streams. In aquariums:
– Planted stems grow 30% taller with denser foliage than floating counterparts
– Rooted plants absorb nitrates 40% faster improving water quality
– Upright growth creates visual depth impossible with floating mats
Proof: Science shows Elodea develops identical root structures whether floating or planted—the difference is stability.
Why Properly Planted Elodea Won’t Rot
Rot occurs only when:
❌ Stems buried beyond 2 inches
❌ Leaves trapped under substrate
❌ No water flow over buried section
When planted correctly:
✅ Roots form within 10 days
✅ Submerged nodes stay firm and green
✅ Growth accelerates vertically
Key Insight: The “rotting” myth stems from improper deep planting—not plant biology.
Troubleshooting Yellowing or Melting Elodea Leaves
Yellowing stems often get misdiagnosed as disease when the real culprit is planting depth or light issues. Fast correction prevents total plant collapse.
Identifying Rot from Improper Planting
True rot signs:
– Slimy texture on submerged stems
– Brown/black discoloration spreading upward
– Foul odor when removed
Not rot—just acclimating:
– Yellowing only on oldest leaves (bottom 20% of stem)
– Firm stem texture throughout
– New green growth at tips
Action Step: For true rot, immediately remove affected stems. For acclimation yellowing, trim only discolored leaves.
Fixing Light and Flow Issues in 72 Hours
- Day 1: Trim all yellowed sections above healthy nodes
- Day 2: Reposition stems to brighter zones with better flow
- Day 3: Add liquid carbon supplement to boost photosynthesis
Pro Tip: Float healthy cuttings during recovery—they’ll grow roots while parent plants stabilize.
Propagating Elodea: Cutting Stems for Explosive Growth
Elodea multiplies faster than any aquarium plant when cut correctly. One stem becomes ten in weeks—but mistakes create weak, slow-growing clones.
How to Take Cuttings Without Damaging Parent Plants
- Select stems with 6+ leaf nodes and vibrant green color
- Cut above a node using razor-sharp scissors (never tear)
- Keep cuttings submerged during transfer to prevent air embolism
Critical Rule: Never take more than 1/3 of a stem at once. Over-harvesting stresses the plant.
Floating vs. Planting New Cuttings for Best Results
- For rapid coverage: Float cuttings—they’ll double in size 40% faster than planted stems
- For structured growth: Plant cuttings immediately in gravel substrate
- Hybrid method: Float cuttings for 5 days until roots form, then plant for instant establishment
Time-Saver: Bundle 5 cuttings with dark thread to create instant thickets. Roots fuse within 2 weeks.
Elodea densa transforms from a frustrating floater into your tank’s powerhouse plant when you master these techniques. By planting only the bottom 1-2 inches in gravel substrate, you’ll trigger explosive upright growth that outcompetes algae and oxygenates water 24/7. Remember: yellowing stems signal planting depth errors—not plant failure—and strategic trimming turns problem growth into new plants. For immediate results, implement the floating-to-planting hybrid method using today’s cuttings. Within 3 weeks, you’ll have a dense, vibrant forest that makes fish hide naturally and keeps your water crystal clear. Ready to see real growth? Start with one stem using these steps tonight—your aquarium’s transformation begins now.