How to Use Airstone in Aquarium: Easy Setup Tips
That gentle cascade of bubbles isn’t just mesmerizing—it’s your aquarium’s lifeline. When installed correctly, an airstone oxygenates water for stressed fish, prevents deadly ammonia spikes, and creates currents that distribute heat evenly. But one backward check valve can flood your living room in 20 minutes or fry your pump overnight. This guide reveals the exact sequence to install your airstone safely—tested by thousands of aquarium owners who’ve avoided costly disasters. You’ll learn why that tiny black valve matters more than your pump and how to position your airstone for maximum oxygenation without disturbing delicate shrimp or plants.
Must-Have Gear for Airstone Installation (Beyond Just Tubing)
Skip this step, and you’ll face back-siphoning or pump failure within days. These five components work as a safety team:
- Check valve (non-negotiable): Prevents tank water from flooding your pump when it cycles off. Critical detail: Install it at or above your tank’s water line—never below.
- Control valve (T-valve): Your bubble dimmer switch. Rotate it to create subtle ripples for betta tanks or vigorous churning for goldfish.
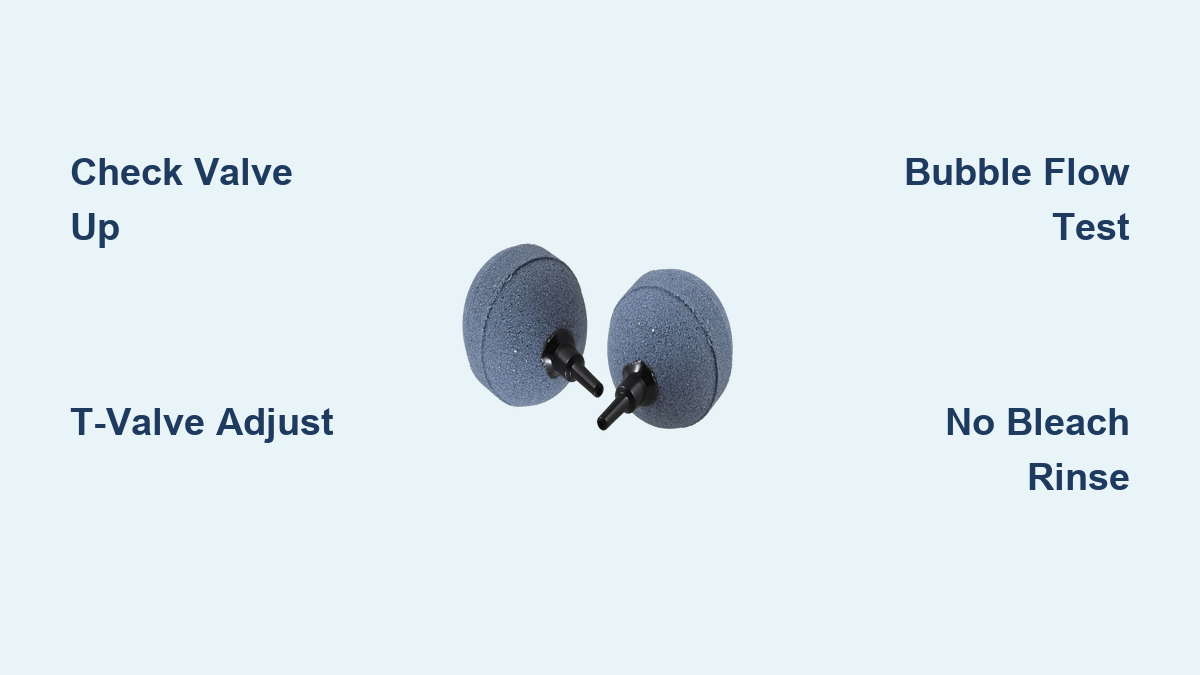
- Aquarium-safe airline tubing: Standard 3/16″ inner diameter. Trim with sharp scissors to avoid pinching.
- Vinegar soak container (for maintenance): For unclogging mineral deposits—no bleach allowed.
- Towel roll: Place under connections during first test. Water spills happen even with perfect setup.
Pro Tip: Buy a check valve with molded arrows. Unmarked valves cause 90% of beginner flooding errors.
Why Your New Airstone Needs Zero “Special” Cleaning
Stop rinsing with bleach—this harms tank bacteria. New airstones only require a 10-second tap water rinse to remove ceramic dust. That white residue isn’t mold; it’s manufacturing grit. Soaking in vinegar or bleach:
– Kills beneficial bacteria when added to tanks
– Leaves toxic residues in porous stone
– Weakens the airstone’s structure
Hold it under cool running water until the water runs clear. If bubbles seem weak after installation, it’s likely clogged tubing—not a dirty stone.
Installing the Check Valve: Your Flood Prevention Lifeline
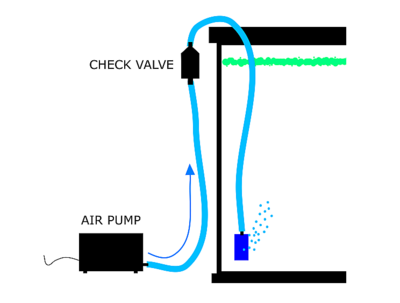
This $2 part saves $100 pumps. Directionality is non-negotiable:
How to Confirm Correct Check Valve Orientation
- Find the arrow: Must point away from the pump toward the tank. No arrow? Blow through both ends.
- The “blow test”: The end you blow through easily connects to the pump. The restricted end faces the tank.
- Water level rule: Mount the valve at or above your tank’s highest water line. Example: If water reaches 12″ high, the valve sits at 12″+.
Why this matters: When the pump stops, water seeks equilibrium. A valve below water level creates a siphon that drains your tank into the pump. Seen it happen? That gurgling sound means water’s already flooding your electronics.
Connecting Your Airstone in 6 Flood-Proof Steps
Follow this exact sequence—deviate, and water backflows:
Step 1: Anchor the Air Pump Above Tank Level
Place your pump on a shelf higher than the tank’s water line. Gravity prevents siphoning even if the check valve fails. Never tuck it under the stand where water can pool.
Step 2: Attach Control Valve 6 Inches from Pump
Slide the T-valve onto tubing 6″ from the pump outlet. This distance:
– Reduces vibration noise
– Creates slack if the pump shifts
– Allows easy access for adjustments
Critical: Don’t crimp tubing. Pinching cuts airflow by 70%.
Step 3: Install Check Valve Immediately After T-Valve
Connect the check valve directly to the T-valve’s outlet. Arrow points toward tank. Test direction by blowing through—air should flow freely toward the tank but not backward.
Step 4: Run Tubing Over Tank Edge
Loop tubing over the tank’s top edge before dropping down to the airstone. This creates an air gap that breaks siphons if valves fail.
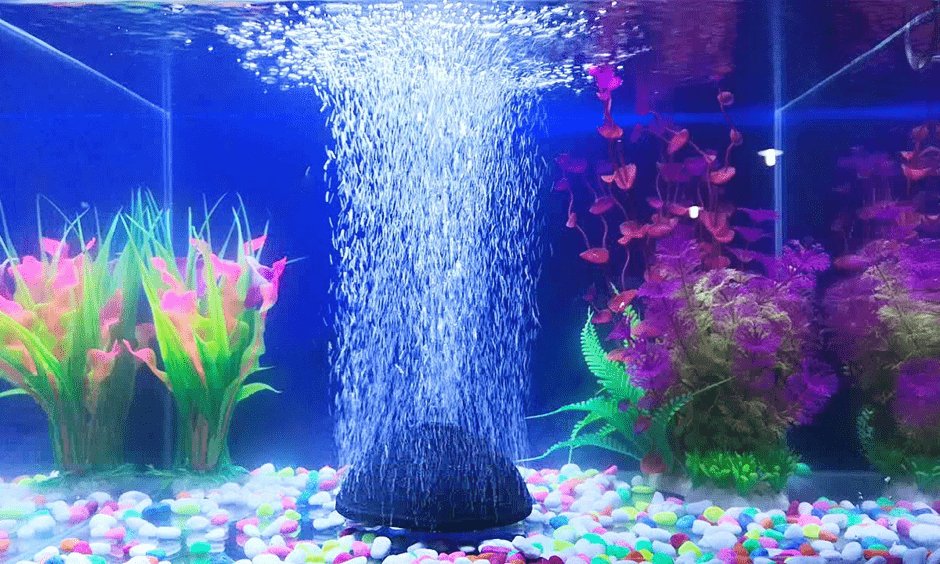
Step 5: Position Airstone Away from Sensitive Zones
Place the stone:
– 2+ inches from heater surfaces (prevents thermal shock)
– Opposite your filter outflow (creates cross-current oxygenation)
– On a ceramic tile if on gravel (stops clogging from substrate)
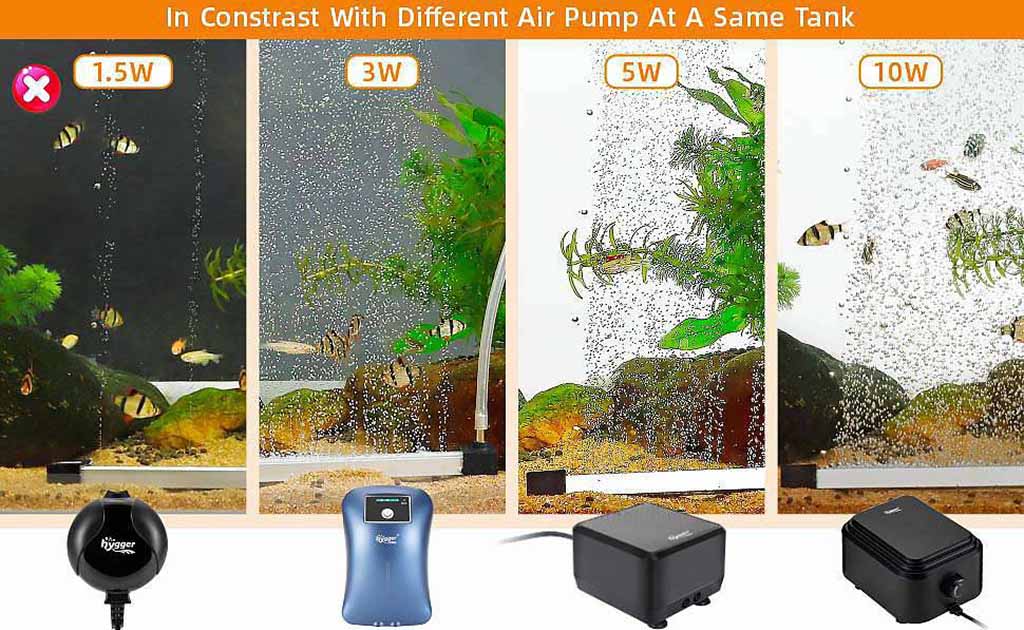
Step 6: Fine-Tune Bubbles with T-Valve
Turn valve counter-clockwise for more bubbles. Stop when:
– Surface shows gentle dimpling (not violent churning)
– Fish aren’t struggling against current
– Bubbles rise 6+ inches before popping
Time-Saver: Adjust during feeding—if flakes sink slowly, oxygenation is optimal.
Troubleshooting Dead Airstones in 90 Seconds
Why Your Airstone Suddenly Stops Bubbling
- No bubbles? Check valve backward (water flooded pump). Fix: Unplug pump, dry thoroughly, reinstall valve correctly.
- Weak bubbles? Clogged airstone or pump intake filter. Soak stone in vinegar 30 mins before blaming the pump.
- Gurgling sounds? Tubing kinked below water line. Re-route tubing over tank edge.
- Pump clicks on/off? Water entered pump housing. Replace check valve immediately.
Pro Fix for Clogged Stones: Soak in 1:1 vinegar/water mix for 30 minutes. Rinse 5x. Never use hydrogen peroxide—it degrades porous stone.
Optimal Airstone Placement for Different Tanks
Betta or Shrimp Tanks
- Use a pore diffuser stone (not coarse ceramic)
- Bury 1/3 under sand near back wall
- Set T-valve to barely visible bubbles (betta fins shouldn’t ripple)
Heavily Planted Tanks
- Position under driftwood root
- Run 24/7 at low flow—plants consume oxygen at night
- Avoid stones near stem plants (uproots delicate roots)
Goldfish or Cichlid Tanks
- Use dual coarse airstones at opposite corners
- Set to create surface agitation—breaks CO2 buildup from high waste
- Elevate on rock to prevent gravel clogging
Maintenance That Prevents Pump Burnout
Replace airstones every 3-6 months even if bubbling. Why? Mineral buildup:
– Reduces oxygen diffusion by 40% in 90 days
– Forces pumps to work harder (cutting lifespan in half)
Monthly Check:
1. Unplug pump, remove airstone
2. Soak in vinegar 15 minutes if bubbles weakened
3. Blow through tubing end—if resistance feels high, replace stone
Never do this: Run pump dry to “clear clogs.” This overheats motors in 2 minutes.
When to Skip the Airstone Altogether
Airstones aren’t universal fixes. Avoid them if:
– Tank has strong surface agitation from HOB filters
– You keep labyrinth fish (bettas, gouramis) in still-water setups
– Substrate is fine sand (stirs up clouds)
Better solution: Add a sponge filter—it provides aeration and biological filtration without disturbing substrate.
Your aquarium’s oxygen level hinges on three silent guardians: the check valve’s arrow direction, the T-valve’s precise adjustment, and the airstone’s strategic placement. One misplaced component turns your peaceful oasis into a disaster zone—but get it right, and you’ll see immediate changes: fish darting with renewed energy, crystal-clear water that stays stable during power outages, and that hypnotic bubble curtain working tirelessly while you sleep. Start with the check valve orientation test tonight. In 48 hours, you’ll notice fewer surface films and calmer fish behavior. For deeper water quality control, explore sponge filter setups next—they’re the stealth upgrade your airstone system secretly needs.