How to Clean Aquarium Bottom: Easy Steps
That murky film coating your aquarium bottom isn’t just an eyesore—it’s a silent threat to your entire ecosystem. When uneaten food, fish waste, and decaying plant matter sink into the substrate, they decompose into toxic ammonia and nitrites that can trigger deadly spikes within hours. Left unchecked, this debris creates anaerobic pockets where harmful bacteria thrive, turning your tank into a hazardous environment. Mastering how to clean bottom of aquarium substrates properly is non-negotiable for fish health and crystal-clear water. This guide cuts through the confusion with precise, substrate-specific techniques that remove waste without disrupting your tank’s delicate balance. You’ll learn to vacuum like a pro while preserving beneficial bacteria—keeping your aquatic habitat thriving.
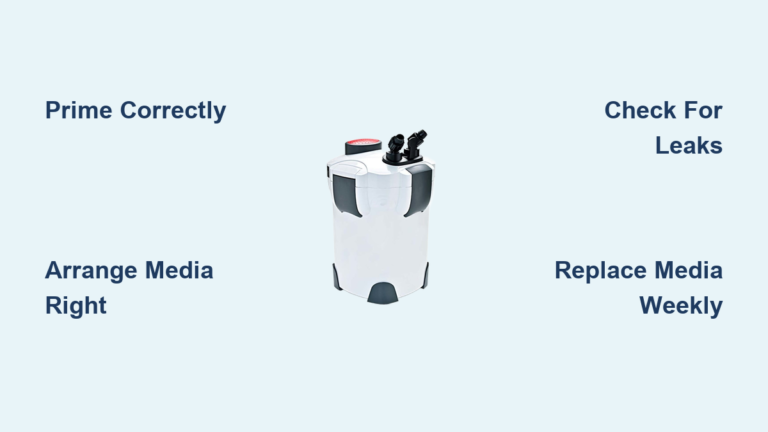
Must-Have Tools for Effective Aquarium Bottom Cleaning
Skip generic buckets and mismatched hoses—these specialized tools make how to clean bottom of aquarium sessions efficient and safe. A gravel vacuum with a 1-1.5-inch diameter siphon tube is your primary weapon, designed to lift debris while heavier substrate falls back. For sand substrates, pair this with a fluidized sand bed filter to trap fine particles without clouding water. Never use household buckets; dedicate a 5-gallon aquarium-only bucket for waste water to avoid chemical contamination.
Critical Accessories You Can’t Skip
- Algae pads designated for aquariums only: Standard pads contain soap residues that will poison fish.
- Turkey baster for planted tanks: Targets debris between delicate roots without uprooting plants.
- Water conditioner: Always treat replacement water to neutralize chlorine before adding it post-cleaning.
- Aquarium-safe credit card: Gently lifts algae from acrylic tanks without scratches (never use razors on acrylic).
Pro Tip: Store your gravel vacuum disassembled with its tube elevated. This prevents biofilm buildup in crevices that could reintroduce bacteria during your next cleaning session.
How to Clean Gravel Substrate: Step-by-Step Vacuuming Without Damage
Gravel traps debris deep in its layers, but aggressive vacuuming destroys beneficial bacteria colonies. Follow this precise method to remove waste while preserving your tank’s biological balance.
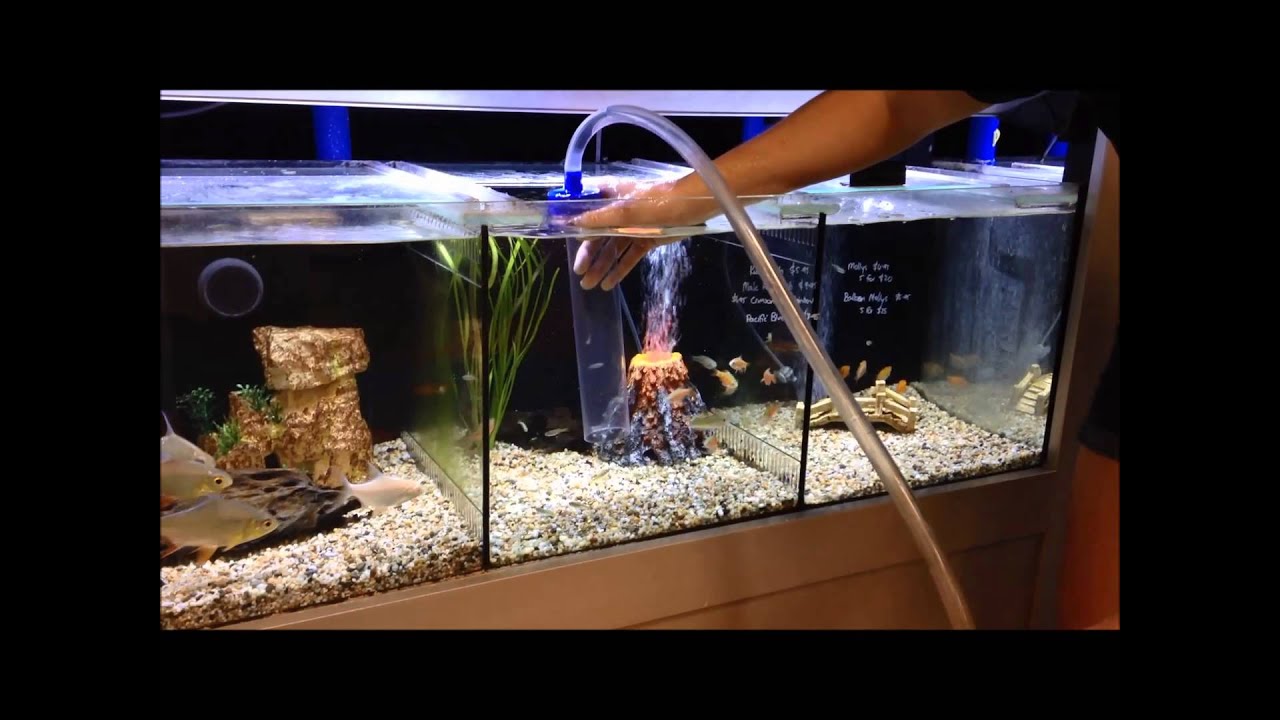
Starting Your Siphon Correctly
Place your clean bucket below the aquarium’s waterline. Submerge the entire siphon tube, then suck gently on the hose end until water flows. Crucial step: Position the tube over the bucket before water exits the hose to avoid spills. If using a battery-operated vacuum, prime it by squeezing the pump 5-6 times until water jets out.
Vacuuming Technique for Maximum Waste Removal
Push the bell-shaped end 1-2 inches into the gravel, creating a gentle swirl that lifts debris. Work in 6×6 inch grid sections—this prevents missing spots. You’ll see dark waste clouds rise while clean gravel settles back. Never vacuum deeper than 1 inch; this disturbs anaerobic layers that release toxic hydrogen sulfide when agitated. For coarse gravel (3-5mm), insert the tube fully; for fine gravel (1-2mm), use shallow plunges to avoid sucking out small stones. Replace only 15-25% of tank water per session to maintain stable parameters.
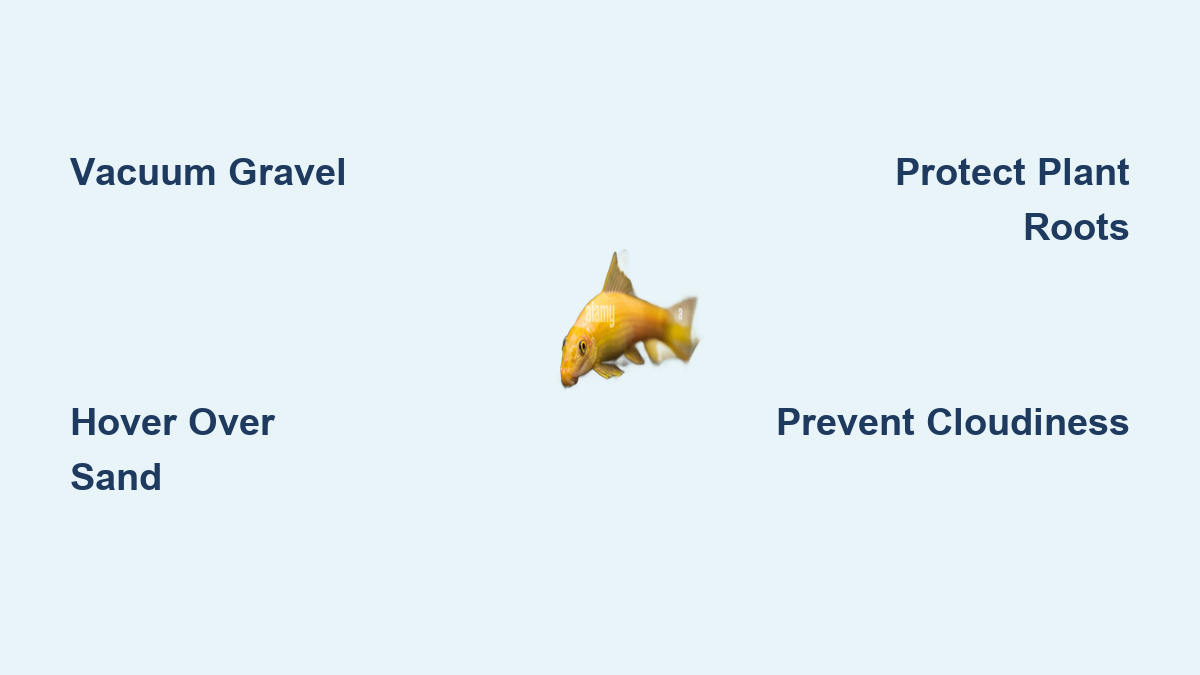
Safe Sand Substrate Cleaning: Avoiding the Cloudy Water Nightmare
Sand’s fine particles turn tanks murky within seconds if vacuumed incorrectly. The hover method prevents this by targeting waste without disturbing the substrate bed.
Perfecting the Hover Technique
Hold the siphon tube’s bell end ½ to 1 inch above the sand surface—not touching it. Slowly sweep side-to-side while kinking the hose with your thumb to reduce suction. Debris floats upward while sand remains undisturbed. For stubborn waste, gently stir the top ¼ inch of sand in a 3-inch patch using the tube’s edge, then immediately siphon the released particles. If cloudiness occurs, stop siphoning and wait 30 minutes for particles to resettle before continuing.
Troubleshooting Sand-Specific Issues
- Persistent cloudiness: Add filter floss to your mechanical filtration to capture suspended particles.
- Algae on sand: Hover the siphon over affected areas while using a credit card to loosen stubborn patches first.
- Deep sludge: Vacuum the same spot twice—first to lift debris, then again after a 10-minute settling period.
Planted Tank Substrate Cleaning: Protecting Roots While Removing Waste
:strip_icc()/GettyImages-993654368-e1cf7ab63ccd4c26a882a596ac7bb5c5.jpg)
Vacuuming around live plants requires surgical precision. Standard gravel vacs will uproot delicate stems and damage root systems, so modify your approach.
Root-Safe Vacuuming Protocol
Use airline tubing (3/16-inch diameter) attached to your siphon hose for micro-targeting. Insert the tube only into open substrate areas between plants—never within 2 inches of root zones. For dense carpet plants like Monte Carlo, hover the siphon 1 inch above the surface while directing flow away from stems. Critical: Vacuum only 25% of the tank bottom per session, rotating sections weekly to avoid disrupting bacterial colonies. After cleaning, insert root tabs 1-2 inches deep in disturbed areas using a plastic chopstick.
Spot-Cleaning Dense Plant Growth
- Isolate problem areas with a plastic divider (like a cut soda bottle)
- Use a turkey baster to blast debris toward a waiting siphon
- Target only visible waste—don’t vacuum healthy substrate near roots
- Add liquid fertilizer after cleaning to replenish nutrients
Fixing Algae and Debris Buildup on Aquarium Bottom
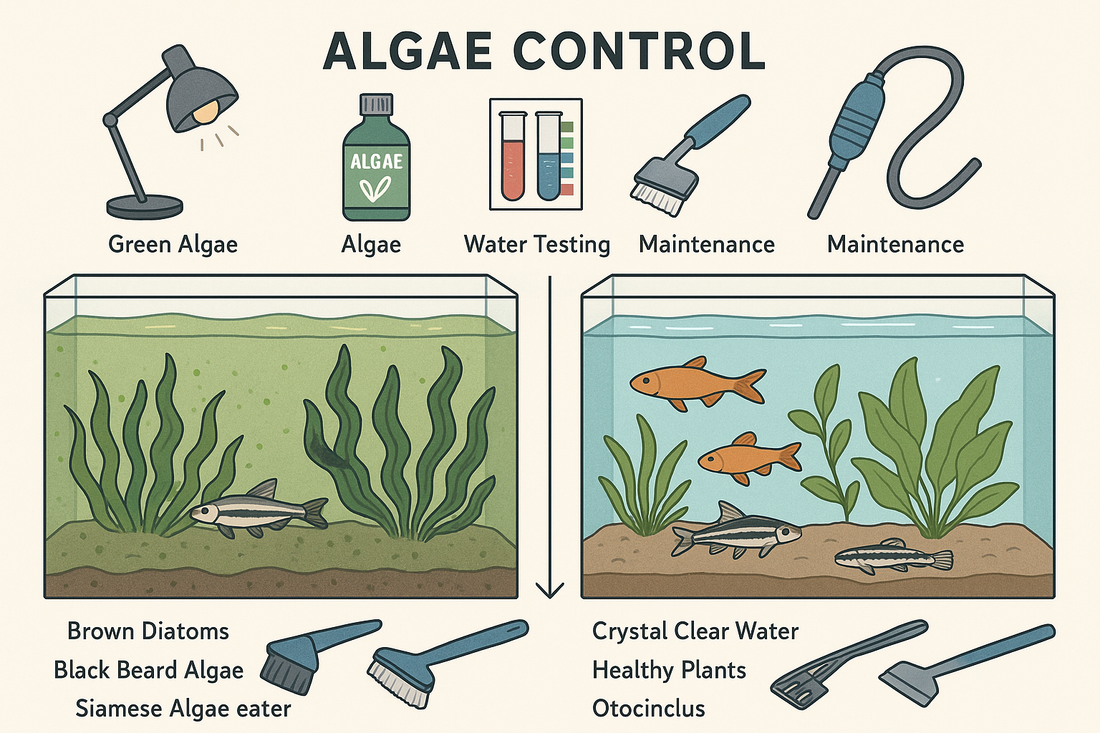
Brown diatom patches or green slime indicate underlying imbalances. Address both the symptom and cause with these targeted fixes.
Emergency Algae Eradication
For blue-green algae (cyanobacteria), apply 3% hydrogen peroxide with a pipette at 1ml per 10 gallons directly onto affected substrate. Wait 15 minutes, then siphon the treated area. Never exceed this dose—it kills beneficial bacteria. For persistent brown algae, add a nerite snail (one per 5 gallons) that grazes substrate without reproducing in freshwater.
Sludge Removal Protocol
- Vacuum the sludge patch at full suction
- Immediately back-flush your filter with tank water
- Add API Stress Zyme to break down residual organics
- Install a pre-filter sponge on intake tubes to catch future debris
Prevent Substrate Buildup: Daily Maintenance Habits
The best how to clean bottom of aquarium strategy is preventing messes before they happen. These habits slash cleaning time by 70%.
Feeding Adjustments That Reduce Waste
Feed in 2-minute intervals twice daily, removing uneaten food after 5 minutes with a fine net. Switch to sinking pellets for bottom feeders—floating flakes decompose faster on contact with substrate. For tanks with messy eaters (like goldfish), use a feeding dish to contain spills.
Essential Clean-Up Crews
- Amano shrimp: One per 3 gallons devours algae and detritus
- Corydoras catfish: School of 6 sifts gravel without uprooting plants
- Malaysian trumpet snails: Burrow through sand, aerating anaerobic zones
Never rely solely on clean-up crews—they supplement but don’t replace manual cleaning.
Troubleshoot Smelly or Cloudy Substrate After Cleaning
Unexpected issues post-cleaning signal deeper problems. Diagnose and fix them fast.
Rotten Egg Smell (Hydrogen Sulfide)
This foul odor means anaerobic pockets were disturbed. Immediately siphon the affected area while adding Seachem Stability to replenish bacteria. For recurring smells, vacuum deeper (2 inches) in that section during your next cleaning to eliminate dead zones.
Persistent Cloudiness Solutions
- Within 1 hour: Normal—debris will settle. Ensure filter is running.
- Beyond 4 hours: Replace 25% of water with fresh conditioned water. Add filter floss to mechanical media.
- With ammonia spike: Dose with Prime and skip feeding for 24 hours.
Pro Tip: If cloudiness follows sand cleaning, reduce siphon suction by elevating your waste bucket 6 inches closer to tank level.
Mastering how to clean bottom of aquarium substrates transforms maintenance from a chore into a precise science. By using the right tools for your substrate type, avoiding over-vacuuming, and implementing daily prevention habits, you’ll maintain pristine conditions where fish thrive. Remember: consistent 15% weekly water changes with spot vacuuming beat infrequent deep cleans that shock your ecosystem. For immediate next steps, check your filter intake for debris buildup—it’s often the hidden cause of substrate problems. Your aquarium’s health starts from the bottom up.