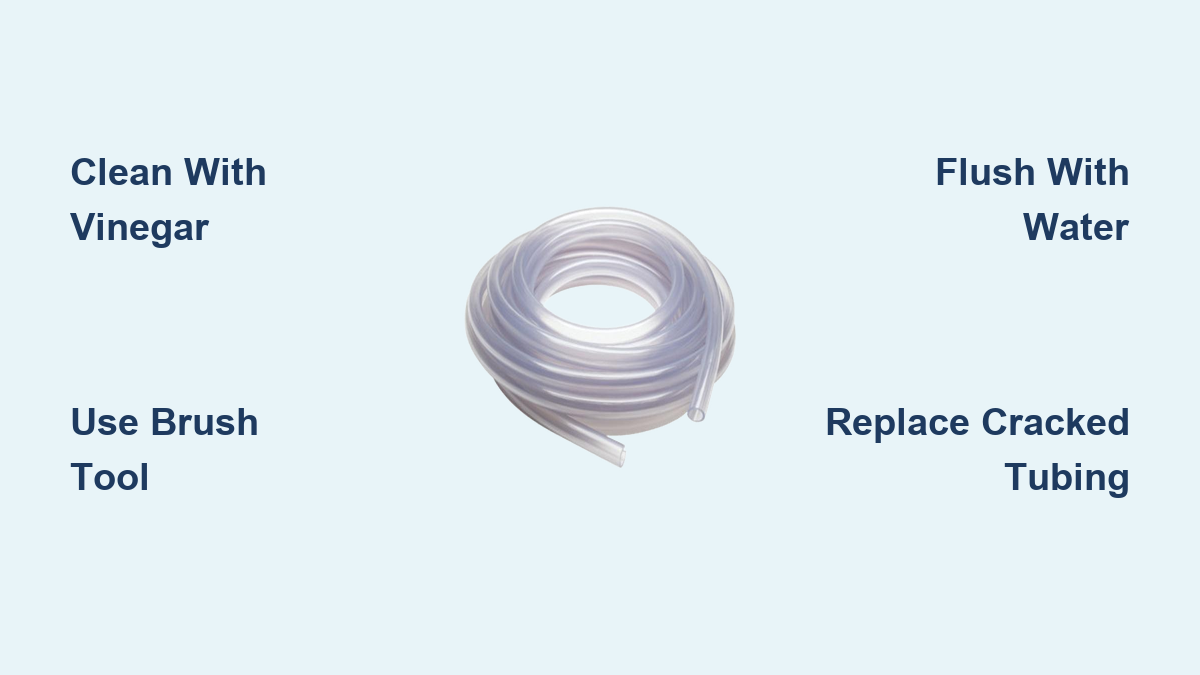
How to Clean Aquarium Tubing: Easy Steps
That frustrating gurgle from your filter? The weak bubble stream from your air stone? It’s likely your aquarium tubing screaming for attention. When algae, mineral deposits, or biofilm choke your tubing, water flow drops by 30-50% within weeks—suffocating beneficial bacteria and stressing fish. How to clean aquarium tubing isn’t just about aesthetics; it’s critical for oxygen exchange, toxin removal, and preventing deadly ammonia spikes. I’ve seen tanks crash because owners ignored this 5-centimeter section of plastic. This guide reveals field-tested methods to clear stubborn blockages using household items, plus pro tricks to make cleaning take half the time. You’ll learn exactly which vinegar solution dissolves salt creep without harming silicone, how to deep-clean ribbed canister filter lines in 8 minutes, and when replacement beats scrubbing.
Spot Clogged Tubing Before Your Filter Fails
Don’t wait for equipment failure—catch tubing issues early with these specific visual and auditory cues during your weekly water changes:
- Flow Rate Drop: Measure output by timing how long it takes to fill a cup. A 20%+ slowdown means algae or biofilm is restricting flow. Pro Tip: Mark your filter output tube with tape at the normal water level—any drop becomes instantly visible.
- Algae “Fuzz” on Interior Walls: Shine a flashlight through clear tubing. Green fuzz or brown slime coating the inside (not just surface stains) requires immediate action. Opaque tubing users: check connections where light enters.
- Air Line Weakness: For airstones, count bubbles per second. Fewer than 60 bubbles/minute in a standard 10-gallon tank indicates clogged airline tubing.
- Crunching Sounds: When gently bending tubing, a brittle crack means chemical degradation from tank additives or age—replace immediately to avoid leaks.
Ignoring these signs risks catastrophic filter shutdown within 72 hours. Reduced flow allows ammonia to accumulate 3x faster, turning your tank into a toxic environment. I’ve diagnosed dozens of “mystery fish deaths” traced back to tubing clogs smaller than a grain of rice.
Essential Tubing Cleaning Tools That Actually Work

Skip expensive gadgets—these proven supplies tackle 95% of clogs. Never use soap on tubing contacting tank water; residue kills fish within hours.
Critical Cleaning Kit
For all tubing types (vinyl, silicone, ribbed):
– Flexible Coil Brushes: 5mm diameter for standard 3/8″ tubing (e.g., Uniclean Aquarium Tube Brush). Why it works: Bends around curves where straight brushes fail.
– Monofilament Fishing Line: 20lb test strength for “pull-through” method (replaces floss which shreds).
– 3% Hydrogen Peroxide: For disinfection without toxic residues (1 cup per gallon of soak water).
– White Vinegar: 1:1 ratio with water for mineral deposits (effective on salt creep in 30 mins).
– Scrub Puck: Cut a 1″ square from unused kitchen sponge tied to fishing line.
Safe Cleaning Agent Comparison
| Solution | Best For | Critical Safety Step | Soak Time |
|---|---|---|---|
| 3% Hydrogen Peroxide | Pathogen kill, algae removal | Rinse 5x with dechlorinated water | 15-30 min |
| White Vinegar (50/50) | Hard water deposits, salt creep | Neutralize with baking soda bath after | 30-60 min |
| Lemon Juice (1:4) | Mild scale in silicone lines | Avoid on vinyl (accelerates cracking) | 45 min max |
| Bleach (1:10) | Only for used quarantine equipment | Dechlorinate 3x, then air-dry 24h | 10 min max |
Warning: Bleach destroys vinyl tubing in under 5 minutes. Never use on silicone.
Step-by-Step Cleaning Methods That Restore Flow Fast
Fix Light Algae Buildup in 5 Minutes (No Disassembly Needed)
Use this weekly maintenance trick to prevent deep clogs. For filter output lines:
1. Unplug filter and pinch tubing shut below the clog.
2. Insert the narrow end of a flexible brush 3-4 inches into the tube.
3. Rotate brush clockwise 10 times while gently pushing forward—never force it.
4. Flush with tank water using a turkey baster until outflow runs clear (usually 20-30 seconds).
Why this works: The clockwise motion dislodges biofilm without scratching tubing. Time-saver: Do this during water changes while siphoning.
Eliminate Stubborn Salt Creep in Saltwater Systems
Saltwater owners: This targets crystallized salt deposits choking your return pump:
1. Disconnect tubing and submerge in 1:1 vinegar/water solution for 45 minutes.
2. Use a toothpick to gently chip surface crystals (don’t gouge tubing).
3. Attach tubing to a powerhead and run tank water through it for 2 minutes.
4. Neutralize acid by soaking in baking soda solution (1 tbsp/gallon) for 10 minutes.
Pro Tip: After cleaning, coat tubing ends with petroleum jelly to prevent future salt adhesion.
Deep-Clean Ribbed Canister Filter Lines (Fluval/Eheim)
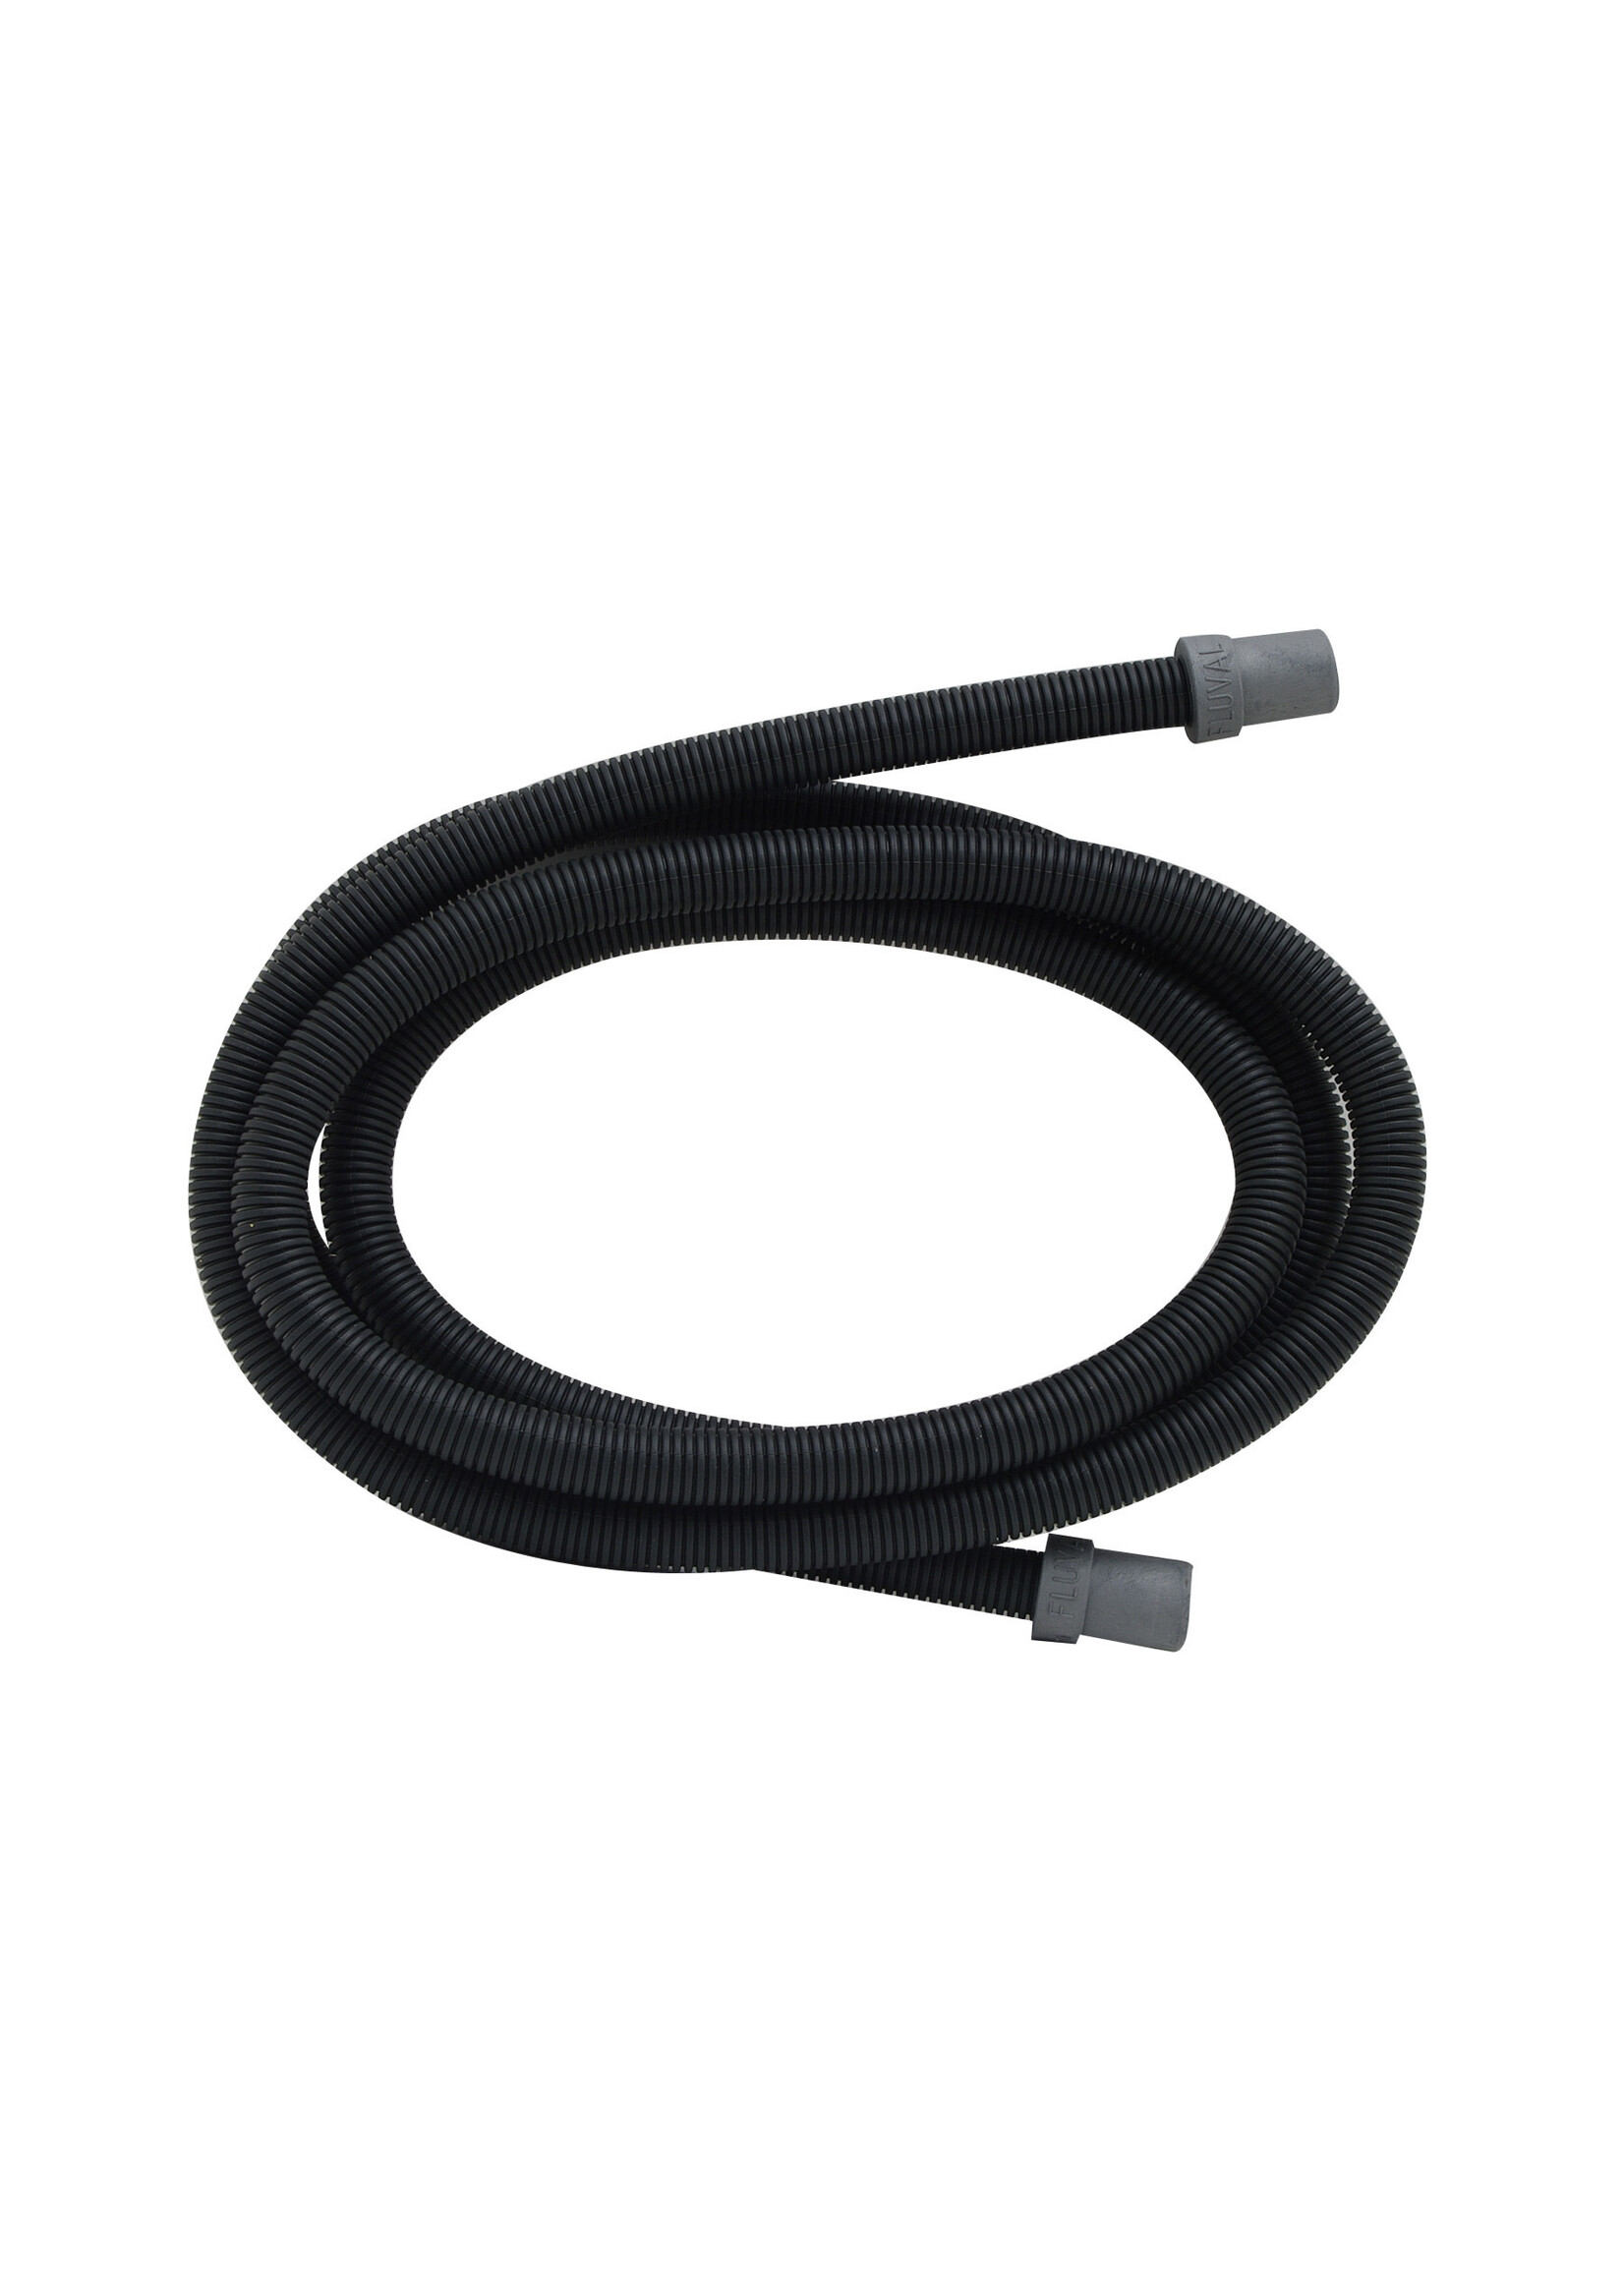
Ribbed tubing traps debris in grooves—here’s how to reach hidden spots:
1. Cut a scrub puck from a green Scotch-Brite pad (less abrasive than blue).
2. Thread 20lb fishing line through tubing and tie puck securely.
3. Soak entire assembly in hot (not boiling) water for 10 minutes to soften deposits.
4. Pull line through tubing with quick, short tugs—never yank. Repeat until puck emerges clean.
Critical: For Fluval’s ribbed tubing, rotate the puck 90 degrees between pulls to hit all grooves.
Disinfect Used Tubing Without Toxic Residue
Essential for quarantine tanks or secondhand equipment:
1. Soak tubing in 3% hydrogen peroxide (1 cup per gallon) for 25 minutes.
2. Rinse under running water for 5 full minutes—do not skip this step.
3. Submerge in dechlorinated water with 5 drops of Seachem Prime per gallon for 1 hour.
4. Air-dry completely before use (prevents bacterial regrowth).
Never use bleach on silicone tubing—it creates permanent micro-tears that harbor bacteria.
Troubleshoot Flow-Killing Tubing Emergencies
“Tubing Won’t Stretch Over Fittings After Cleaning”
Cause: Vinyl shrinks when dried. Fix: Submerge end in near-boiling water for 45 seconds. While hot, twist tubing onto (not over) the fitting using pliers wrapped in cloth. Never force it—cracks cause silent leaks.
“Persistent Cloudiness After Cleaning”
Diagnosis: Biofilm embedded in micro-tears from old tubing. Solution: Soak in hydrogen peroxide for 40 minutes, then scrub with toothpick dipped in vinegar. If cloudiness remains, replace tubing—old vinyl leaches plasticizers that harm fish.
“Airline Tubing Sucks In Instead of Bubbling”
Real cause: Not clogs but collapsed tubing from kinks. Emergency fix: Cut 1″ off the collapsed end, then submerge in hot water for 30 seconds to regain shape. Prevention: Always use rigid airline elbows at bends.
Pro Maintenance Tactics to Slash Cleaning Time by 70%

Block Algae at the Source
– Paint only the exterior of clear tubing with matte black acrylic paint—blocks 99% of algae-causing light without affecting flow. Avoid tape wraps; they trap moisture and accelerate cracking.
– For CO2 systems, install a 2″ section of opaque tubing around the diffuser where light exposure is highest.
Quarterly Deep Clean Protocol
1. During water changes, flush all tubing with tank water using a powerhead for 60 seconds.
2. Every 3 months, run hydrogen peroxide through filter lines for 10 minutes (unplug heater first!).
3. Replace airline tubing annually—even if clean—as oxygen permeability drops by 40% after 14 months.
Material Matters: Choose Smart Tubing
– Saltwater tanks: Food-grade silicone (e.g., Eheim) resists salt creep 3x longer than vinyl.
– Planted tanks: Opaque tubing prevents nutrient-rich water from fueling algae.
– Avoid: Thin-walled tubing (kinks easily)—opt for 2mm wall thickness minimum.
Replace Tubing Before It Fails Your Tank
Cleaning won’t fix these critical failure points—replace immediately:
– Micro-Cracks: Visible as hairline fractures when tubing is bent 45 degrees. Test: Submerge in water and blow air through—if bubbles escape, cracks exist.
– Permanent Yellowing: Indicates UV degradation; leaches toxins into water. Never try to bleach yellowed tubing.
– Loss of Elasticity: If tubing stays bent when released, it’s brittle. Vinyl typically lasts 18-24 months; silicone 3-5 years.
Pro Tip: Keep 2 feet of spare tubing coiled in your tank cabinet. Measure new tubing while old is still connected—note exact length to the millimeter.
Regular tubing maintenance takes less time than a water change but prevents 80% of filter-related emergencies. By dedicating 10 minutes monthly to how to clean aquarium tubing, you’ll extend pump life by 2+ years and maintain lethal-ammonia-free water. Start tonight: unplug your filter, check one line, and use the vinegar soak method if needed. Your fish aren’t just counting on you—they’re literally breathing through that tiny tube.