How to Set Up a 125 Gallon Freshwater Aquarium
Your 125-gallon freshwater aquarium will hold over 1,400 pounds of water, substrate, and hardscape – that’s heavier than a grand piano. When done right, this massive tank becomes a breathtaking centerpiece showcasing vibrant fish and lush aquascaping. But one critical mistake during setup can lead to catastrophic failure, flooding your home and destroying your investment. This guide delivers actionable steps exclusively for 125-gallon tanks, drawn from real aquarists’ hard-won lessons about structural risks, cycling pitfalls, and stocking strategies that actually work. You’ll learn exactly how to secure your tank foundation, cycle efficiently, and create a balanced ecosystem where fish like angelfish or discus thrive without constant water quality battles.
Securing a 1,500+ Pound Foundation for Your 125-Gallon Tank
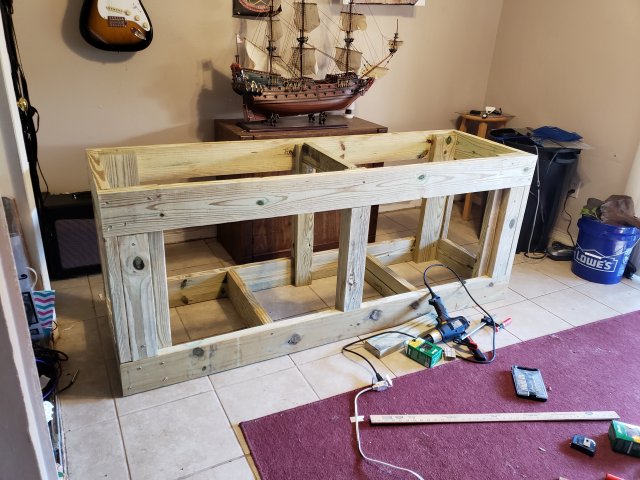
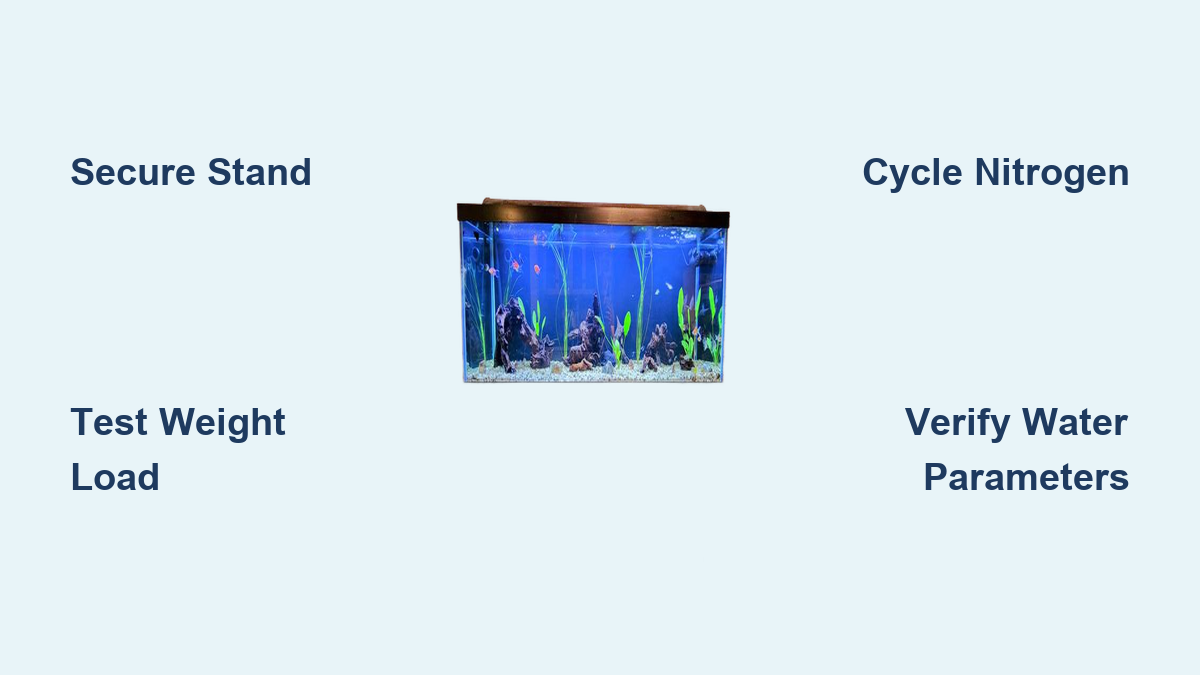
That standard wooden stand you see in stores? It will collapse under your filled 125-gallon tank. Proper foundation setup is non-negotiable – this tank requires a custom steel or welded steel-and-wood stand rated for 1,500+ pounds. Multiple aquarists reported catastrophic failures when using inadequate stands, with one noting: “That flimsy wooden stand won’t hold 700 kilos (over 1,500 lbs) with substrate and rocks.” Place your tank on a concrete basement slab if possible, ensuring the surface is perfectly level. Never place it over floor joists running parallel to the tank’s length – the weight must distribute across multiple joists. Position the tank away from direct sunlight and high-traffic areas, with a dedicated grounded electrical circuit for all equipment. Before adding a single grain of substrate, confirm your stand has metal bracing and can handle 2,500 pounds of force – this prevents the polystyrene instability issues common in framed tanks.
Why Concrete Slabs Prevent 125-Gallon Tank Disasters
Basement concrete slabs distribute weight evenly, eliminating the flex that cracks glass on upper floors. If you must place your tank upstairs, consult a structural engineer to verify joist spacing. Look for subtle signs of instability: water rippling without disturbance, or a slight rocking motion when pressed. One aquarist avoided disaster by testing their custom stand: “I filled sandbags to 1,500 pounds and left them for 48 hours – no movement.” Never skip this test. Your tank’s dimensions (typically 4ft x 2ft x 2ft) create immense pressure points – only a properly engineered stand prevents seam failure.
Layering Substrate and Building Your 125-Gallon Aquascape

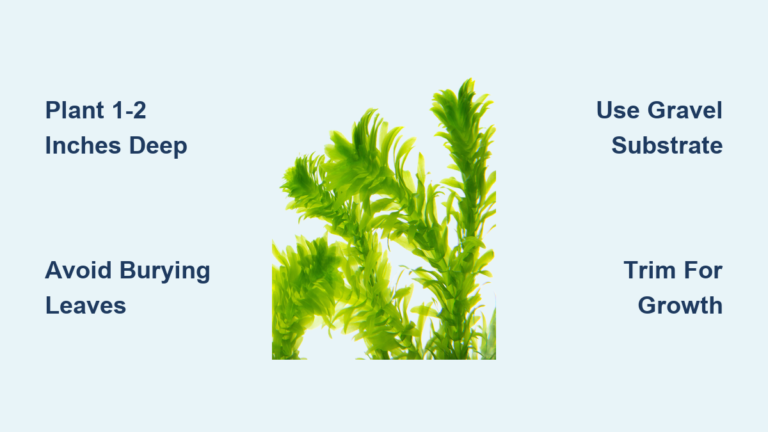
Start with a 1-2 inch substrate layer for non-planted tanks, or 2-3 inches for planted setups. Rinse all substrate thoroughly in a clean bucket until water runs clear – skipping this clouds your entire 125-gallon system. For planted tanks, use nutrient-rich soil under inert cap layers. Arrange hardscape before filling: place largest rocks and driftwood first, creating stable anchor points. Ensure all decorations are aquarium-safe – untreated wood leaches tannins, while calcium-based rocks alter pH. Position heavy pieces near the tank’s front corners to prevent shifting under water pressure. One aquarist’s mistake became legendary: “I stacked rocks like a house of cards – when filled, they toppled and cracked the glass.”
Positioning Driftwood Without Disturbing Your 125-Gallon Layout
Soak driftwood for 24+ hours to remove tannins and sink it faster. For pieces over 12 inches, drill small holes and insert stainless steel rods into the substrate for stability. Anchor wood against the tank’s back wall, leaving open swimming space in the center. If using large river rocks, place them on foam padding first to avoid glass stress points. Always test stability by gently shaking pieces – if they move, your fish will dislodge them later. Pro tip: Build your hardscape on a dry tank floor first, photograph the layout, then replicate it inside the empty aquarium.
Filling Your 125-Gallon Tank Without Disturbing Plants and Substrate
Filling this massive tank requires technique to avoid destroying your aquascape. Place a clean plate or bowl on the substrate and pour dechlorinated water onto it slowly – this prevents substrate displacement. Fill to one-third capacity first, then plant background species like Amazon swords before adding more water. For foreground plants like dwarf hairgrass, wait until the tank is 90% full to minimize root disturbance. Use planting tweezers for delicate specimens, inserting stems at 45-degree angles. One aquarist saved weeks of regrowth by: “Filling in three stages – substrate layer, partial fill for midground plants, final fill for foreground.” Never pour water directly onto substrate or plants – the force creates craters that take months to settle.
Preventing Algae Blooms During Initial 125-Gallon Setup
Plant heavily from day one with fast-growing species like hornwort to outcompete algae. Limit lighting to 4 hours daily for the first two weeks. Add java fern or anubias tied to driftwood – these tolerate low-light cycling phases. If green water appears, reduce light to 2 hours and add Indian almond leaves. Avoid scraping algae during cycling; beneficial bacteria need time to establish. One pro tip: “Float 5-6 hornwort stems in your 125G – they absorb excess nutrients and block light from algae spores.”
Jumpstart Your 125-Gallon Tank’s Nitrogen Cycle in 4-8 Weeks
Your 125-gallon tank needs a robust bacterial colony to handle heavy bio-loads. Start by adding pure unscented ammonia to reach 2-4 ppm, or use fish food that decays into ammonia. Dose daily while monitoring with liquid test kits – strip tests lack accuracy for large volumes. Add bottled bacteria directly into your canister filter’s intake tube for maximum colonization. Expect ammonia to spike in days 3-5, nitrites in days 7-10, and nitrates around day 14. The cycle completes when 2-4 ppm ammonia converts to 0 ppm ammonia and 0 ppm nitrites within 24 hours. Never add fish until this happens – one aquarist lost $300 in discus by rushing this step.
Why Double Filtration Accelerates 125-Gallon Cycling
Use two canister filters rated for 150+ gallons each (total 500-750 GPH flow). Place one filter in “silent mode” during cycling to protect developing bacteria from strong currents. Add filter media from an established tank to your new filter – this cuts cycling time by 50%. Monitor temperature closely: 82-86°F speeds bacterial growth but requires extra oxygenation. If nitrites stall above 1 ppm, do a 25% water change with dechlorinated water – high levels can halt the cycle. Pro note: “I ran my second filter with seeded media from day one – cycled in 3 weeks instead of 6.”
Choosing and Installing Filter and Heater for a 125-Gallon Freshwater Tank

For reliable 125-gallon filtration, use a canister filter rated for 150+ gallons (minimum 500 GPH flow) or a sump system. Position intake tubes near the substrate to pull debris, with outflow angled to create gentle surface movement. Install two 300-watt submersible heaters – one at each end – to prevent temperature gradients in this large volume. Place heaters behind hardscape to avoid fish burns, and always use a separate digital thermometer for verification. One aquarist’s failure: “Single heater in 125G created 5-degree swings – discus got sick.” Cover heater guards with mesh to prevent snail entrapment.
Preventing Heater Failures in Large Freshwater Tanks
Test heaters in a bucket before installation – faulty units can overheat to 100°F+ in minutes. Set thermostats 1-2 degrees below target (e.g., 79°F for 80°F tanks) since large water masses lag in temperature changes. Use a smart plug with temperature alerts for critical species like discus. During cycling, run heaters at 84°F to accelerate bacteria growth, then gradually lower to 78°F for community tanks. Always unplug heaters before water changes to avoid cracking from thermal shock.
Top 4 Stocking Strategies for a Thriving 125-Gallon Freshwater Community
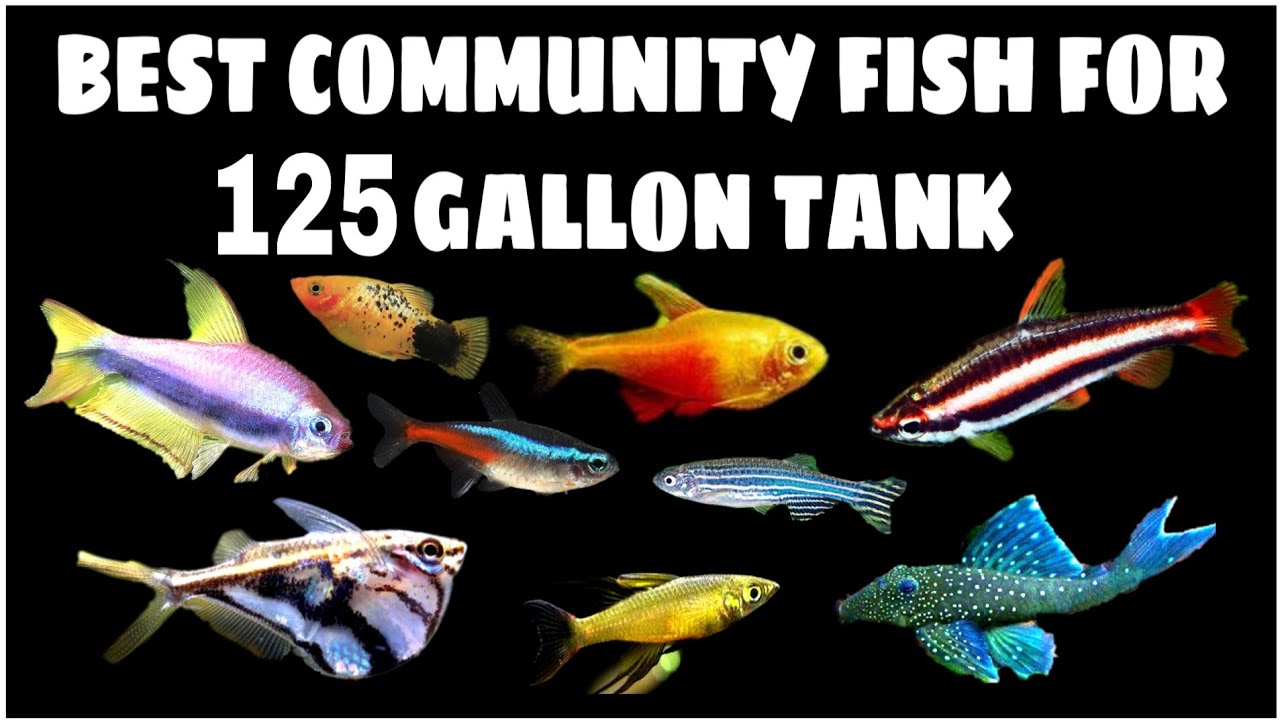
Your 125-gallon tank supports diverse ecosystems impossible in smaller setups. Start with these proven community approaches:
Angelfish Centerpiece Community for Beginner Aquarists
Keep 4-6 angelfish as focal points with 15-20 rummynose tetras for mid-water activity and 10-15 corydoras for substrate cleaning. Add 1-2 bristlenose plecos for algae control – they require driftwood for digestion. Avoid keeping more than 6 angelfish to prevent territorial sparring. One successful setup: “Angels with apistogramma pairs and corydoras – angels ignored other species but defended their own space.” Never add guppies or small tetras that angels may eat.
Discus Showcase with Schooling Dither Fish
Create a serene environment for 6-8 discus using soft, acidic water (pH 6.0-6.5) and consistent 84-86°F temperatures. Pair with 20+ cardinal tetras as dither fish to reduce discus stress. Include tall plants like vallisneria for cover and sponge filters to protect discus’ delicate fins. Requires weekly 30% water changes and meticulous parameter monitoring. As one keeper warned: “Discus need pristine water – skip this if you can’t commit to daily testing.”
African Cichlid Rock Reef for Dynamic Displays
Build a Malawi cichlid habitat with sand substrate and large rock piles creating 70% coverage. Stock 15-20 mbuna species like yellow labs or electric blues, all male to reduce aggression. Include sand-sifting species like cyprichromis for bottom activity. Use powerful canister filters with extra mechanical media to handle their waste. Critical: avoid mixing Malawi and Tanganyikan species. One pro tip: “Add floating plants like water sprite – cichlids dig but won’t uproot surface plants.”
Oscar and Catfish Community for Interactive Tanks
House one juvenile oscar (grows to 14 inches) with 12-15 pictus catfish and 6-8 kuhli loaches. Oscars need open swimming space with minimal decorations to avoid injury. Feed sinking pellets to prevent competition. Note: Oscars will eat fish under 3 inches. As one owner observed: “My oscar recognizes me – but ate all tetras within weeks.” Never keep multiple oscars – they become violently territorial.
Maintaining a Balanced 125-Gallon Freshwater Ecosystem Long-Term
Stable parameters trump “perfect” numbers in large tanks. Test weekly for ammonia (0 ppm), nitrite (0 ppm), and nitrates (<20 ppm). Perform 20% water changes weekly using a gravel vacuum to remove debris – a Python system saves hours on this massive tank. Keep lighting to 6-8 hours daily with timers to prevent algae. Add fast-growing stem plants like rotala to absorb nitrates. One keeper’s key insight: “Consistency matters more than ideal numbers – my discus thrive at 78°F even though 82°F is ‘ideal’.”
Why Live Plants Are Non-Negotiable in 125-Gallon Tanks
Dense planting with amazon swords, anubias, and java fern consumes nitrates before algae can establish. Use root tabs for heavy feeders since substrate depth varies. Trim plants weekly to prevent light blockage – overgrowth caused one tank’s crash: “My wisteria overtook the tank, blocking light and oxygenating water.” For low-light setups, prioritize anubias and java fern on driftwood. Never remove more than 30% of plant mass during trimming to avoid nutrient spikes.
5 Costly Mistakes That Wreck New 125-Gallon Freshwater Tanks
Skipping the Weight Test on Your Stand
Adding water gradually won’t save you if your stand fails. One aquarist lost everything: “I filled 50 gallons at a time – stand collapsed at 800 pounds.” Always test with sandbags equal to 1,500 pounds before setup.
Overstocking Before Cycling Completes
Adding fish too early causes “new tank syndrome.” Wait until nitrates appear and both ammonia/nitrite read zero for 72 hours. A single angelfish in uncycled water can kill the entire tank.
Using Inadequate Filtration
One canister filter rated for 100 gallons struggles in 125G. You need 500+ GPH flow – undersized filters create dead zones where waste accumulates.
Ignoring Water Parameter Consistency
Large volumes buffer changes, but sudden shifts still kill fish. Always match new water’s temperature (±1°F) and pH during changes. One discus keeper lost fish by: “Changing 50% water with colder tap water.”
Placing Jumpers Without a Lid
Species like hatchetfish or pencilfish will leap out. Use a tight-fitting mesh lid – glass lids cause oxygen depletion in tall tanks.
Pre-Stocking Checklist: 5 Steps to Verify Your 125-Gallon Tank is Ready
Before adding your first fish, confirm these critical checkpoints. First, verify stand stability by applying firm pressure – no movement should occur. Second, ensure ammonia and nitrite test at 0 ppm for 72+ hours with nitrates below 20 ppm. Third, confirm heater maintains stable temperature (±0.5°F) at opposite ends of the tank. Fourth, check filter flow creates gentle surface agitation without dead zones. Fifth, prepare water change equipment – a 25-gallon Python system handles 20% changes efficiently. One aquarist avoided disaster by: “Testing water changes with a bucket first – my hose didn’t reach the drain!” Keep test kits, dechlorinator, and emergency buckets ready. Only when all five points are verified should you begin slow stocking – add just 25% of your planned fish initially, waiting 2 weeks before adding more. This patience transforms your 125-gallon freshwater aquarium from a risky project into a thriving underwater masterpiece that lasts decades.