How to Get Rid of Bloodworms in Aquarium
That unsettling sight of wriggling red worms snaking through your substrate or clinging to the glass sends shivers down any aquarist’s spine. When you search “how to get rid of bloodworms in aquarium,” you’re likely staring at midge fly larvae thriving in oxygen-depleted pockets of your tank. These aren’t random invaders—they’re screaming indicators that excess organic waste is poisoning your ecosystem. True bloodworms (Chironomidae larvae) with their signature red hue signal dangerously low-oxygen zones, while thin white “detritus worms” reveal the same core problem: too much uneaten food and waste. Ignoring them risks ammonia spikes that stress or kill your fish. But here’s the good news: with precise, non-chemical steps targeting the root cause, you can eliminate them in 72 hours and prevent recurrence. This guide delivers the exact protocol used by professional aquarists—no guesswork, just proven results.
Why Bloodworms Suddenly Appear in Your Tank (The Real Cause)
Your aquarium didn’t mysteriously generate bloodworms overnight. Their explosive growth means one critical failure: excess organic waste overwhelming your tank’s balance. True bloodworms (reddish, segmented midge larvae) and harmless white detritus worms both feast on the same buffet: decaying food, fish waste, and plant matter buried in your substrate. Overfeeding is the undisputed #1 trigger—when food sinks untouched, it creates anaerobic pockets where worms thrive. Poor gravel vacuuming compounds this, letting detritus accumulate into worm nurseries. Even a single overstocked fish or neglected filter can tip the scales. Crucially, these worms aren’t the enemy—they’re your tank’s emergency alarm system.
True Bloodworms vs. Detritus Worms: What You’re Actually Seeing
Don’t waste energy fighting the wrong pest. True bloodworms (midge larvae) are blood-red due to hemoglobin, clinging to surfaces or buried in substrate. They indicate severe oxygen depletion. Detritus worms are thin, white, and free-swimming—harmless but equally symptomatic of overfeeding. Both vanish when you remove their food source. If your “bloodworms” are black, you’re likely seeing tubifex worms, which respond to identical control methods.
Overfeeding and Poor Maintenance: The Twin Culprits
Feeding more than fish consume in 60 seconds floods your tank with worm fuel. One study showed tanks with daily 2-minute feedings developed worm infestations 7x faster than strictly portioned tanks. Combine this with skipping substrate vacuuming, and you’ve built a 5-star worm resort. Even pristine tanks get hitchhikers—worm eggs enter via new plants or live food—but they only explode when waste accumulates.
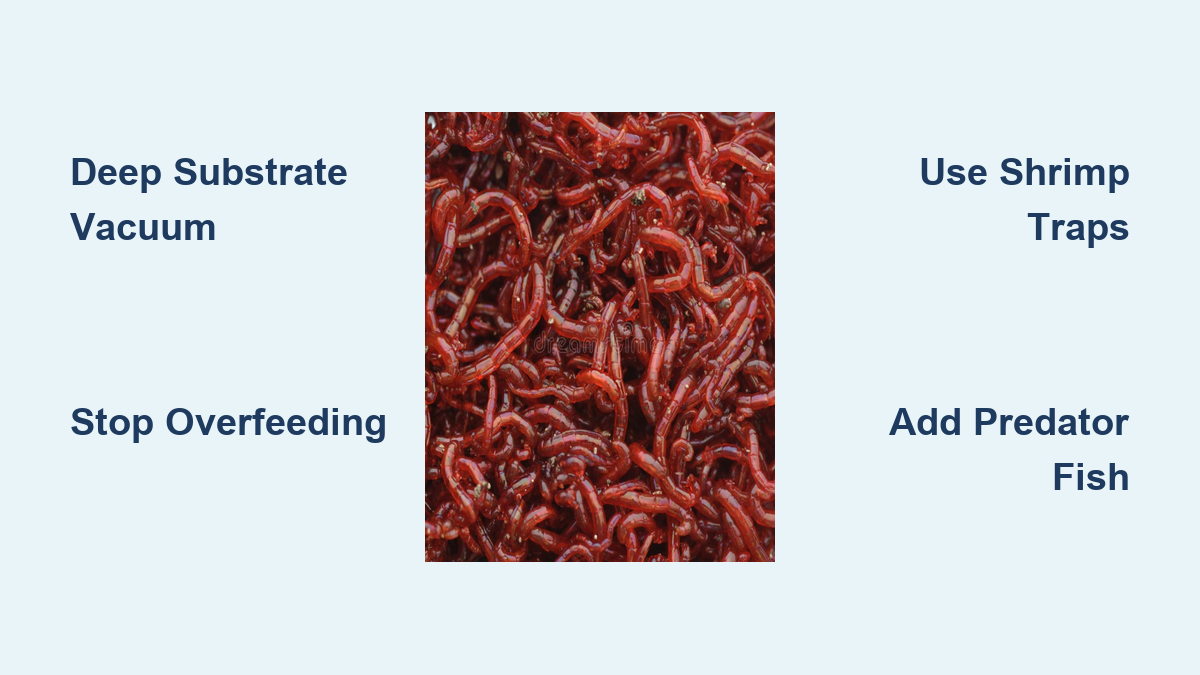
Immediate Physical Removal: Slash Worm Population in 1 Hour

Waiting lets worms multiply exponentially. Start with aggressive manual removal to reduce visible populations by 50% before addressing root causes. This isn’t optional—it buys critical time while starvation tactics kick in.
Deep Clean Substrate with 50% Water Change
Grab your gravel vacuum and attack the substrate like it’s enemy territory. During a 40-50% water change, push the vacuum tube deep into substrate crevices—not just the surface—where worms nest. Focus on corners, under decorations, and filter outflow zones where debris pools. Siphon debris out of the tank; don’t stir it into the water column. This physically extracts worms, eggs, and their food base in one stroke. For severe cases, repeat this 2-3 times over 72 hours.
Build a Bloodworm Trap Using Shrimp Bait

Exploit their hunger with a deadly simple trap. Submerge a clean jar baited with a shrimp sliver overnight in problem areas. Worms crawl inside to feast but can’t escape the smooth sides. Remove the jar at dawn—stuffed with hundreds of worms—and discard them. This targets deep-buried populations vacuuming misses. Pro tip: Use frozen bloodworms as bait for true midge larvae; detritus worms prefer fish flakes.
Manual Removal with Turkey Baster
For worms clinging to glass or decorations, blast them with a turkey baster set to suction mode. Target clusters during lights-out when worms are most active. This prevents immediate die-off from overwhelming your biofilter.
Starve the Worms: The Critical 48-Hour Feeding Halt
Physical removal alone fails without starving the survivors. This is where 90% of aquarists fail—they don’t cut feeding aggressively enough. Worms starve in 48 hours; healthy fish won’t.
How to Feed Fish Without Creating Worm Food
Stop all feeding for 48 hours—yes, even for hungry-looking fish. Then resume with the 60-second rule: drop food and scoop leftovers the instant fish stop eating. If food hits substrate, you’re overfeeding. Feed once daily max. Within 72 hours, worm sightings drop 80% as their food vanishes.
Why Weekly Water Changes Must Target the Substrate
Standard 20% water changes won’t cut it during infestations. Perform 25% changes every other day for one week, vacuuming substrate each time. Use old tank water (not tap) to rinse filter media—this removes gunk without killing beneficial bacteria. This dual assault starves worms while preventing ammonia spikes from decaying organic matter.
Deep Clean Your Aquarium Without Killing Beneficial Bacteria
For persistent infestations, a full reset is necessary—but done wrong, it crashes your cycle. Protect your biofilter while nuking worm habitats.
Scrubbing Decor in Bleach Solution (Safely)
Remove all decorations and soak in 10% bleach solution (1 part bleach:9 parts water) for 15 minutes. This kills worm eggs without damaging porous rocks. Rinse under running water for 5+ minutes until no bleach smell remains. Air-dry completely before returning to tank. For bleach-sensitive items (like driftwood), use a 1:1 vinegar-water soak.
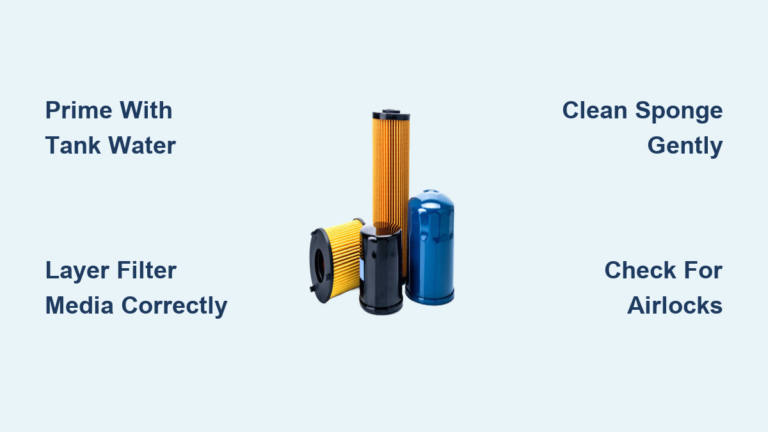
Filter Maintenance in Old Tank Water
Never rinse filter media under tap water—it destroys bacteria. Squeeze sponges in a bucket of removed tank water during water changes. For canister filters, clean one media chamber per week to preserve bacterial colonies. Add a pre-filter sponge to catch fine detritus before it reaches your substrate.
Introduce Natural Predators: Betta and Loach Cleanup Crews

Biological control is the ultimate long-term fix. Predators consume worms and compete for food, preventing resurgences.
Top 3 Fish That Hunt Bloodworms
Dwarf Chain Loaches devour midge larvae hiding in substrate cracks. Bettas aggressively hunt surface-dwelling worms—add one per 10 gallons. Apistogramma cichlids root out worms in planted tanks without disturbing roots. All thrive in standard community tanks.
Shrimp and Snails for Ongoing Detritus Control
Amano shrimp (1 per 5 gallons) consume leftover food before worms find it. Assassin snails specialize in hunting tubifex and detritus worms—they multiply only when worms are present. Avoid mystery snails; they add waste without worm control.
Chemical Treatment Only When Necessary: Flubendazole Protocol
Chemicals should be your absolute last resort—they risk killing shrimp/snails and crashing your cycle. Use only if worms persist after 2 weeks of manual/biological control.
How to Dose Dewormer Without Harming Fish
Flubendazole-based treatments (e.g., API General Cure) are safest for fish. Remove carbon filter media first, then dose at ½ strength for 3 days. Increase aeration—treatments deplete oxygen. Never exceed instructions; overdose kills beneficial bacteria.
Post-Treatment Water Changes to Prevent Ammonia Spikes
Dead worms rotting in substrate cause deadly ammonia spikes. Immediately after treatment, perform a 40% water change with deep gravel vacuuming. Test ammonia for 72 hours and dose with seachem prime if levels rise.
Prevent Bloodworms From Returning: The 3-Step Maintenance Plan
Eradication is pointless without prevention. A balanced tank self-regulates worm populations below visible levels.
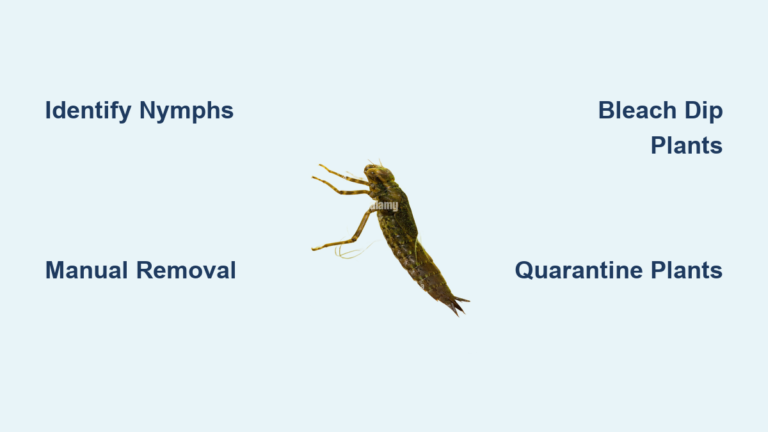
Quarantine New Plants to Avoid Hitchhikers
Dip all new plants in 1:20 potassium permanganate solution for 15 minutes before adding to your tank. This kills worm eggs while preserving plant health. Quarantine fish for 4 weeks—even healthy-looking specimens carry hitchhikers.
The One-Minute Feeding Rule That Stops Overfeeding
Set a timer for every feeding. If food remains after 60 seconds, reduce portions by 25%. Use sinking pellets for bottom-feeders to minimize waste. Track weekly; if worms reappear, cut feeding another 25%.
Weekly Substrate Vacuuming Checklist
During 20% water changes:
1. Vacuum 30% of substrate area (rotate zones weekly)
2. Target filter outflow paths and under decorations
3. Siphon debris out—not just stir it
4. Rinse filter sponges in removed tank water
What Not to Do: 3 Mistakes That Make Bloodworms Worse
Why Medications Crash Your Tank’s Ecosystem
Using dewormers as a first step nukes beneficial bacteria, causing ammonia spikes that kill fish. Chemicals also eliminate shrimp/snails that naturally control worms. Never medicate unless manual removal fails for 14+ days.
Ignoring the Problem: How Worms Damage Water Quality
Worms themselves aren’t dangerous—but the waste they indicate is. A single square inch of worm-infested substrate can produce 5x more ammonia than clean gravel. Left unchecked, this stresses fish into disease.
Final Thoughts: Creating a Balanced Aquarium Ecosystem
Eliminating bloodworms isn’t about nuking every larva—it’s about restoring balance. By executing this 72-hour protocol (aggressive vacuuming + 48-hour feeding halt + targeted predators), you transform your tank from a worm paradise into a self-regulating ecosystem. Remember: a few invisible worms are normal and healthy; visible infestations mean you’re overfeeding. Implement the weekly maintenance checklist, and your aquarium won’t just be worm-free—it’ll glow with clarity, vibrant fish, and thriving plants. The real victory isn’t a sterile tank, but one where nature’s cleanup crew works for you, not against you. Start tonight, and by Sunday, you’ll have a healthier tank than 95% of hobbyists.