How to Clean Aquarium Filter Cartridge
That cloudy water, sluggish filter flow, and stressed fish gasping at the surface—it’s a panic-inducing scenario every aquarist dreads. The culprit? Almost always a neglected filter cartridge clogged with debris, suffocating your tank’s vital ecosystem. When you learn how to clean aquarium filter cartridge components properly, you prevent ammonia spikes, protect beneficial bacteria, and keep your aquatic world thriving. This guide cuts through the confusion with precise, tank-safe techniques for every filter type—no more guessing if you’re helping or harming your cycle. You’ll master gentle cleaning methods that preserve bacterial colonies while restoring crystal-clear water, all within your regular maintenance routine.
Identifying Your Filter & Cartridge Type Before Cleaning
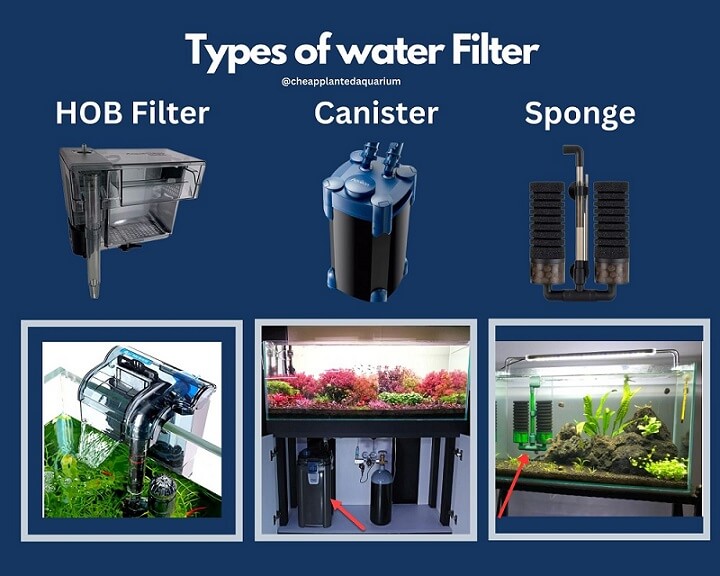
Your cleaning approach depends entirely on your filter’s anatomy. Misidentifying it risks destroying your nitrogen cycle. Hang-On-Back (HOB) cartridges—those slim rectangular inserts with carbon pouches—are notorious for rapid clogging in goldfish or cichlid tanks. Canister filter media uses modular trays holding separate sponges, ceramic rings, and floss, requiring staggered cleaning. Sponge filters (common in betta or shrimp tanks) demand ultra-gentle handling since the sponge is the primary biological media. Internal filter cartridges combine foam and carbon in a single unit, often overlooked until flow drops. Check your filter’s manual or housing design: if it has disposable cartridges, it’s likely HOB or internal; if media is loose in baskets, it’s a canister or sump. Skipping this step means using harsh techniques on delicate bio-media—a one-way ticket to “new tank syndrome.”
The Correct Way to Clean Different Filter Media
Deep Cleaning Sponges & Foam Blocks Without Killing Bacteria
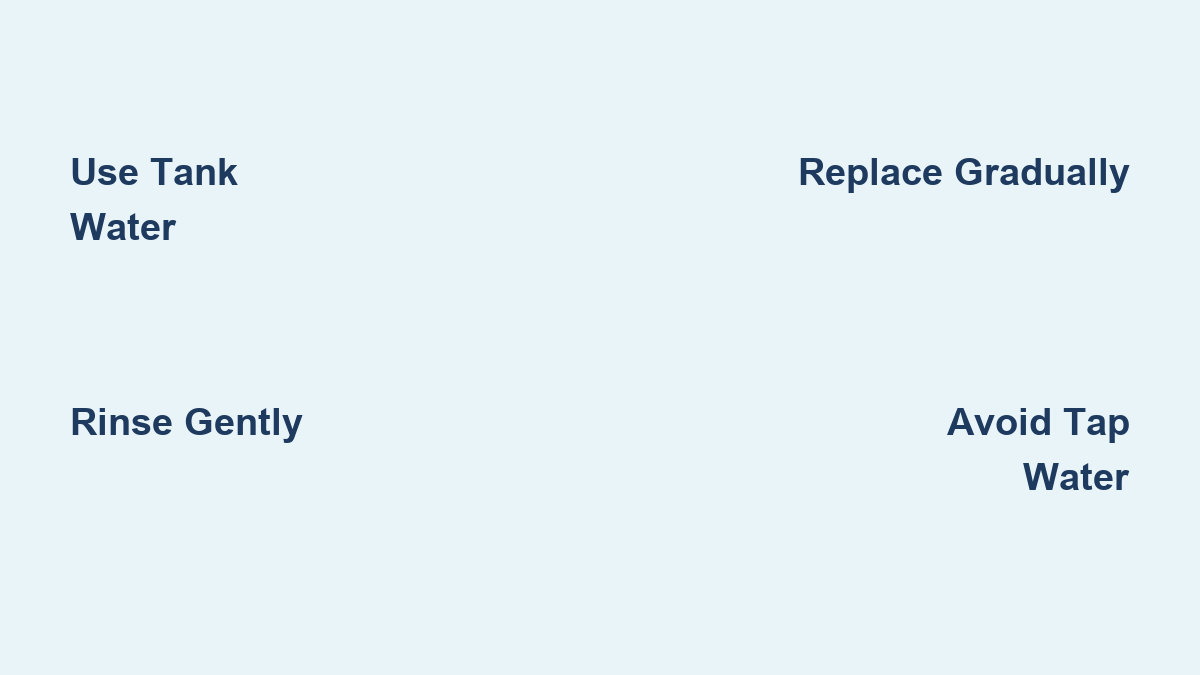
Sponges host 70% of your tank’s beneficial bacteria—aggressive cleaning crashes your cycle. Never rinse them under tap water; chlorine annihilates bacterial colonies. Instead, submerge the sponge in a bucket of old tank water siphoned during your last water change. Gently squeeze and release it 5-6 times until debris floats out, but stop when the water turns only slightly murky brown. If stubborn gunk remains, swish it in a second bucket of tank water—never scrub with brushes. Pro tip: For heavily stocked tanks, replace only half the sponge volume monthly. The remaining bacteria recolonize the new section in 72 hours, preventing ammonia spikes.
Cleaning Hang-On-Back (HOB) Filter Cartridges Safely
HOB cartridges trap detritus in their floss layers while housing carbon that leaches dust if mishandled. Unplug the filter, then lift out the cartridge. Hold it horizontally over a bucket of tank water and swish gently—never squeeze vertically, which ruptures carbon pouches. If floss is shredded, replace only the floss section while retaining the carbon pouch. For reusable cartridges (like Fluval’s), rinse until water runs lightly cloudy; complete clarity means you’ve removed too much bacteria. Critical rule: When replacing cartridges, float the old one in your tank for 14 days alongside the new one. This transfers bacteria gradually, avoiding the “mini-cycle” that kills fish.
Maintaining Bio-Media (Ceramic Rings, Bio-Balls, Bio-Sponges)
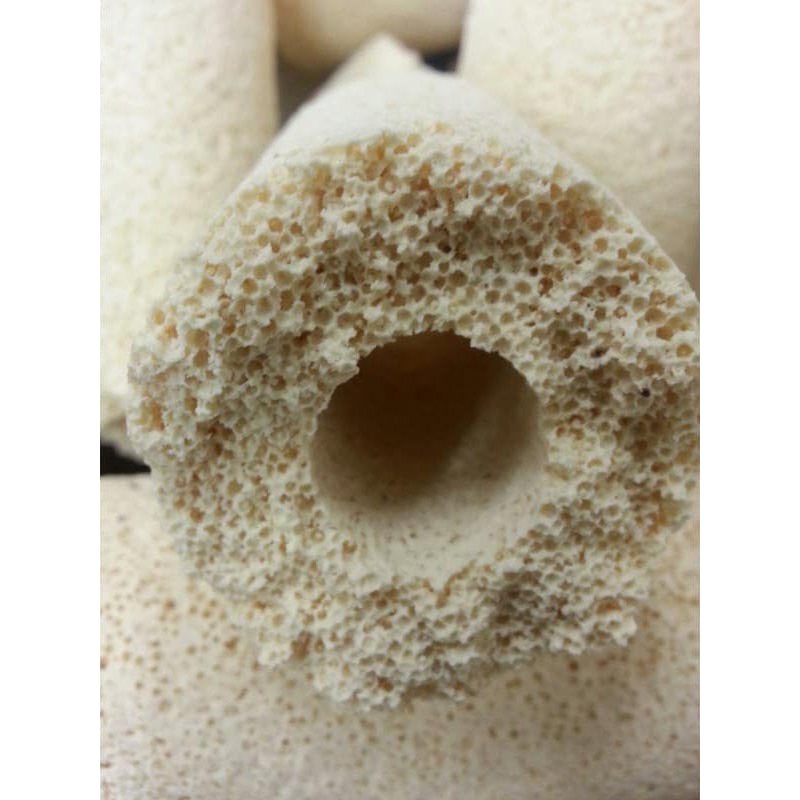
Ceramic rings and bio-balls are bacterial real estate—scrubbing them sterilizes your tank. Fill a container with tank water, drop in the media, and swirl for 10 seconds to dislodge sludge. The water will turn tea-colored; this is good—it’s removing waste without harming bacteria embedded in pores. Never use brushes or tap water. For canister filters, clean only ⅓ of your bio-media every 6 weeks. If your tank is cycling or new (under 6 months), skip bio-media cleaning entirely—rely on mechanical media upkeep instead.
Handling Chemical Media (Carbon, Phosphate Removers)
Activated carbon expires after 21 days—rinsing won’t revive it. Remove spent carbon bags during water changes and replace with fresh ones. Always rinse new carbon in tank water first to prevent black dust clouds. For phosphate removers (like RowaPhos), follow manufacturer timelines—most last 4-6 weeks. Never reuse chemical media; saturation turns it into a pollutant source. If your tank has persistent algae, skip carbon entirely—it removes trace elements plants need.
Step-by-Step Cartridge Cleaning Process for Zero Cycle Crashes
Follow this sequence to clean your aquarium filter cartridge without ammonia spikes:
- Unplug the filter and remove media during a 25% water change—you’ll have tank water ready for rinsing.
- Rinse mechanical media first (sponges/floss) in the bucket of old tank water until flow improves.
- Clean bio-media next by swirling ceramic rings gently—save this water for your next water change.
- Wipe the housing with a tank-water-dampened cloth; never use soap on impeller chambers.
- Reinsert media in reverse order: Bio-media first, then mechanical, then chemical.
- Prime the filter by pouring tank water into the housing until it overflows (critical for canisters).
- Restart and monitor: Check for leaks, then test ammonia/nitrite 24 hours later. If levels rise, add bacteria supplements.
Time estimate: 15 minutes for HOB filters; 25 minutes for canisters. Difficulty: ★☆☆ (Easy). Visual cue: Media should feel springy—not slimy—after rinsing.
Top Mistakes to Avoid When Cleaning
Using tap water is catastrophic—even “dechlorinated” tap water lacks the minerals bacteria need. One rinse can kill 90% of your colony, causing ammonia spikes within 48 hours. Replacing all media simultaneously is equally dangerous; always stagger replacements. Overcleaning sponges (more than every 3 weeks) starves bacteria—only clean when flow drops 30%. Ignoring impeller maintenance causes 60% of “filter not working” issues; clean it monthly with a toothpick. Most critically, cleaning during water changes doubles the bacterial shock—space these tasks 3 days apart.
Essential Maintenance Schedule & Tips
Weekly: During water changes, check filter flow. Rinse sponges only if flow is visibly reduced. For betta tanks, reduce flow rate post-cleaning to avoid stressing fish.
Monthly: Replace carbon, rinse bio-media, and clean impeller housing. In planted tanks, skip carbon to preserve nutrients.
Quarterly: Disassemble canister filters, inspect O-rings, and replace worn parts.
Pro tips:
– Add a pre-filter sponge ($3) to intakes—it catches large debris, extending cartridge life by 50%.
– For saltwater tanks, rinse bio-media in old tank water only—never RO/DI water.
– Keep a log: Note cleaning dates and ammonia levels to spot patterns.
– Never clean all media at once; rotate sections every 2 weeks.
Cleaning your aquarium filter cartridge correctly isn’t about sterilization—it’s strategic debris removal that preserves your invisible bacterial army. By rinsing media in tank water, staggering cleanings, and respecting bacterial timelines, you’ll maintain pristine water with zero crashes. Your fish will reward you with vibrant colors and energetic swimming, while you enjoy fewer algae battles and stress-free maintenance. Start with one filter section today, and you’ll see results by tomorrow’s feeding—crystal water isn’t magic, it’s methodical care.