How to Build a Large Aquarium: Step-by-Step Guide
You’ve scoured pet stores and online retailers, but nothing fits your vision. Standard aquariums force compromises—too tall for your bichirs, too narrow for their natural movement, or simply too expensive for the massive footprint you need. When you search “how to make a large aquarium,” you’re not just looking for instructions; you need a proven blueprint that won’t flood your living room. Building a custom 120+ gallon tank saves hundreds over professional models while delivering the perfect shallow, sprawling habitat your fish deserve. This guide cuts through the noise, focusing exclusively on the plywood method that dominates successful DIY large aquarium builds—complete with critical safety steps most tutorials skip.
Why Standard Tanks Fail Bichirs (And How Custom Solves It)
Your bichirs aren’t thriving because commercial aquariums ignore their biology. These ancient fish evolved in Africa’s shallow floodplains, not vertical columns of water. A standard 180-gallon tank (72″x24″x24″) forces them to swim upward unnaturally, stressing their physiology. The solution? A purpose-built 48″x36″x16″ tank delivering 160 gallons of horizontal swimming space—exactly matching their habitat needs. This footprint maximizes floor area while keeping water depth at their preferred 16 inches, eliminating wasted vertical space that inflates cost and weight. Beyond species requirements, custom dimensions solve spatial headaches: tuck a 4-foot long tank into that awkward alcove where off-the-shelf models won’t fit, or build a tank spanning an entire wall for dramatic impact.
Designing Your 48x36x16 Bichir Tank: Critical Dimensions Guide
Skip this phase, and your tank fails before construction begins. Start by verifying your floor’s load capacity—water weighs 8.3 pounds per gallon, so a 160-gallon tank exceeds 1,300 pounds before adding substrate, rock, or the plywood frame. Consult a structural engineer if placing on upper floors; most homes support only 50 lbs/sq ft. For your bichir’s 48x36x16″ design, calculate exact material needs:
- Base frame: 2x4s cut to 48″ (2 pieces) and 36″ (2 pieces)
- Side walls: ¾” marine plywood cut to 48″x16″ (2 pieces) and 36″x16″ (2 pieces)
- Bracing: 2x2s every 12″ along top and bottom edges
Pro Tip: Add 10% extra plywood for mistakes. Measure openings for the viewing pane 1/8″ smaller than your glass/acrylic panel to ensure a tight silicone seal.
What If Your Space Isn’t 48×36?
Adjust dimensions proportionally while maintaining structural ratios. For every 12″ of tank length, ensure depth is at least 50% of height. A 72″ long tank requires minimum 24″ depth at 16″ height—never sacrifice depth for length.
Plywood Tank Construction: Building Your 120-Gallon DIY Frame
Forget all-glass builds for tanks over 100 gallons; they’re time bombs for DIYers. The plywood method—used in 80% of successful large DIY aquariums—creates a rigid shell supporting a single viewing panel. Here’s the exact sequence professionals recommend:
- Assemble the wooden skeleton: Build a rectangular base with 2x4s, then attach vertical 2×2 corner posts. Screw plywood side panels to the frame using stainless steel deck screws (never nails). Critical: Apply waterproof wood glue at every seam before screwing.
- Seal like your fish’s life depends on it (it does): Sand all interior surfaces smooth, then apply three coats of Pond Shield epoxy. Overlap seams by 2″ per coat. Rushing this step causes catastrophic leaks—most DIY failures trace to inadequate sealing.
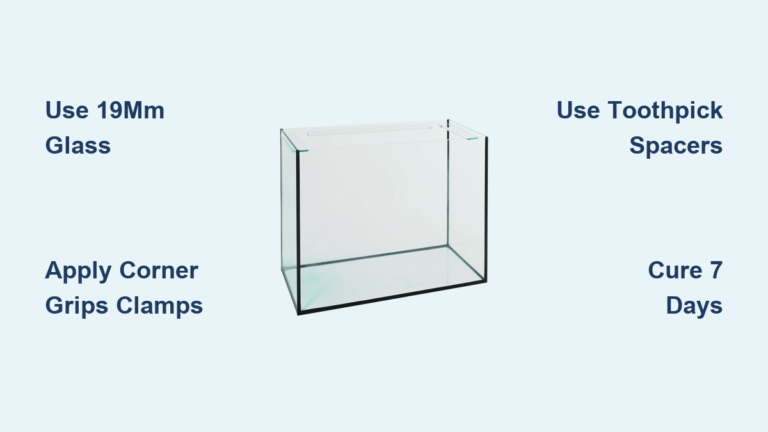
- Install the viewing panel: Cut a precise opening in the front plywood panel. Insert ½” low-iron glass (or ¾” acrylic for tanks over 18″ deep) from the outside. Apply a continuous ½” bead of 100% silicone aquarium sealant around the frame, press the glass into place, and clamp for 72 hours.
Warning: Never use regular window glass—it shatters under water pressure. Starphire glass costs 20% more but eliminates green tint.
Why Plywood Beats Acrylic for First-Time Builders
While acrylic is lighter, DIYers consistently underestimate its demands. Acrylic requires specialized routers, solvent welding, and stress-relieving ovens to prevent cracking. Plywood with epoxy sealant costs 40% less than acrylic sheeting for equivalent tanks and tolerates minor imperfections. Save acrylic for overflow boxes or lids where precision is less critical.
Filtration Setup: Avoiding the #1 Cause of New Tank Deaths

Your tank holds water, but without proper life support, it’s just a death trap. Large volumes demand industrial-grade filtration—here’s what works for 160-gallon builds:
- Overflow system: Install a Durso standpipe (3″ PVC) through the back panel, positioned 1″ below the waterline. Never use bulkheads rated below 200 gallons—they fail catastrophically.
- Sump sizing: Your sump must hold 25% of total tank volume (40+ gallons). Include compartments for mechanical filtration (filter socks), biological media (bio-balls), and a refugium.
- Return pump: Choose a Rio 2100 (1,500 GPH) or equivalent. Undersized pumps starve fish of oxygen; oversized pumps create dangerous currents.
Pro Tip: Run all plumbing before the leak test. Drill overflow holes while the tank is empty—fixing leaks post-sealing requires complete disassembly.
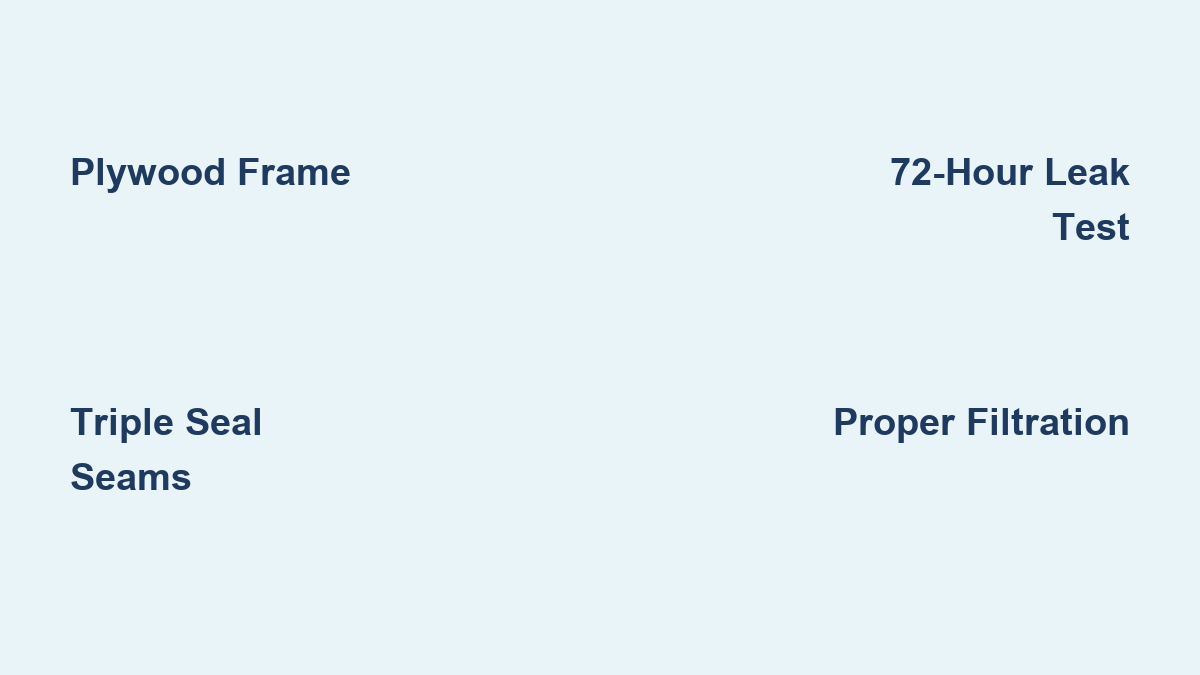
The 72-Hour Leak Test: Non-Negotiable Safety Protocol
This step separates responsible builders from insurance claims. Fill your tank completely in a garage or outdoors—never indoors during testing. Inspect for:
- Weeping seams: Wipe joints dry; check for moisture after 1 hour. Reapply Pond Shield if damp spots appear.
- Structural stress: Listen for creaking sounds. If the frame flexes, add diagonal braces immediately.
- Viewing panel integrity: Press your ear against the glass—hissing indicates a failing silicone bond.
Critical: Drain and retest if you find any moisture. One pinhole leak can unleash 100+ gallons per hour.
DIY vs Professional: When to Skip the Toolbox
Building saves $500–$1,200 on a 160-gallon tank, but consider these dealbreakers:
- Your time isn’t free: Budget 40+ hours for research, construction, and testing. At $25/hour, that’s $1,000 in labor.
- Warranty voids peace of mind: Professional acrylic tanks (e.g., Glass Cages) include lifetime structural guarantees. DIY tanks have none.
- One mistake drowns your investment: A failed seal destroys floors, ceilings, and electronics.
Verdict: Build if you have woodworking experience and need non-standard dimensions. Buy pre-made (like Marineland Deep Dimensions) if floor space fits standard sizes and warranty matters.
Cycling Your Tank: Why Rushing Kills Fish
Your tank holds water, but until beneficial bacteria colonize, it’s toxic. Skip this phase, and your bichirs die within days. The 6-week cycling process:
- Add 1 cup aquarium salt and 5 drops ammonia per 10 gallons to seed the tank
- Test daily: Ammonia should hit 2 ppm, then nitrites spike, finally nitrates appear
- Only add fish when ammonia and nitrites read 0 ppm for 7 consecutive days
Pro Tip: Use seeded filter media from an established tank to cut cycling time by 50%. Never add fish to uncycled water—no “hardy” species survive ammonia spikes.
Final Note: Building a large aquarium demands respect for physics and biology, but the payoff—a custom aquatic landscape tailored to your fish’s needs—is unmatched. Prioritize structural integrity over speed: triple-seal every seam, test outdoors for 72 hours, and never compromise on viewing panel thickness. If your floor can’t handle 1,300+ pounds or you lack woodworking confidence, invest in a professionally built tank. For those ready to build, remember Joey Mullen’s mantra from DIY Fishkeepers: “Measure twice, cut once, seal three times.” Your bichirs will thank you with decades of graceful, stress-free swimming in their perfectly sized habitat.