How to Clean Planted Aquarium Substrate
Your planted aquarium’s substrate isn’t just pretty gravel—it’s a living ecosystem where beneficial bacteria break down waste and plant roots drink nutrients. When that once-pristine substrate develops unsightly debris patches, you might panic and reach for the gravel vacuum. But deep cleaning can destroy root systems, trigger ammonia spikes, and cloud your water for days. The truth? You’re not trying to sterilize your tank—you’re performing delicate surgery on a living system. This guide reveals exactly how to clean planted aquarium substrate safely while preserving your aquatic garden’s health. You’ll learn substrate-specific techniques, spot-cleaning tricks for carpeted tanks, and why your vacuum settings could be killing your plants.
Why Deep Cleaning Ruins Planted Tank Ecosystems
Planted tank substrate functions as your aquarium’s digestive system. Beneficial bacteria colonize this layer to process fish waste into plant nutrients through the nitrogen cycle—meaning that “dirt” you see is actually fertilizer. Aggressive vacuuming destroys these bacterial colonies and uproots delicate root systems. Worse, completely removing substrate during cleaning causes dangerous ammonia spikes as the biological filtration collapses. In balanced tanks, plants absorb fish waste directly through their roots, creating a natural recycling system that reduces cleaning needs. Your goal isn’t spotless gravel—it’s removing excess mulm (decaying organic matter) while preserving the living matrix beneath.
Critical Tools for Safe Planted Tank Cleaning
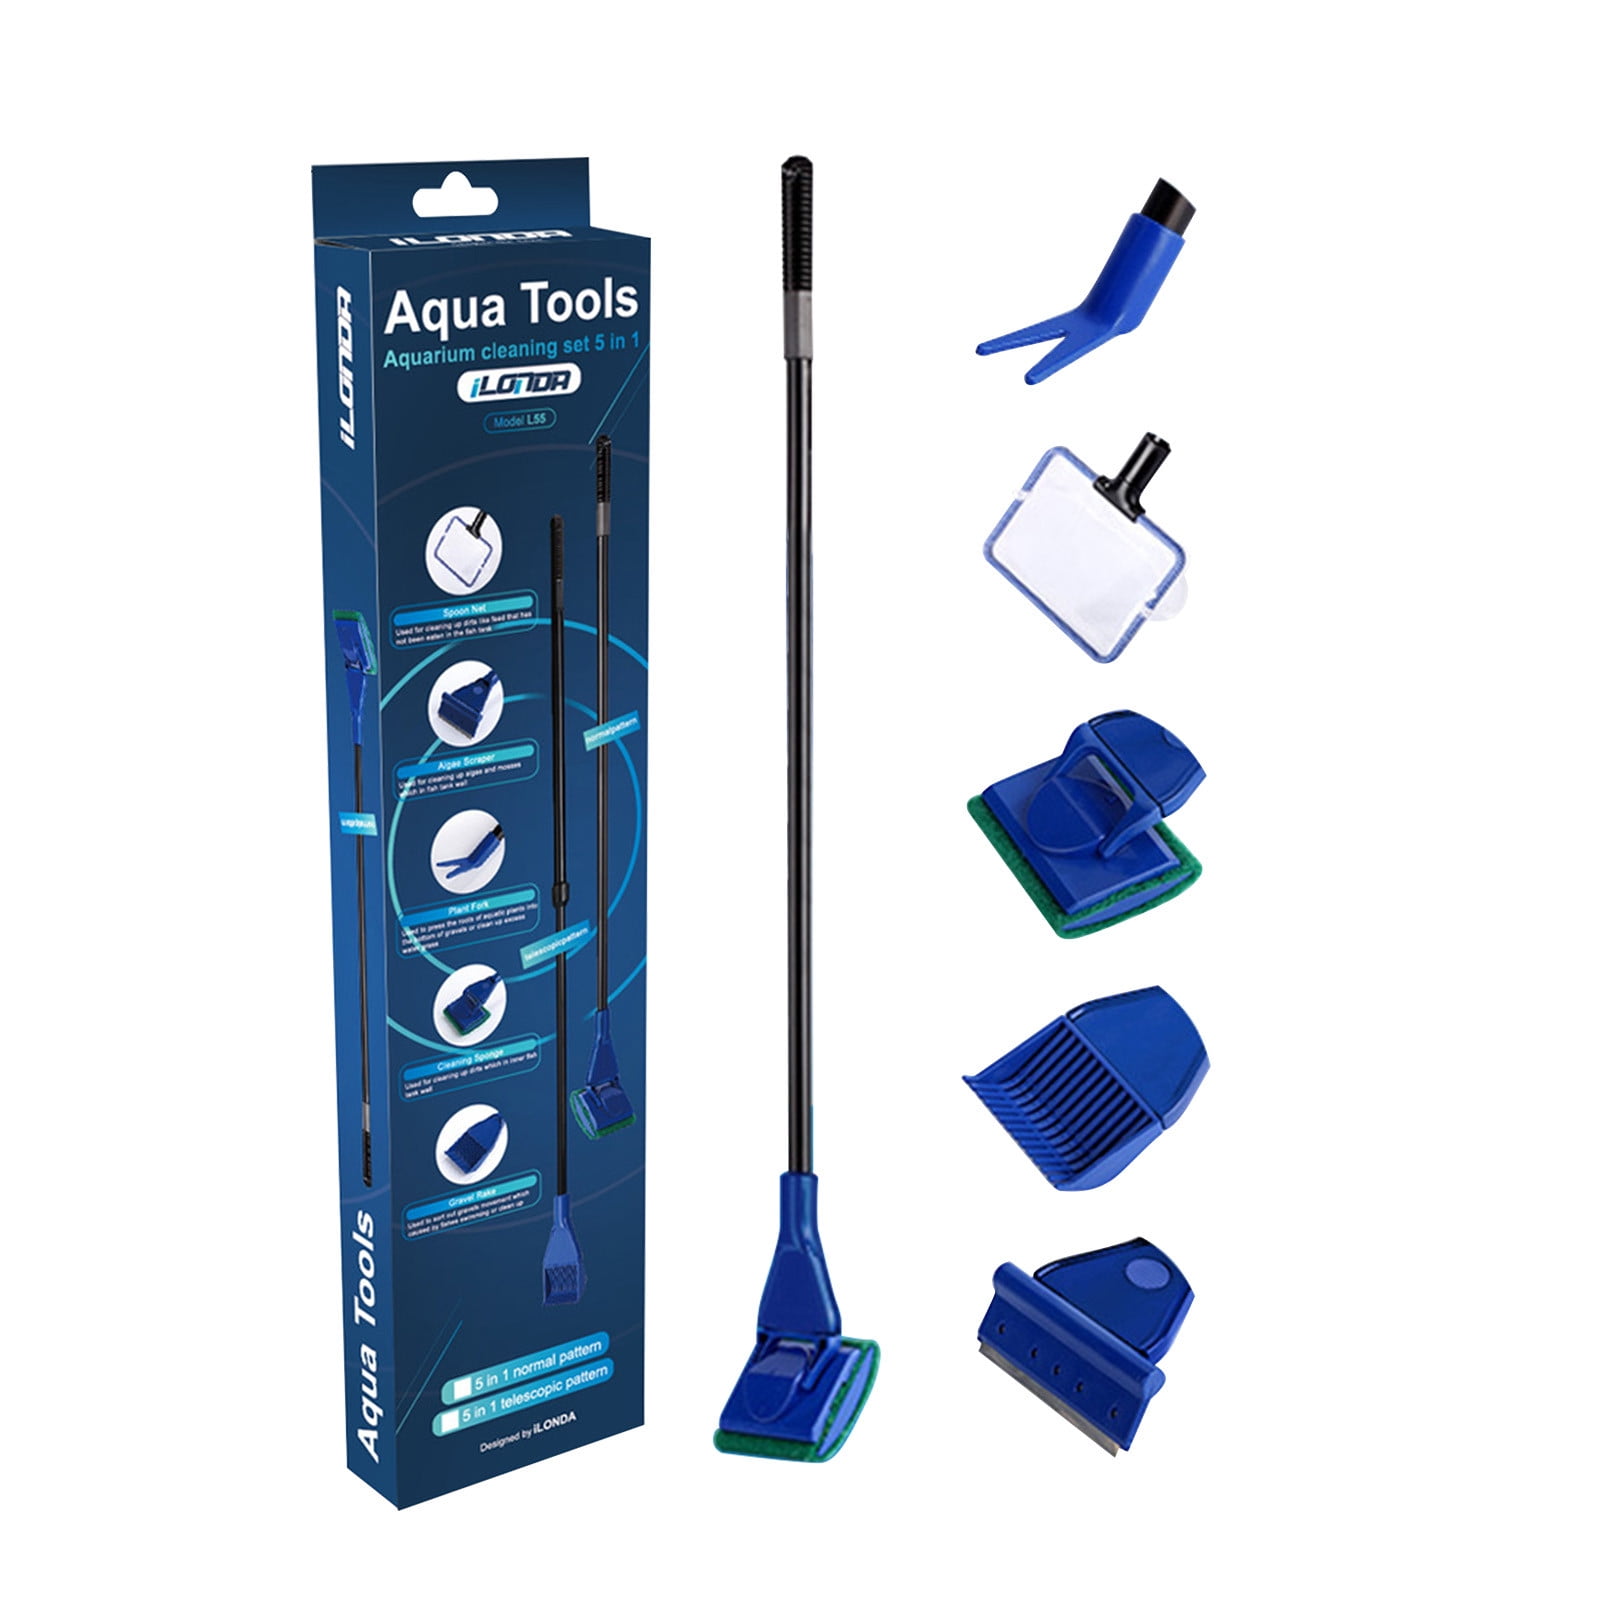
Using standard gravel vacuums risks uprooting plants and destroying ecosystems. These specialized tools prevent disaster:
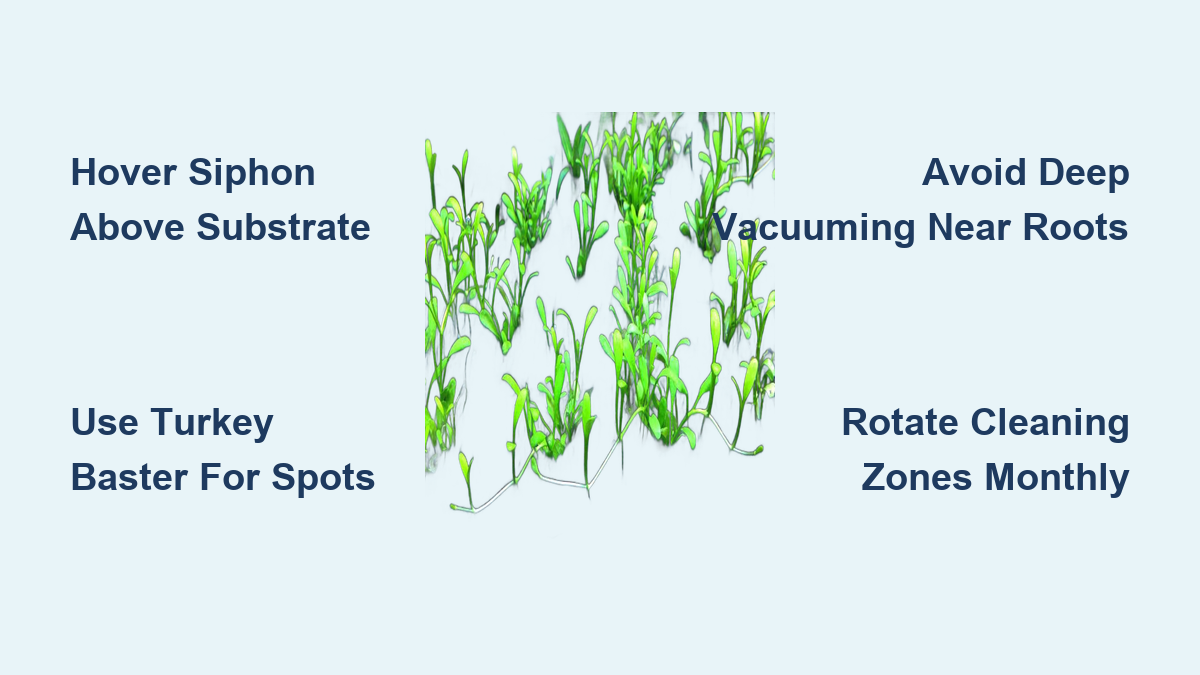
- Flow-Controlled Siphon System: Essential for adjusting suction strength. Crimp the hose or use a Python-style valve to create feather-light suction that lifts debris without disturbing substrate.
- 5mm Diameter Turkey Baster: Your secret weapon for spot-cleaning between Dwarf Hairgrass carpets. Blast debris loose, then siphon the cloud before it resettles.
- Substrate Probe (Chopstick or Plastic Rod): Gently releases toxic gas pockets in open areas without disturbing roots.
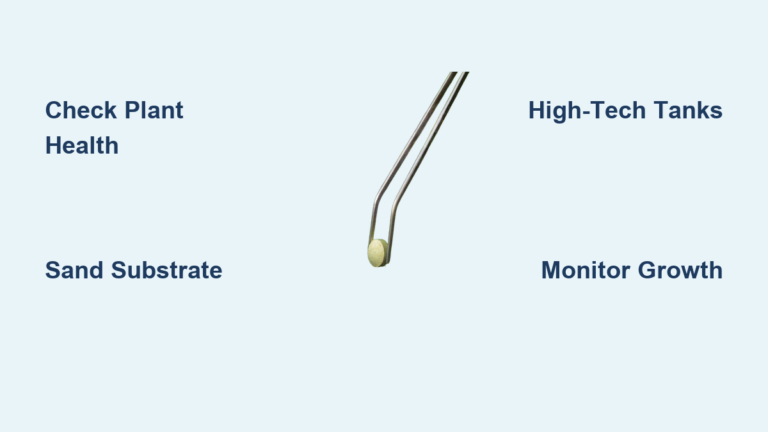
- Long-Handled Forceps: Precisely remove dead leaves and uneaten food from plant bases.
- Soft-Bristled Toothbrush: Dislodges algae from hardscape without scratching surfaces.
Never use standard gravel vacuums that plunge deep into substrate. Their powerful suction destroys root networks and creates vacuum funnels that destabilize your aquascape.
Substrate-Specific Cleaning Methods That Preserve Roots
Fine Sand Cleaning Without Clouding
Sand compacts easily, trapping debris on the surface. Tilt your siphon tube ¼ inch above the sand bed—never touching it. Move slowly in circular motions while gently stirring just above the surface with a probe. The debris will float up into your siphon while the sand remains undisturbed. If you see sand entering the tube, raise the siphon immediately. Malaysian Trumpet Snails work 24/7 to prevent compaction by burrowing through sand layers.
Aquasoil and Nutrient Substrate Rescue
Fluorite and ADA Aqua Soil release nutrients when disturbed, causing dangerous ammonia spikes. Keep siphon tubes hovering 2 inches above the substrate. Only target visible uneaten food pellets or fish waste—never vacuum “dirt” that’s actually fertilizer. Perform smaller, more frequent water changes (10-15% weekly) instead of deep cleans. If cloudiness occurs, add a water clarifier but avoid carbon filters that strip nutrients.
Gravel Substrate Deep-Cleaning Technique
Gravel allows deeper cleaning but still requires caution. Insert the siphon tube only ½ inch deep—no deeper than the top quarter-inch layer. Move the tube in small circles while keeping it vertical to lift debris without sucking gravel. In open areas between plants, gently stir the top layer with your probe before siphoning. Never vacuum near root-dense plants like Cryptocorynes; use the turkey baster method instead.
Step-by-Step Planted Tank Cleaning Protocol

Pre-Cleaning Tank Preparation Checklist
Unplug all heaters and filters before starting. Shine a flashlight across the substrate to reveal hidden debris pockets. Identify three critical zones: open areas for light vacuuming, carpeted zones requiring spot-cleaning, and root-sensitive plants needing baster-only treatment. Plan a cleaning path that avoids crossing the same plant area twice—this prevents root disturbance. Reduce lighting 30 minutes prior to minimize algae release during cleaning.
Surface Debris Removal Sequence
Start by skimming the water surface with a fine mesh net to remove protein film. This prevents stirred debris from sticking to the surface later. Then target visible waste in open areas: hold your siphon 1 inch above gravel or 2 inches above aquasoil. Create weak suction by kinking the hose, then gently wave the tube in slow figure-eights. For stubborn waste, use your probe to lift debris 2-3mm above the substrate before siphoning. Stop immediately if you see substrate entering the tube.
Spot-Cleaning Carpeted Plant Zones
Never vacuum Monte Carlo or Dwarf Hairgrass carpets directly. Instead:
1. Blast debris clusters with your turkey baster from 2 inches away
2. Wait 3 seconds for particles to rise into the water column
3. Insert siphon tube above the cloud and trigger suction
4. Remove only the visible debris cloud—never plunge the tube
For thick stem plant jungles, use forceps to lift leaves and siphon debris from exposed substrate patches. Spend 30 seconds max per square inch to avoid root stress.
Post-Cleaning Stability Measures
After removing 15-20% of tank water, check your filter intake for clogs. Run new water through a clean towel before adding to prevent shocking plants. Test ammonia levels 24 hours post-clean—if elevated, add bacteria supplement. Avoid fertilizing for 48 hours to prevent nutrient spikes. If cloudiness persists beyond 4 hours, add a flocculant but skip carbon filtration to preserve nutrients.
Maintenance Schedule That Prevents Deep Cleaning
Weekly Spot-Cleaning Routine
During water changes:
– Vacuum only open areas (no plants)
– Use turkey baster on visible debris near hardscape
– Remove dead leaves with forceps
– Skim surface film with mesh net
Monthly Gas Pocket Prevention
In open substrate zones, gently poke your probe 1-2 inches deep in a grid pattern. If rotten egg smell (hydrogen sulfide) appears, increase poke frequency but reduce depth. Add 1-2 Malaysian Trumpet Snails per 10 gallons to aerate substrate naturally. Never stir near plant roots—focus only on unplanted areas.
Quarterly Deep Clean Rotation
Rotate cleaning zones monthly:
– Month 1: Front open area
– Month 2: Back left quadrant
– Month 3: Back right quadrant
– Month 4: Front corners
This prevents over-disturbing any single area while maintaining overall cleanliness.
Troubleshooting Common Cleaning Disasters
Algae Blooms After Cleaning
This signals nutrient imbalance from disturbed substrate. Immediately:
– Reduce feeding by 50% for 3 days
– Add 5 Amano shrimp per 20 gallons
– Perform 10% daily water changes for a week
Prevent recurrence by vacuuming less aggressively and ensuring proper plant nutrient uptake.
Toxic Gas Release (Rotten Egg Smell)
Hydrogen sulfide indicates anaerobic pockets. Gently stir affected areas with a probe while the filter runs to process released toxins. Add 3 Nerite snails per 10 gallons to prevent future buildup. Never release large gas pockets at once—work in small sections.
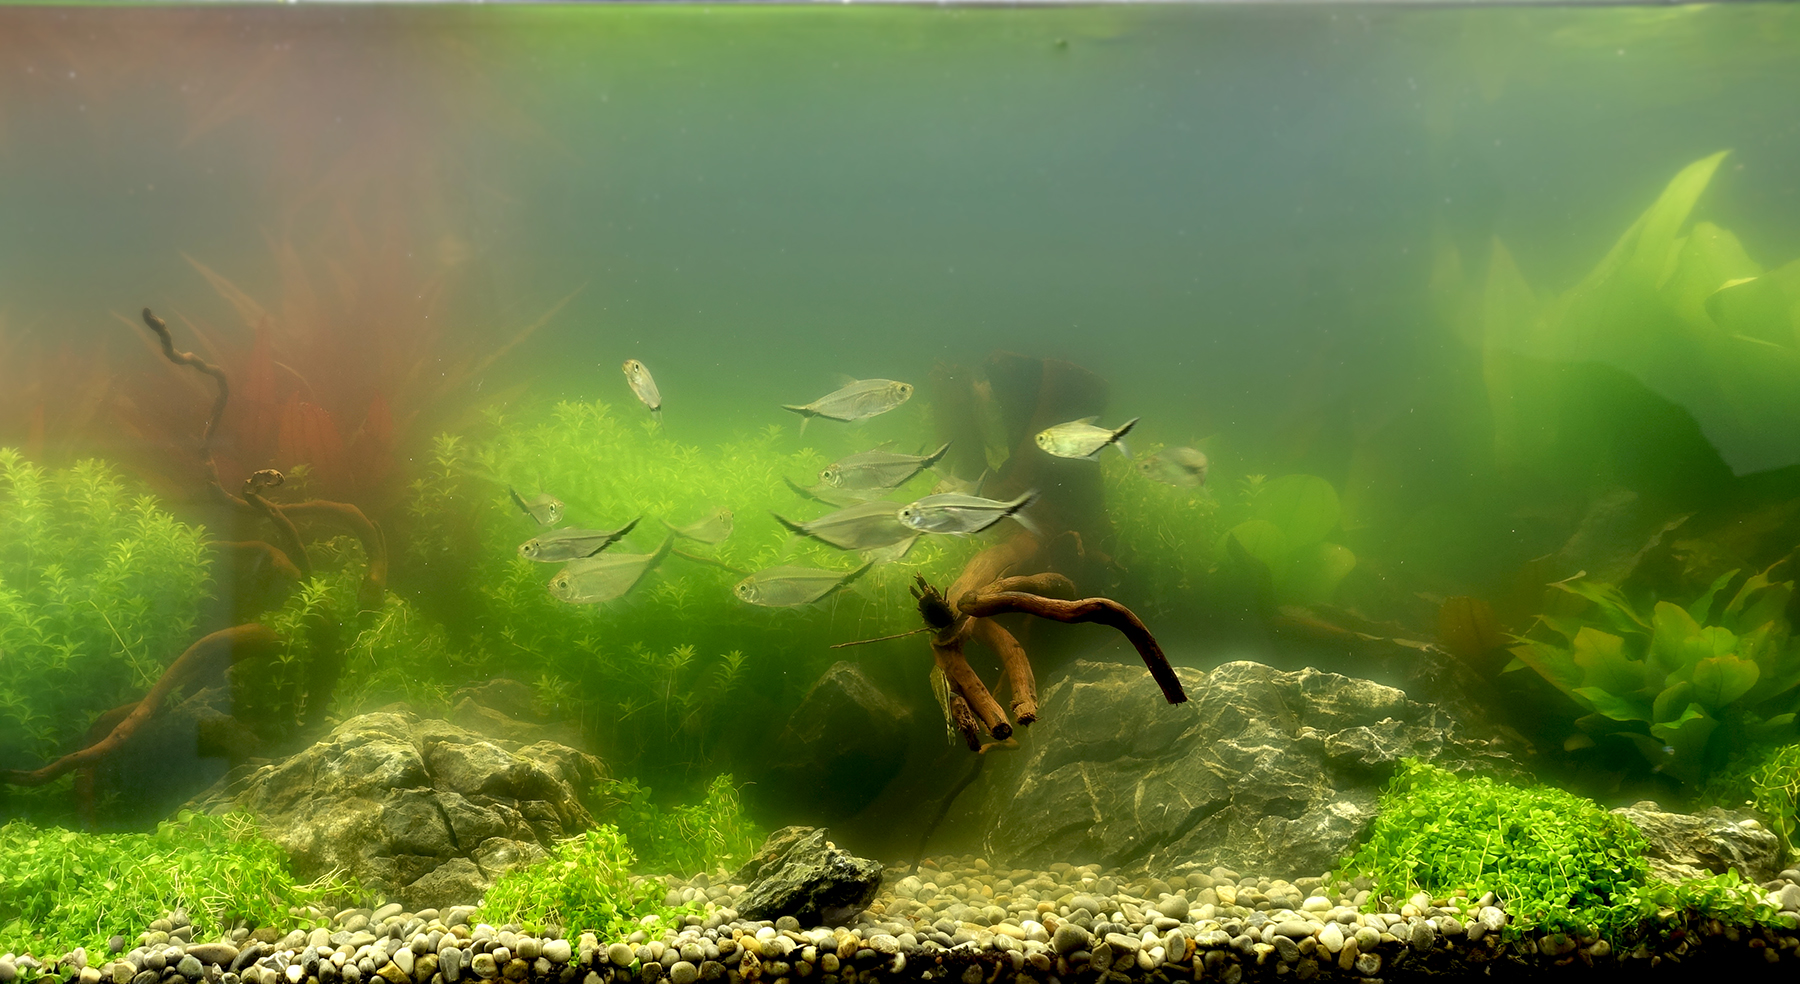
Persistent Cloudy Water
Caused by over-aggressive aquasoil cleaning. Add bentonite clay clarifier and skip carbon filtration for 72 hours. Next time, hover siphons higher and reduce suction. For sand tanks, wait 24 hours—the cloudiness usually settles as sand compacts.
Pro Techniques for Pristine Substrate Longevity
Strategic Clean-Up Crew Deployment
Create a maintenance alliance:
– Malaysian Trumpet Snails: Burrow 24/7 in sand/gravel
– Amano Shrimp: Consume mulm in mid-level zones
– Otocinclus Catfish: Graze on surface debris
– Nerite Snails: Patrol hardscape edges
Introduce these gradually—add 2 snails or 5 shrimp per 10 gallons weekly to avoid ammonia spikes.
Root Tab Protection System
When using root tabs, mark their locations with colored toothpicks:
– Red: Freshly inserted tabs (avoid for 2 weeks)
– Yellow: Mid-cycle tabs (vacuum lightly around)
– Green: Depleted tabs (safe to clean)
Never vacuum within 1 inch of tab locations to prevent nutrient leaching.
Post-Clean Nutrient Rebalancing
After any cleaning:
– Test nitrate and phosphate levels
– Reduce liquid fertilizer by 25% for 3 days
– Increase CO2 injection by 10% temporarily to boost plant uptake
– Add bacterial supplement if ammonia appears
This prevents the algae blooms that often follow cleaning sessions.
Cleaning planted aquarium substrate successfully means working with your ecosystem—not against it. By hovering your siphon above rather than plunging into the substrate, targeting only visible waste, and using spot-cleaning for carpeted zones, you’ll maintain clarity without sacrificing plant health. Remember: a little mulm is fertilizer, not filth. Implement the weekly spot-cleaning routine with your turkey baster, add a strategic clean-up crew, and rotate deep cleaning zones monthly. Your substrate will stay visually clean while nurturing the invisible bacterial networks that keep your entire aquatic garden thriving. The healthiest planted tanks aren’t sterile—they’re carefully curated ecosystems where cleaning supports life rather than destroys it.