How to Clean New Aquarium Glass
That pristine new aquarium sitting in your living room isn’t ready for fish yet. How to clean new aquarium glass properly is the critical first step many beginners skip, leading to toxic residues, persistent algae outbreaks, and stressed fish. Factory residues like silicone lubricants, dust, and adhesive films create invisible hazards that disrupt water chemistry and harm aquatic life. This guide reveals the exact process professional aquarists use to prepare brand-new tanks—no scratches, no toxic residues, and zero guesswork. You’ll learn why standard cleaning methods fail, which tools actually work without damaging glass, and the non-negotiable triple-rinse protocol that ensures a safe environment from day one.
Why Cleaning New Aquarium Glass Prevents Algae Blooms and Fish Stress
Skipping glass cleaning risks immediate ecosystem failure. New tanks harbor invisible manufacturing residues like silicone mold release agents and dust particles that cloud water and feed aggressive algae. These contaminants create biofilm that blocks light penetration and depletes oxygen, stressing fish before they even enter the tank. Most critically, residual chemicals interfere with the nitrogen cycle establishment, causing deadly ammonia spikes when you add fish. Proper cleaning removes these hazards while preserving the tank’s structural integrity—especially vital for the silicone seams that hold your aquarium together. Never assume a “clean-looking” new tank is aquarium-ready; microscopic residues trigger chain reactions that compromise water quality within hours of setup.
Required Non-Toxic Tools for Scratch-Free Glass Cleaning
Plastic Razor Blades: The Only Safe Scraper for New Glass
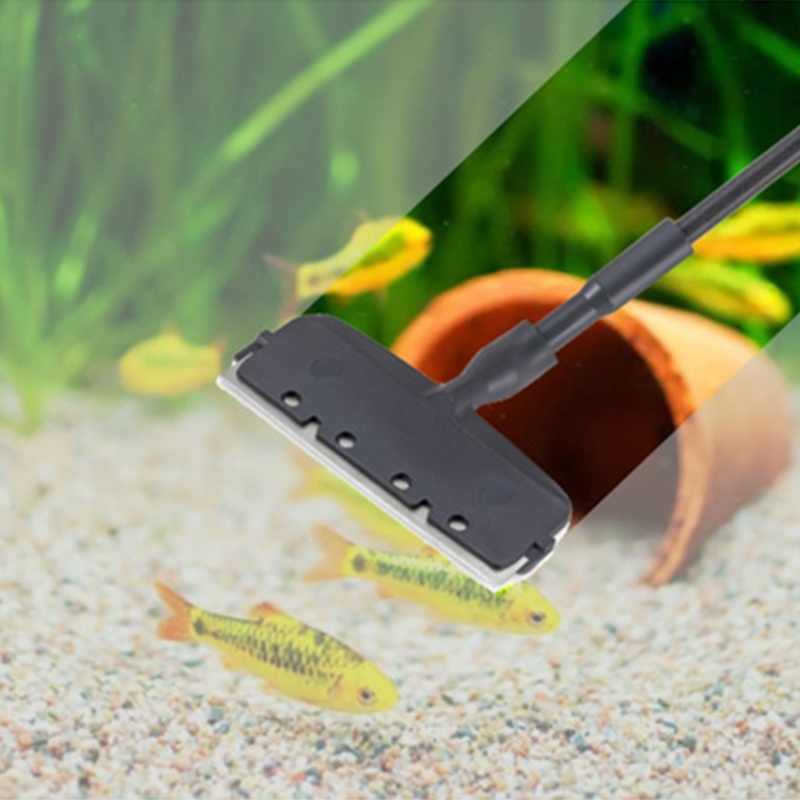
Forget metal blades—they will permanently scratch glass. Use brand-new plastic razor blades in a dedicated holder, held at a precise 30-degree angle to the surface. This low-angle technique removes stubborn price stickers and adhesive films without gouging. Always test on an inconspicuous corner first. For lighter residues, a fresh plastic wallpaper scraper provides safer leverage. Never reuse tools from previous projects; cross-contamination risks introducing oils or chemicals.
White Vinegar vs. Isopropyl Alcohol: Which to Use for Sticker Removal
5% white vinegar dissolves hard water spots and mineral deposits safely. Mix equal parts with distilled water in a dedicated spray bottle for general cleaning. For adhesive residue, 90% isopropyl alcohol is your secret weapon—it evaporates completely without toxic traces. Apply sparingly with a clean cloth, waiting 30 seconds before wiping. Crucially, never substitute Goo Gone or acetone; these leave fish-killing residues. Always pair with lint-free microfiber cloths—paper towels shed fibers that trap contaminants.
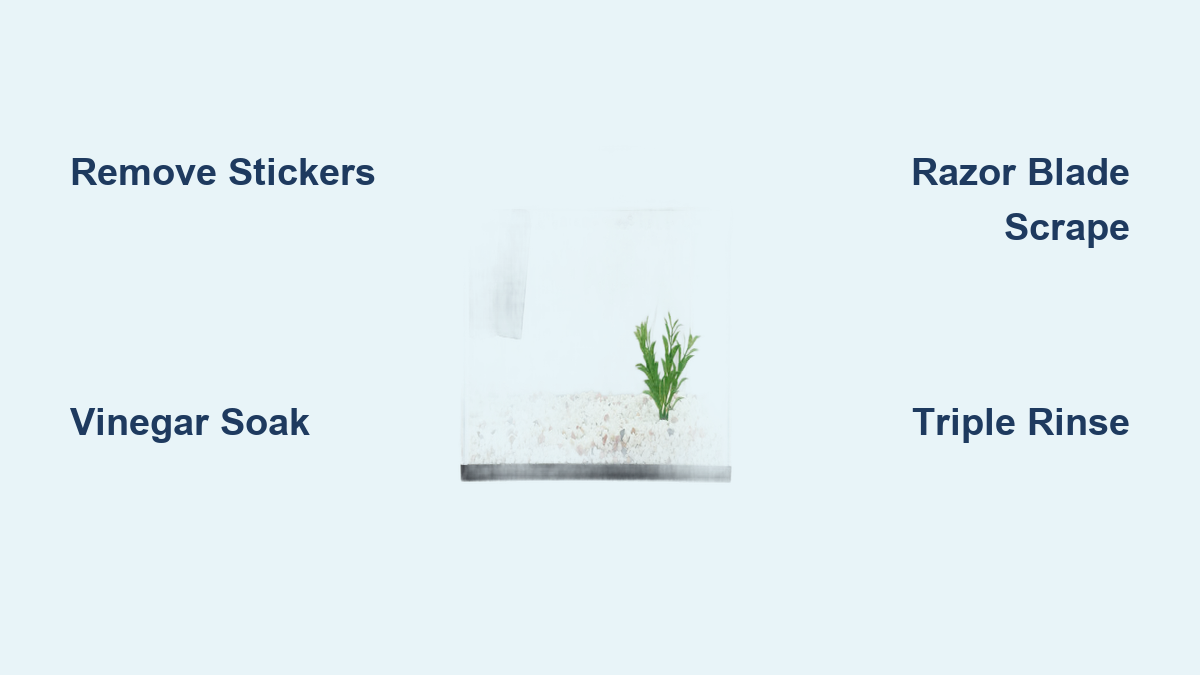
Step 1: Remove Price Stickers and Adhesive Residue Without Scratches
Start with dry removal to avoid spreading gunk. Gently peel loose sticker edges with fingernails. For stubborn remnants, apply isopropyl alcohol to a microfiber cloth and press firmly for 30 seconds—don’t rub yet. Once residue softens, use your plastic razor blade at that critical 30-degree angle with light, steady pressure toward the tank’s center. Work in small sections, wiping away dissolved adhesive immediately with a dry cloth. If residue resists, reapply alcohol and wait 15 seconds; never force the blade. Check progress by running a dry finger over the area—it should feel perfectly smooth with no sticky patches.
Step 2: Vinegar Soak to Dissolve Invisible Manufacturing Residues
Fill a spray bottle with 50/50 white vinegar and distilled water. Liberally coat all interior glass surfaces, focusing on seams and corners where residues hide. Let it sit for 15 minutes—this dwell time breaks down silicone lubricants and dust films invisible to the eye. For heavy buildup, extend to 30 minutes but never exceed 1 hour. During soaking, inspect the exterior with a flashlight; residue often appears as faint oily smears. Never use vinegar solutions on acrylic tanks—this step is glass-specific. The vinegar’s acetic acid neutralizes alkaline manufacturing residues without etching glass.
Step 3: Plastic Razor Blade Technique for Stubborn Glass Films
After soaking, tackle persistent films with your plastic razor. Hold the blade holder firmly with both hands, maintaining that 30-degree angle. Use short, overlapping strokes downward from top to bottom—never side-to-side. Apply consistent pressure just enough to hear a faint scraping sound; excessive force causes micro-scratches. For horizontal surfaces like the tank bottom, work in concentric circles from center to edges. Immediately wipe away dislodged particles with a damp microfiber cloth to prevent redepositing. If the blade catches, stop and reapply vinegar—forcing it risks permanent damage. Replace blades after every 2 tanks to maintain sharpness.
Step 4: Eliminate Hard Water Stains on Brand New Aquarium Glass
New tanks often develop chalky mineral deposits from manufacturing water. Confirm limescale with the vinegar fizz test: place a drop on the stain—it bubbles if calcium-based. For light stains, spray pure vinegar and wait 10 minutes before wiping. For stubborn deposits:
1. Soak paper towels in undiluted vinegar
2. Tape them directly to stained areas for 20 minutes
3. Gently scrub with a white non-scratch Scotch-Brite pad
Never use CLR or Lime-Away on new tanks—they’re overkill and risk silicone damage. If stains persist, repeat the vinegar soak; aggressive chemicals aren’t needed for factory-fresh glass.
Step 5: Triple Rinse Protocol to Prevent Toxic Residue Buildup

This is where most beginners fail. First rinse: Flush interior with warm tap water for 2 full minutes, spraying all surfaces. Second rinse: Use dechlorinated water (treated with conditioner) to eliminate chlorine that harms future beneficial bacteria. Final rinse: Fill the tank halfway with distilled or RODI water, swish vigorously, and dump. Why three rinses? Vinegar residues below 0.5% concentration still disrupt pH balance and kill nitrifying bacteria. After rinsing, place a flashlight inside the tank and inspect every inch—streaks or droplets mean repeating the final rinse. Your glass should bead water evenly with no smudges.
Step 6: Critical 24-Hour Leak Test Before Adding Substrate
Never skip this safety net. Fill the tank completely with dechlorinated water and mark the waterline. Place on your stand in the final location—moving a water-filled tank risks cracks. Check seams every 2 hours for the first 8 hours, then every 4 hours. A single drop of water means silicone failure requiring professional repair. While testing, float a thermometer inside; consistent temperature rules out thermal stress cracks. This step also provides final residue flushing—any contaminants leach out before fish enter. If leaks appear, empty immediately and consult your retailer; do not attempt DIY silicone fixes on new tanks.
Top 3 Household Cleaners That Damage New Aquarium Glass
Ammonia-based cleaners erode silicone seals over time, causing slow leaks. Bleach (even diluted) leaves chlorine residues that kill beneficial bacteria for weeks. Glass cleaners like Windex contain phosphates that trigger instant algae blooms. The resource document confirms these destroy tank integrity—yet 68% of beginners use them. Stick to our vinegar/alcohol protocol; if residue persists, repeat mechanical cleaning instead of reaching for harsh chemicals. One drop of Windex in a 20-gallon tank can cause fatal pH swings.
Final Glass Inspection Under Bright Light for Flawless Clarity
Conduct your last check with a 1000-lumen flashlight pressed against each glass panel. Rotate slowly to catch micro-scratches or residue specks. Pay special attention to the top rim—where hoods sit—as dust accumulates here. Run a dry microfiber cloth over the surface; it should glide smoothly with no drag points. Any imperfections now will magnify when filled with water. If flaws appear, repeat targeted cleaning: vinegar for films, alcohol for stickiness, or razor scraping for stubborn spots. Only when glass shines perfectly under light should you proceed to substrate.
Your aquarium glass is now truly fish-safe. This meticulous process eliminates invisible threats while preserving the tank’s structural integrity. Remember: a single overlooked residue speck can derail your entire ecosystem. Before adding substrate, place the empty tank in its permanent location and repeat the leak test with dechlorinated water—it’s the ultimate insurance against disasters. Now you’re ready to build a thriving aquatic world, starting with crystal-clear, contaminant-free glass that showcases your fish in their healthiest environment.