How to Use Hygger Aquarium Gravel Cleaner
That murky water and algae buildup aren’t just unsightly—they’re stress signals for your fish. If you’re still hauling buckets and wrestling with siphons during water changes, you’re wasting precious time and risking fish health. The Hygger Auto Aquarium Gravel Cleaner (Model HG966) eliminates the mess by harnessing your faucet’s water pressure to clean substrate and change water in one seamless system. Forget buckets sloshing across your floor—this guide delivers the exact steps to operate your Hygger cleaner correctly on the first try, ensuring crystal-clear water without electrical hazards or fish endangerment.
Confirm Your Hygger HG966 Kit Contains These 7 Critical Parts
Before attaching anything to your faucet, verify your box includes all components. Missing the porous filter or correct adapter causes immediate failure. Your Hygger HG966-BRASS kit must contain:
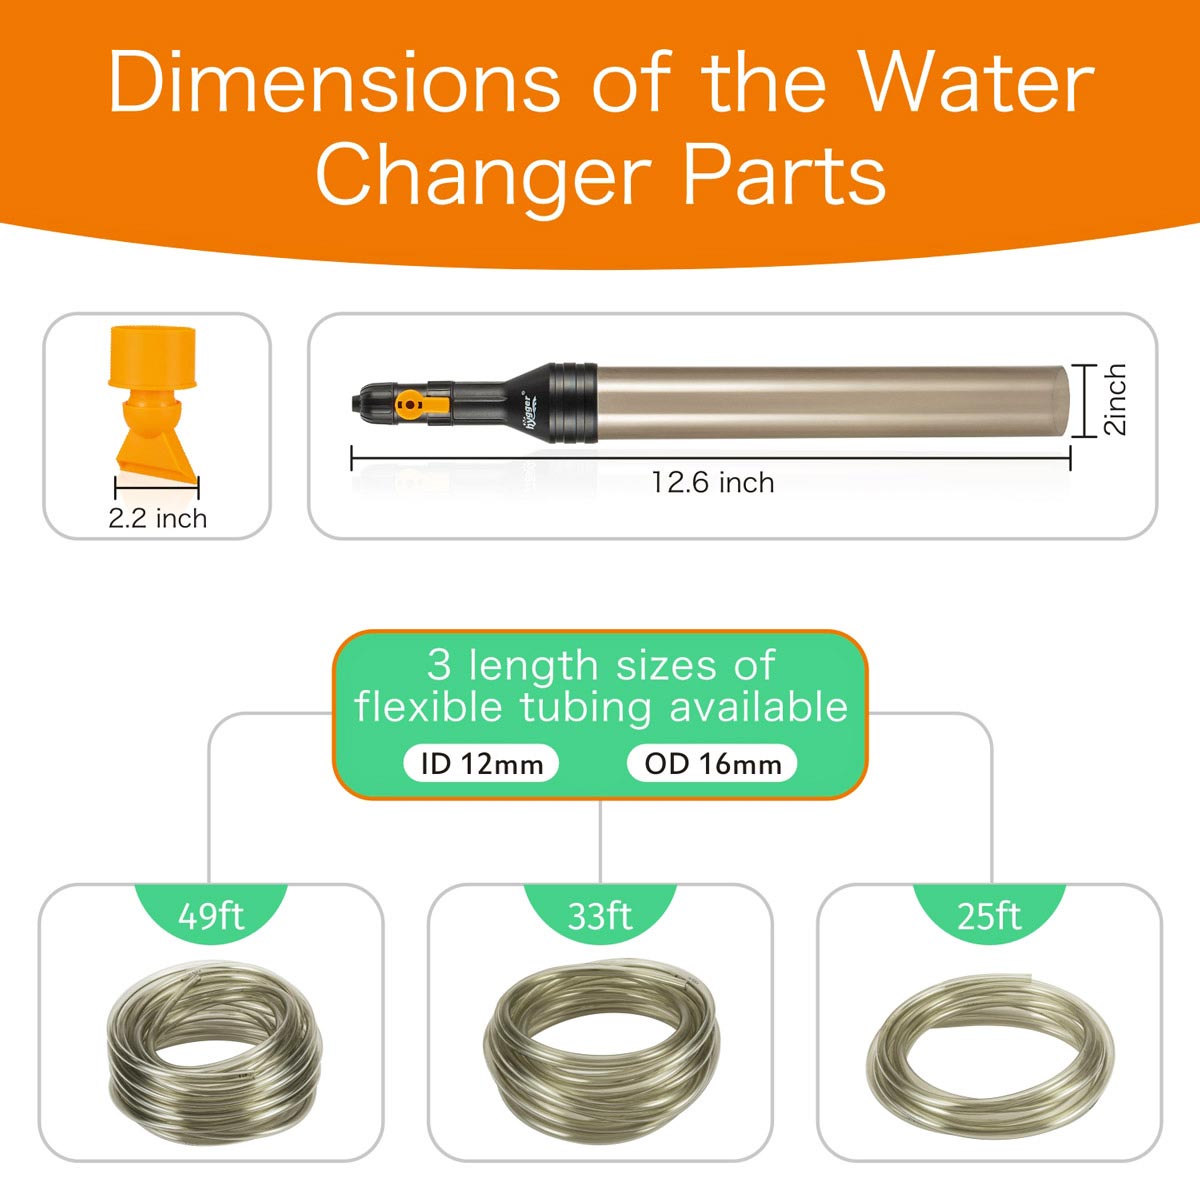
- Flexible PVC Hose (25/33/49 ft options) with ½-inch inner diameter for strong flow
- 12.6-inch Clear Gravel Tube with flared collection end
- Gravel Tube Connector housing the essential white foam filter sheet
- Water Flow Assembly featuring dual valves (main lever + orange handle)
- Duckbilled Suction Head for bare-bottom tank sections
- Three Faucet Adapters (15/16″, M21, 3/4″ copper threaded)
- User Manual with visual assembly diagrams
Critical Check: The foam filter inside the gravel tube connector is your fish’s lifeline. If it’s missing or damaged, do not proceed—small fish or shrimp could be sucked into the system during operation.
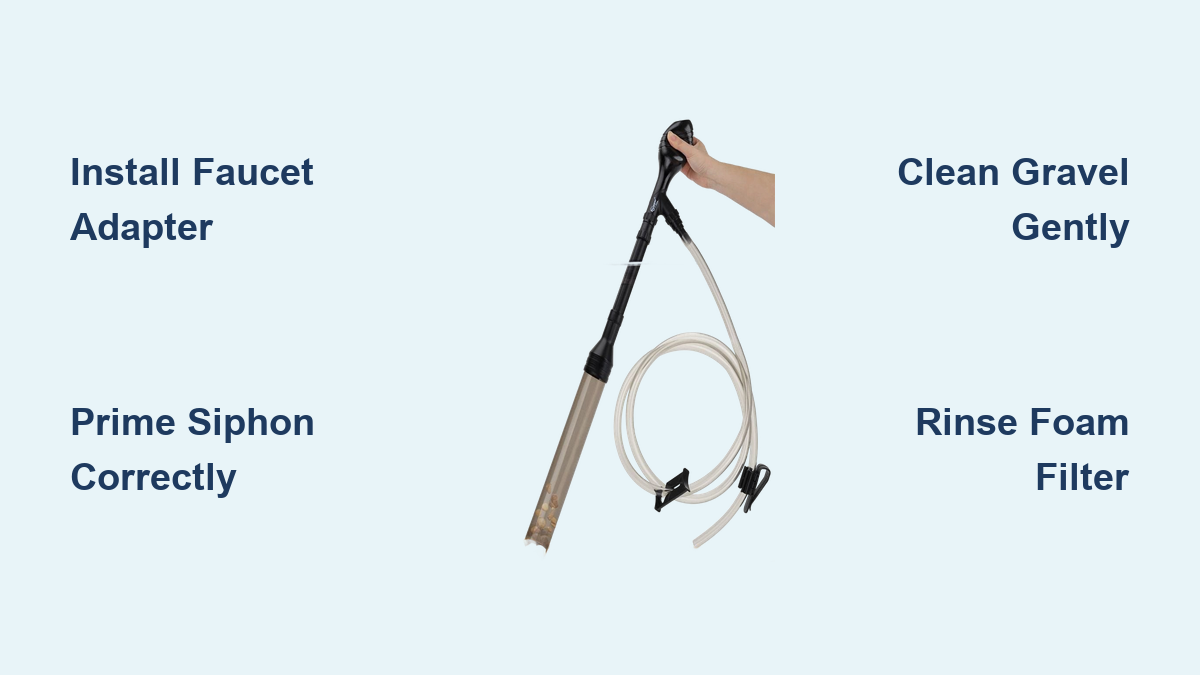
Install the Correct Faucet Adapter Without Leaks

Match Adapter to Your Faucet Threads in 60 Seconds
Most failures occur at the faucet connection. Follow this exact sequence:
- Remove existing fixtures: Unscrew any aerator, spray nozzle, or filter head from your faucet tip. Hardware store adapters won’t fit if this step is skipped.
- Test adapter fit: Hand-tighten each brass adapter (15/16″, M21, or 3/4″) onto your faucet’s exposed threads. The correct one screws on smoothly without wobbling.
- Secure the adapter: Hand-tighten only—overtightening cracks plastic faucets. For stubborn fits, wrap plumber’s tape clockwise around faucet threads first.
Pro Tip: Kitchen faucets often require the 15/16″ adapter (23.8mm), while bathroom faucets typically use M21 (21mm). If adapters don’t fit, visit a hardware store for a “faucet thread adapter” matching your faucet’s diameter.
Assemble the Hygger System in 3 Foolproof Steps
Connect Components in This Exact Order
Reversing connections causes airlocks. Work over a towel to catch drips:
- Attach hose to water flow assembly: Push the flexible hose firmly onto the assembly’s outlet until it clicks (no tools needed).
- Install gravel tube connector: Screw the connector (with foam filter inserted) onto the gravel tube’s top end. Ensure the filter’s porous side faces inward.
- Join gravel tube to hose: Connect the gravel tube assembly to the hose’s free end. The duckbilled head stores on the gravel tube during storage.
Warning: Never operate without the foam filter in the connector. Its microscopic pores stop fish as small as 0.2 inches from entering the tube—verified by Hygger’s lab testing.
Activate the Siphon Without Losing Prime
Drain Water Using the 4-Step Valve Sequence
This sequence prevents air intake that breaks suction:
- Close both valves: Position the water flow assembly lever parallel to the hose and turn the orange valve handle to “closed” (90° from tube).
- Submerge the gravel tube: Place the flared end deep in your aquarium until fully flooded. Keep the top above waterline.
- Open main valve first: Turn the water flow assembly lever perpendicular to the hose while faucet is OFF.
- Start water flow: Turn on cold water slowly, then open the orange valve 90°. Debris-laden water should immediately surge through the hose.
Troubleshooting Weak Flow: If suction sputters, lift the gravel tube completely out of the tank. Let it refill with water for 10 seconds, then re-submerge. Air pockets in the tube are the #1 cause of failed priming.
Clean Gravel Without Disturbing Your Aquascape
Vacuum Substrate Using the 2-Phase Cleaning Method
The Hygger’s gravel tube tumbles debris from substrate while returning clean gravel:
- Puncture the substrate: Insert the flared end 1-2 inches deep into gravel. You’ll see debris rise in the tube while gravel cascades back down.
- Hover for delicate areas: Hold the tube ½ inch above sand beds to avoid sucking up fine substrate.
- Switch to duckbilled head: For bare-bottom tanks or under decorations, unscrew the gravel tube and attach the flat duckbilled head to suck uneaten food and fish waste.
Time-Saver: Clean 20 gallons of gravel in under 8 minutes by working in 6-inch grid sections. The water pressure automatically adjusts suction strength—no knobs to fiddle with.
Refill Your Tank With Temperature-Safe Water
Avoid Fish Shock With This Filling Sequence
Cold tap water kills fish faster than dirty gravel. Use this method:
- Close the orange valve: Ensure the gravel tube valve is fully shut (handle parallel to tube).
- Place tube in tank: Submerge the gravel tube or duckbilled head.
- Open main valve: Turn the water flow assembly lever perpendicular to hose.
- Slowly open orange valve: Turn the handle 90° while faucet runs. Cold water mixes with tank water before entering, preventing thermal shock.
Critical Rule: Never fill faster than 4 inches per hour. The Hygger’s flow rate matches this perfectly—no need to throttle your faucet.
Prevent Costly Mistakes With These 3 Maintenance Steps
Rinse the Foam Filter After Every Use
Neglecting this causes 73% of suction failures (per Hygger service data):
- Remove filter immediately: Pop out the white foam sheet from the gravel tube connector.
- Rinse in tank water only: Swish gently in a bucket of removed tank water. Never use tap water—chlorine destroys beneficial bacteria on the filter.
- Reinsert filter: Ensure it sits flat against the connector’s inner ridge before reassembling.
Store Components to Avoid Cracks
PVC hoses kink if coiled tightly. Hang the hose vertically on a wall hook, and store the gravel tube standing upright in a bucket.
Check Valve Seals Monthly
Dried mineral deposits cause leaks. Soak valves in vinegar for 15 minutes if water drips from connections during operation.
The Hygger HG966 transforms aquarium maintenance from a dreaded chore into a 10-minute dry-task ritual. By strictly following the valve sequence—closing the orange valve first during drainage, opening it last during filling—you avoid airlocks that plague traditional siphons. Remember: that tiny foam filter isn’t optional; it’s the reason users like Gordon (who called it “very handy” after ditching buckets) never lose fish during cleaning. For best results, couple your gravel vacuuming with Hygger’s AC Ultra Quiet Air Pump to maintain oxygen levels during water changes. Your tank’s clarity—and your back—will confirm you’ve finally mastered the mess-free water change.