How to Set Up Aquarium Filter Pump
Your new aquarium filter pump sits on the counter, pieces scattered like a puzzle. That sinking feeling hits—you know clean water is life for your fish, but the instructions seem confusing. The truth? Setting up your filter pump correctly takes just 10 minutes and prevents 90% of beginner tank disasters. When you skip proper priming, air locks starve your beneficial bacteria of oxygen, causing ammonia spikes that kill fish overnight. This guide cuts through the confusion with exact steps to get water flowing immediately. You’ll learn why filling the filter chamber completely with water—not just adding a splash—is the make-or-break moment, how to arrange media for crystal-clear water, and why your pump might sound like a jet engine (and how to fix it in 60 seconds). Let’s transform that intimidating box into your tank’s life-support system.
Prime Your Filter Pump in 4 Critical Steps (No Air Locks)
Forcing water through a dry pump burns out motors within hours. The secret lies in completely flooding the chamber before power-on—this creates the water seal needed to start suction. Skipping this step causes that frustrating “hum but no flow” scenario 80% of beginners face.
Fill Filter Chamber Until Water Pours Out
- Assemble all components exactly as shown in your manual—tubing connections must click securely into place
- Submerge the entire filter unit in your filled aquarium for 30 seconds (or pour tank water directly into the chamber)
- Fill until water overflows the top rim—any air pocket prevents priming
- Keep fingers clear of impeller housing while filling to avoid injury
If water drains too fast during assembly, plug the outlet tube with your thumb while filling. The chamber must feel heavy with water weight—this ensures 100% air displacement. When you see water cascading from every seam, you’ve achieved the critical water seal.
Restart Procedures for Stubborn Pumps
Weak flow after initial startup means residual air remains trapped. Don’t panic—this happens with new tubing. First, unplug the unit and disconnect the intake tube. Suck gently on the tube (like a straw) until water reaches your lips, then immediately reconnect while water flows. If still struggling, disassemble the pump head and rinse the impeller under running water—tiny manufacturing debris often jams new units. Never run the motor dry for more than 5 seconds—this melts internal components.
Arrange Filter Media for Maximum Bacteria Growth (Not Clogging)
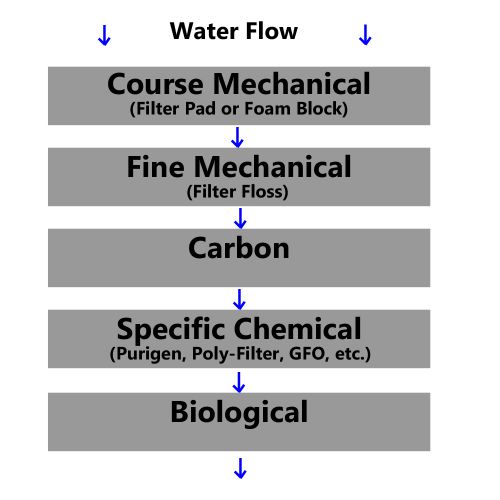
Your filter’s effectiveness depends entirely on media placement order. Putting chemical media first traps debris against carbon granules, rendering it useless within days. Biological media buried under sponges suffocates the bacteria it’s meant to host. Get this sequence wrong, and your tank cycles 3x slower.
Mechanical Media: The First Defense Barrier
Place coarse sponge or filter floss as the very first layer water contacts. This traps visible debris like fish waste and uneaten food before it reaches delicate biological media. In heavily stocked tanks, position a second finer sponge behind it to catch smaller particles. Replace or rinse mechanical media weekly in old tank water—tap water chlorine kills your bacterial colonies.
Biological Media: Where Life Thrives
Ceramic rings or bio-balls must sit directly after mechanical media where water flows freely through them. These porous structures provide 150x more surface area than smooth surfaces for ammonia-eating bacteria to colonize. Never rinse biological media under tap water—swish gently in removed tank water during water changes. For new tanks, add established media from a healthy aquarium to jumpstart cycling.
Chemical Media: The Emergency Cleanup Crew
Activated carbon belongs last in the sequence only when needed for specific issues. Use it to remove medication residues after fish treatments or clear tannin-stained water from driftwood. Never leave carbon in 24/7—it strips beneficial trace elements and becomes a bacterial graveyard after 4 weeks. Replace monthly when addressing water discoloration.
Choose the Right Filter Type for Your Tank Size

Mismatched filters cause either deadly dead zones or hurricane-force currents. A 20-gallon tank needs 100+ gallons per hour (GPH) flow rate—calculate by multiplying tank volume by 5. But flow strength matters more than raw numbers for delicate species.
Hang-on-Back Filters: Best for 10-40 Gallon Tanks
Position the intake tube 1 inch above the substrate to avoid sucking gravel. Angle the outflow toward the tank wall to create gentle circulation without blasting fish. Ideal for community tanks with tetras or guppies but avoid for messy eaters like goldfish—they clog intake strainers within days. Clean impeller cages weekly by rinsing in tank water.
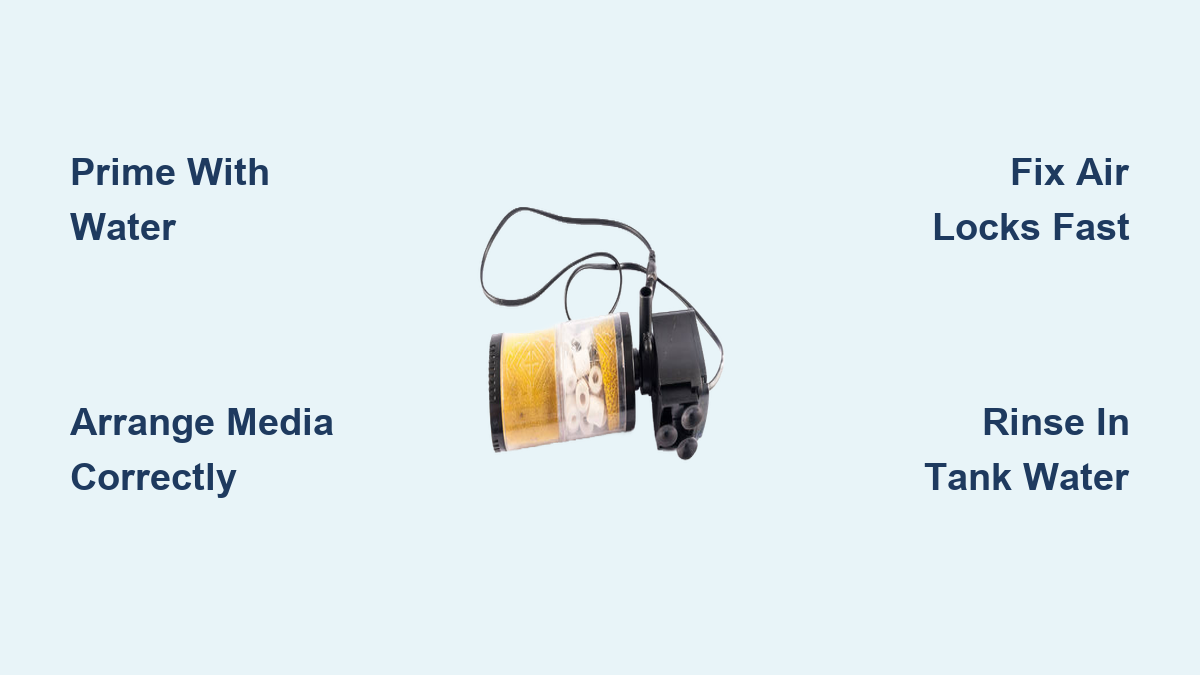
Canister Filters: Power for 50+ Gallon Tanks
Prime by opening the purge valve until water streams out—never seal the canister dry. Route intake tubes away from decorations to prevent blockages. The #1 mistake? Overstuffing media baskets. Leave 20% space for water movement or flow drops 50%. Best for planted tanks where strong surface agitation harms CO2 injection.
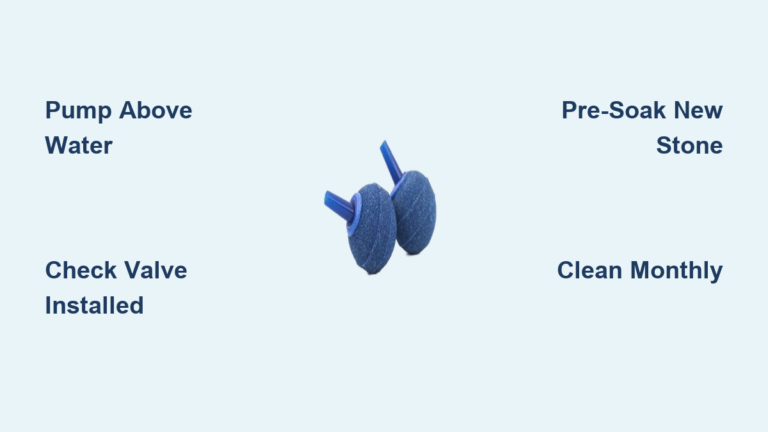
Sponge Filters: Essential for Fry and Shrimp Tanks
Connect air tubing to the uplift tube and submerge completely before turning on the air pump. The gentle flow won’t suck in baby fish but provides massive biological filtration. Clean by squeezing in old tank water during water changes—never replace the entire sponge at once to preserve bacteria.
Fix Common Setup Disasters in Under 5 Minutes
That gurgling sound or weak trickle means your filter fights an air battle. These fixes work 95% of the time without disassembly.
Stop Weak Flow Caused by Air Locks
Turn off power and disconnect the intake tube. Submerge the entire tube in tank water, covering the strainer completely. Suck firmly on the other end until water flows freely, then immediately reconnect while water pours out. For canister filters, open the bleed valve until all bubbles escape. Pro tip: Tape the intake tube to the back glass 2 inches below surface level—this creates constant water pressure for instant priming.
Silence a Noisy or Shaking Pump
Remove the impeller housing and check for hair-thin strands of filter floss wrapped around the magnet shaft. Rinse the ceramic shaft under running water—mineral deposits cause grinding sounds. If vibration persists, place rubber pads under the filter base. Never ignore loud noises—this indicates impeller damage that leads to complete failure within days.
Prevent Prime Loss During Power Outages
Keep a small cup of tank water next to your aquarium. When power returns, pour water directly into the filter chamber until overflowing before restarting. For canister filters, briefly open the purge valve to release trapped air. Critical: Never let the intake tube drain below water level during maintenance—clamp it shut first.
Monthly Maintenance That Protects Your Bacteria
Ripping out all media during cleaning crashes your nitrogen cycle. Follow this sequence to preserve bacterial colonies while removing sludge.
Rinse Mechanical Media Correctly
During water changes, remove sponges and swish gently in the bucket of removed tank water—never under tap. Squeeze until water runs clear but retains a light tan color (pure white means you killed bacteria). Replace foam inserts every 3 months as pores compact.
Inspect Biological Media Quarterly
Every 3 months, lift ceramic rings and check for slimy white buildup—that’s detritus suffocating bacteria. Rinse only in tank water until debris releases, preserving the essential brown biofilm. Replace 20% of media annually to maintain surface area.
Replace Chemical Media Strategically
Carbon loses effectiveness after 4 weeks—set phone reminders to swap it. Use only when treating diseases or clearing discoloration. After medication baths, run carbon for 72 hours then remove it—prolonged use harms water chemistry.
Your filter pump isn’t just equipment—it’s the heartbeat of your aquarium ecosystem. By priming correctly with a completely flooded chamber, arranging media in mechanical-biological-chemical sequence, and performing bacteria-friendly maintenance, you create invisible armor against deadly toxins. Within 48 hours of proper setup, you’ll see fish swimming confidently in crystal-clear water with no surface scum. Remember: when your filter hums steadily and water flows like a gentle river, you’ve built the foundation for a thriving underwater world. Now sit back and watch your aquatic family flourish—just check flow strength weekly by holding a net against the outflow. If bubbles pass through easily, it’s time for a quick media rinse.