How to Install Sponge Filter in Aquarium
Watching your ghost shrimp vanish into the powerful current of an Aqueon hang-on-back filter is every aquarist’s nightmare. If you’ve added delicate livestock like shrimp, guppy fry, or snails to your 20L planted tank only to see them trapped in your existing filter, you’re not alone. The solution? Learning exactly how to put a sponge filter in your aquarium—the safest, most effective method to protect tiny inhabitants while maintaining crystal-clear water. Unlike traditional filters with dangerous intakes, sponge filters create gentle, bubble-driven flow that won’t harm shrimp or fry. In this guide, you’ll discover precisely how to install both pre-filter sponges for your current setup and stand-alone units, plus critical cycling steps to avoid deadly ammonia spikes.
Why does this matter now? Strong filter currents are the #1 cause of shrimp loss in community tanks. But sponge filters solve this instantly by combining physical protection with essential biological filtration. Their porous foam blocks tiny creatures from entering while hosting beneficial bacteria that break down waste. Whether you’re converting a small shrimp tank or adding color to your guppy setup, this method works. By the end, you’ll have a shrimp-safe aquarium that keeps your ghost shrimp thriving and your water pristine—without expensive equipment or complex steps.
Stop Shrimp Loss: Why Your Current Filter Sucks In Delicate Livestock
Your Aqueon hang-on-back filter creates currents strong enough to trap ghost shrimp against the intake tube—a common problem in small 20L tanks. These powerful flows overwhelm shrimp and fry, pulling them into the filter media where they suffocate or get injured. Even “gentle” HOB filters are too aggressive for delicate species, especially in compact planted setups where water movement concentrates in corners.
How Strong Currents Harm Shrimp Within Hours
Ghost shrimp instinctively avoid high-flow zones, but your guppies’ activity can accidentally push them toward intakes. Once stuck, shrimp struggle to escape the suction, leading to stress, injury, or death within hours. Female guppies and snails might tolerate the current, but shrimp—especially juveniles—are at immediate risk.
Why Sponge Filters Eliminate This Danger Immediately
Sponge filters replace destructive currents with soft, upward water movement powered by air bubbles. The foam’s dense pores physically block shrimp from entering while allowing water to pass through. More importantly, they provide instant mechanical filtration (trapping debris) and biological filtration (hosting bacteria)—all without creating hazardous suction points.
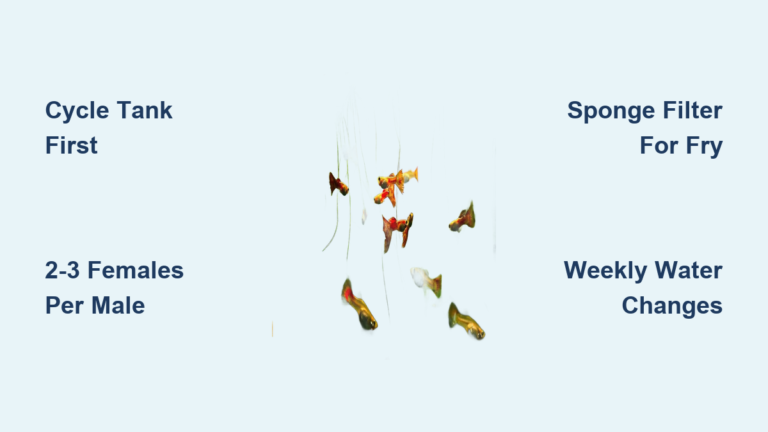
Must-Have Sponge Filter Components for a 20L Shrimp Tank
For your 20L planted tank housing guppies, snails, and ghost shrimp, you need compact, shrimp-safe components. Oversized equipment creates turbulence, while undersized units won’t handle waste from multiple species. Focus on these essentials:
Air Pump Sizing: Avoid Overpowering Small Tanks
Choose a mini air pump rated for 5-10 gallons (like the Tetra APS-10). Larger pumps create excessive bubbles that stress shrimp and stir up planted substrate. Test your pump first: it should produce a steady stream of small bubbles—not a violent boil—that gently lifts water without disturbing plants.
Choosing Between Pre-Cut Sponges and DIY Foam Blocks
- Pre-cut sponge filters (e.g., Aquarium Co-op’s mini model): Plug-and-play units with integrated lift tubes. Ideal if you want zero setup hassle.
- DIY foam blocks: Cut filter foam to fit your Aqueon filter’s intake tube. More affordable but requires precise sizing—measure your tube diameter first.
Pro tip: For 20L tanks, use coarse-pore foam. Fine pores clog too quickly with plant debris.
How to Attach a Pre-Filter Sponge to Your Aqueon HOB Filter

This is the fastest fix to protect shrimp while keeping your existing filter running. No tools needed—just 5 minutes and your current setup.
Step 1: Cutting the Sponge Hole to Fit Your Intake Tube
Rinse a foam block in dechlorinated water (tap water kills beneficial bacteria). Cut a hole slightly smaller than your Aqueon’s intake diameter using sharp scissors. Slide it snugly over the tube until it sits flush against the intake guard. Never force it—a loose fit prevents suction gaps where shrimp could enter.
Step 2: Testing Suction Without Trapping Shrimp
After installation, place a single ghost shrimp near the intake. If it swims freely without being pulled in, the sponge is secure. If suction persists:
– Trim excess foam around the hole edges
– Add a second sponge layer for thicker coverage
– Critical: Never reduce your Aqueon’s flow rate—this compromises filtration for your guppies.
Stand-Alone Sponge Filter Installation: Air Pump Setup in 4 Steps
For complete shrimp safety, add a dedicated sponge filter. This runs alongside your Aqueon during cycling, then replaces it fully.
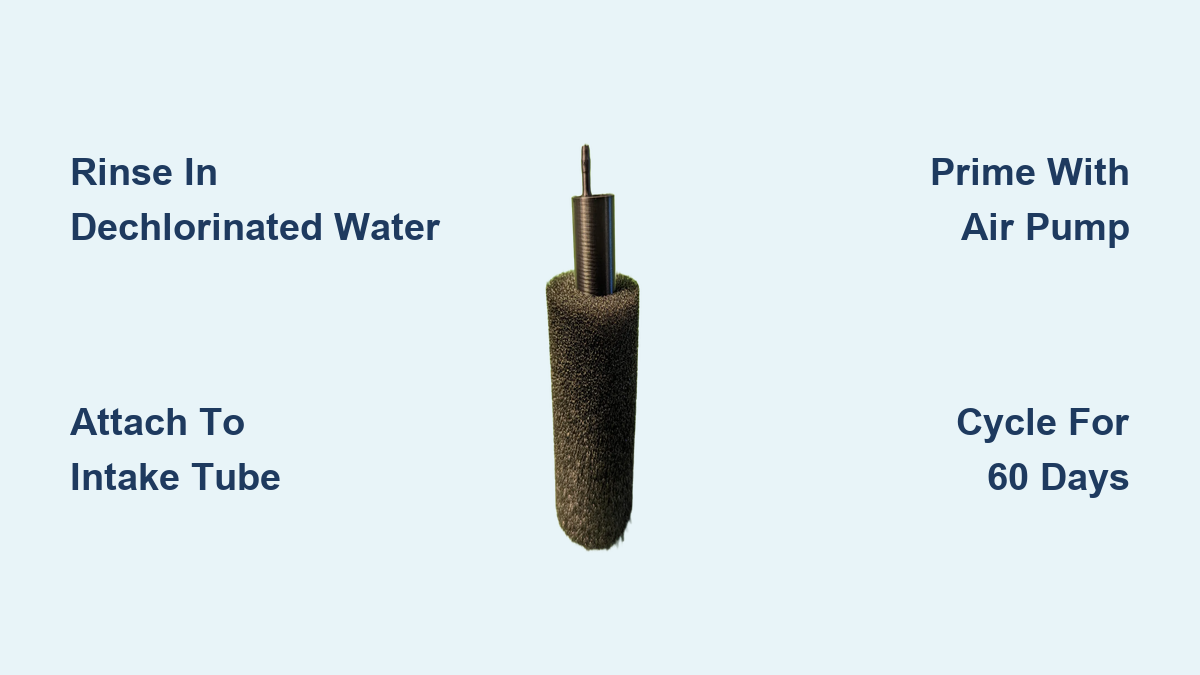
Step 1: Rinsing Sponge in Dechlorinated Water Only
Submerge the new sponge in a bucket of old tank water. Squeeze gently 5-6 times to remove manufacturing dust. Warning: Tap water chlorine destroys bacteria colonies—never skip dechlorinated water.
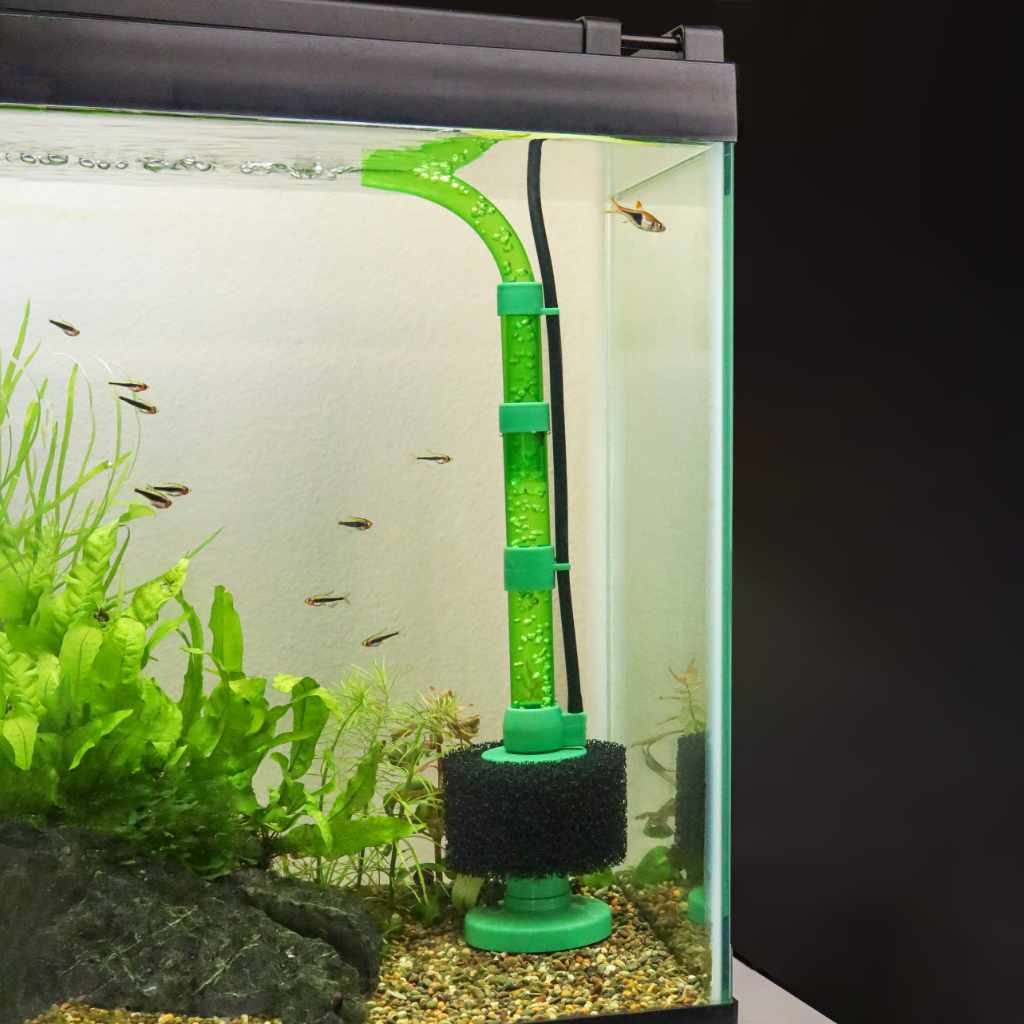
Step 2: Positioning for Optimal Flow in Tight Corners
Place the sponge in the tank’s back-left corner (opposite your Aqueon filter). Ensure the top sits ½ inch below water level—too high causes splashing; too low reduces efficiency. In 20L tanks, this location maximizes flow without disturbing shrimp hiding spots.
Step 3: Installing Check Valve to Prevent Back-Siphoning
Attach airline tubing from your air pump to the sponge’s lift tube. Crucially, add a check valve on the tubing section closest to the pump. Verify the arrow points upward toward the sponge—this stops water from flooding your pump during power outages.
Step 4: Priming for Instant Bubble Flow
Plug in the air pump. You’ll see bubbles rising within seconds, creating a gentle current that pulls water through the sponge. Success sign: Debris visibly collects on the foam surface within 1 hour.
Securing Floating Sponge Filters Until They Sink Naturally
New sponges float due to trapped air—this is normal but blocks proper filtration. Don’t panic; sinking takes 24-72 hours as the foam waterlogs.
Why Sponge Filters Float (And When They Sink)
Air pockets in dry foam cause buoyancy. As water saturates the pores, weight increases. In 20L tanks, this happens faster due to higher surface-area-to-volume ratio. Never force submersion—it damages foam structure.
Safe Weighting Methods That Won’t Damage Foam
Place a smooth aquarium-safe rock (not metal or sharp objects) on top of the sponge. Remove it once the sponge sinks naturally (usually by day 3). Avoid tying weights—they tear the foam and reduce filtration surface area.
Critical: Cycling Your New Sponge Filter Without Tank Crash
Your new sponge has zero beneficial bacteria. Removing your Aqueon filter too soon causes deadly ammonia spikes. Follow this exact timeline:
The 2-Month Bacterial Colonization Timeline
Run both filters simultaneously for 60 days minimum. The Aqueon maintains current filtration while bacteria migrate from its media to the sponge. Test water weekly:
– Day 1-14: Ammonia may rise slightly (normal)
– Day 15-45: Nitrites peak then drop
– Day 46-60: Both read 0 ppm—your sponge is ready
Never skip testing—shrimp die within hours of ammonia exposure.
Monitoring Ammonia During Sponge Filter Cycling
Use a liquid test kit (strips are unreliable). If ammonia exceeds 0.5 ppm:
1. Do a 25% water change immediately
2. Add half a dose of bacteria starter
3. Temporarily reduce feeding
Key: Cycling takes longer in planted tanks due to lower bioload—don’t rush it.
Cleaning Your Sponge Filter Without Killing Beneficial Bacteria
Dirty sponges reduce flow by 70% in under 3 weeks. Clean correctly to preserve bacteria:
The Bucket Squeeze Method in Old Tank Water
During water changes:
1. Remove sponge and place in a bucket of discarded tank water
2. Squeeze foam 5-6 times until debris releases
3. Reinstall—never scrub or rinse under tap water
This retains 90% of bacteria colonies versus 100% death with chlorinated water.
When Flow Reduction Means It’s Time to Clean
Check weekly:
– ✅ Normal: Steady bubble stream
– ⚠️ Clean now: Bubbles slow or stop
– ✅ Wait: Foam still releases debris when squeezed
Never clean more than every 2 weeks—bacteria need stable conditions.
Troubleshooting Zero Bubbles: Fix Airflow in 3 Minutes
No bubbles mean zero filtration—a shrimp emergency. Diagnose fast:
Checking for Kinks and Air Pump Diaphragm Failure
- Unplug pump and inspect tubing for bends (common behind tanks)
- Submerge airline end in water—if bubbles escape, the pump diaphragm is broken
- Replace tubing if cracked (use 3/16″ diameter for 20L tanks)
Fix: A $5 diaphragm kit solves 80% of “dead pump” issues in minutes.
Replacing Airline Tubing Without Breaking the Cycle
Cut tubing 2 inches from the sponge end. Attach new section using a plastic coupler—no need to unplug the entire system. Reconnect to the check valve immediately to maintain bacterial flow.
Powerhead vs. Air-Driven Sponge Filters: Which Is Right for You?
Air-driven filters work for most 20L tanks, but powerhead models solve specific issues:
When to Upgrade to a Powerhead-Driven System
Choose powerhead filters if:
– You have dense plant growth requiring stronger flow
– Air bubbles disturb your guppies’ surface-feeding
– Noise from air pumps bothers you (powerheads are near-silent)
Downside: Higher cost and risk of fry getting trapped if flow isn’t adjusted.
Cost Comparison: Air Pump vs. Powerhead Long-Term
Air pumps cost $8-$15 with $2/year electricity. Powerheads run $25-$40 with $5/year costs. For shrimp-only tanks, air-driven is ideal. For mixed-species 20L setups, powerheads justify their cost through efficiency.
When to Remove Your Old Filter After Adding Sponge Filtration
Removing your Aqueon too early causes tank crashes. Wait for these signs:
The Safe Transition Process: Removing HOB Filters
After 60 days:
1. Unplug Aqueon and remove media
2. Place media inside the sponge filter for 14 days (extra bacteria transfer)
3. Discard Aqueon only when ammonia stays 0 ppm for 2 weeks
Never remove both filters simultaneously—this guarantees a crash.
Signs Your Sponge Filter Is Fully Cycled
- Ammonia and nitrites at 0 ppm for 14+ days
- Sponge holds visible brown biofilm (not white mold)
- Water clarity improves noticeably
At this point, your ghost shrimp will thrive—no more suction hazards.
Final Note: Installing a sponge filter transforms your 20L tank into a shrimp-safe haven in under an hour. By following these exact steps, you’ll eliminate deadly currents while building robust biological filtration. Remember: always rinse new sponges in dechlorinated water, cycle for the full 60 days, and clean using tank water only. Within weeks, you’ll see ghost shrimp grazing freely on plant leaves—no longer hiding from filter intakes. For ongoing success, test water weekly during cycling and add a second sponge if introducing more shrimp. Your guppies, snails, and vibrant shrimp community will thank you with healthier, more active lives. Ready to expand? Research “breeding ghost shrimp in sponge-filtered tanks” next—your new setup makes it effortless.