How to Build a Toad Habitat in an Aquarium
Your American toad isn’t just sitting in that bare tank—it’s stressed, dehydrated, and unable to express natural behaviors. A poorly set-up aquarium habitat causes 80% of pet toad health issues, from fatal dehydration to stress-induced infections. But transforming a standard fish tank into a thriving amphibian ecosystem is simpler than you think. This guide reveals exactly how to make a toad habitat in an aquarium that mimics wild conditions while preventing common mistakes. You’ll learn precise substrate depths, humidity control tricks professional breeders use, and why most “reptile hides” actually terrify toads. By the end, you’ll have a low-maintenance habitat where your toad burrows, soaks, and thrives for 10+ years.
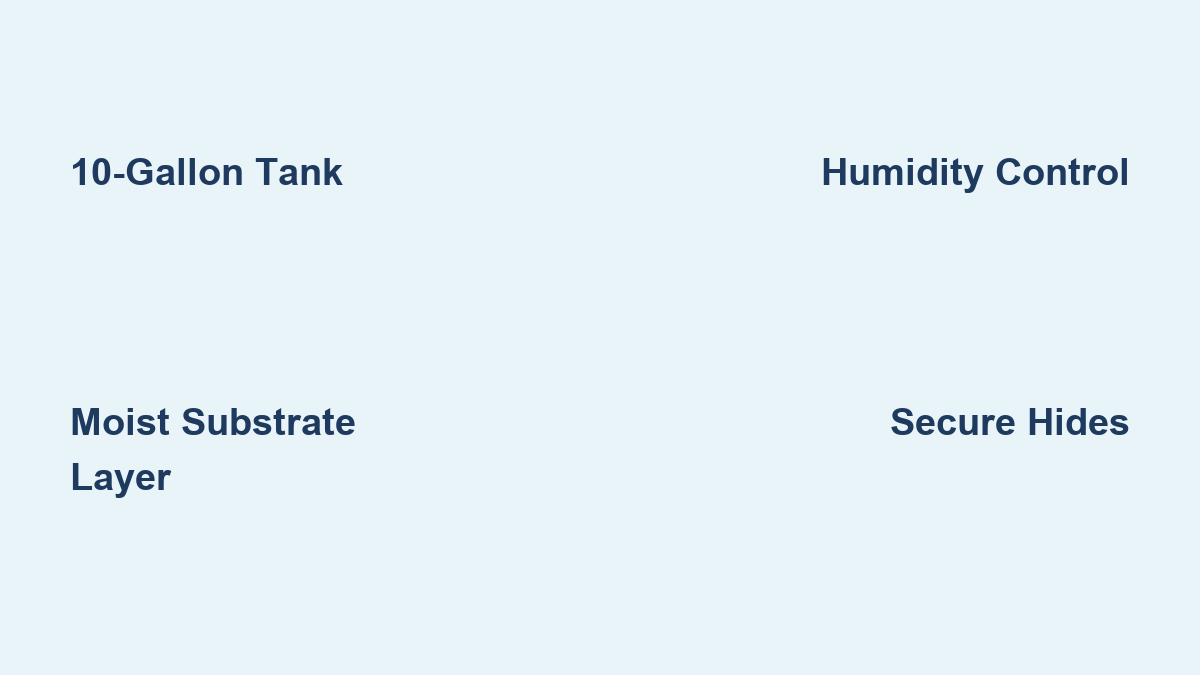
Why a 10-Gallon Aquarium Is Minimum for One American Toad
Skipping this step guarantees a stressed, unhealthy pet. While pet stores often suggest cramped 5-gallon tanks, American toads need horizontal space—not height—to explore and cool down. A single adult requires at least 10 gallons (20″ x 10″ floor space) to establish temperature gradients. Two toads need 15+ gallons to prevent territorial stress. Crucially, avoid tall “show tanks” with narrow bases—your toad won’t climb, but it will overheat if it can’t escape hot zones.
How to Test Tank Dimensions for Toad Safety
- Measure floor space: Minimum 12″ x 8″ for one toad
- Check escape risks: Adult American toads jump 12+ inches—use a secure mesh lid with 1″ ventilation gaps
- Avoid glass tops: They trap moisture unevenly, causing respiratory infections
Critical Tank Setup Mistakes That Kill Toads
- Using fish tank gravel: Causes fatal impaction if ingested
- Skipping drainage layers: Leads to stagnant water and mold growth
- Placing near direct sunlight: Creates lethal hot spots above 78°F
Layering Moisture-Retentive Substrate for Natural Burrowing
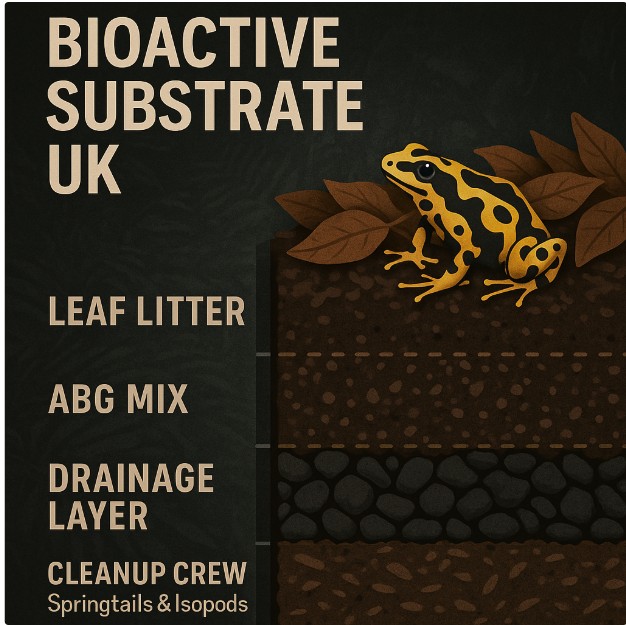
Sand and pine shavings are slow killers. Toads absorb water through their skin and need damp, chemical-free substrate to survive. A 3-inch layered base prevents dehydration while allowing instinctive burrowing—a critical stress reliever. Start with 1″ of drainage media (leca clay pebbles or aquarium gravel), then add 2″ of coconut fiber substrate mixed with organic topsoil (5:1 ratio). Never use potting soil—it contains perlite and fertilizers that burn sensitive skin.
Why Your Substrate Depth Determines Toad Health
- <2 inches: Prevents burrowing → chronic stress → weakened immunity
- >4 inches: Risk of anaerobic pockets → bacterial blooms
- Perfect depth: 2.5–3 inches (test by pressing finger—should feel cool/damp 1″ down)
Toxic Substrates to Avoid (With Visual Cues)
| Material | Danger Sign | Safer Alternative |
|---|---|---|
| Cedar shavings | Strong pine smell, red particles | Orchid bark |
| Play sand | Clumps when wet, sticks to skin | Coconut fiber |
| Vermiculite | Shiny flecks, dries rock-hard | Peat moss mix |
Creating a Daily Humidity Routine That Prevents Dehydration
Toads don’t drink water—they absorb it through their ventral skin. If humidity drops below 60%, their skin cracks within 48 hours, inviting fatal infections. Forget hygrometers; use visual humidity indicators: condensation should form on tank walls for 2 hours after morning misting but disappear by evening. Use a spray bottle with dechlorinated water to dampen substrate until it resembles a wrung-out sponge—never pool water.
The 3-Second Misting Test for Perfect Humidity
- Spray substrate until surface glistens
- Wait 3 seconds
- If water beads form → too wet (risk of mold)
- If no damp patch remains → too dry (dehydrates toad)
Why Your Water Dish Placement Causes Stress
- Wrong: Center of tank (exposes toad to predators)
- Right: Back corner near a hide, filled to ½” depth
- Critical: Use a ceramic dish heavy enough that your toad can’t tip it—shallow water prevents drowning but must be large enough for full-body soaking
Installing Stress-Reducing Hides That Mimic Wild Burrows

A single store-bought cave terrifies toads—they need multiple hiding options with different textures and depths. Place one hide on the warm side (75°F) for digestion and another on the cool side (68°F) for thermoregulation. Use cork bark tubes buried ⅔ into substrate to create tunnel-like burrows—this triggers natural security behaviors. Never use plastic hides; their smooth surfaces feel unnatural and retain bacteria.
How to Position Hides for Maximum Security
- Front hide: Partially covered with moss (for daytime naps)
- Back hide: Fully buried tunnel (for nocturnal sleep)
- Elevated hide: Under leafy plants (for humidity microclimates)
Pro Tip: The “Hand Test” for Hide Safety
Reach into the hide—if your fingers touch all walls simultaneously, it’s too small. Toads need space to tuck legs under their body. Ideal hides allow 1.5x the toad’s length with 2″ clearance overhead.
Adding Live Plants Without Damaging Your Toad Habitat

Skip expensive tropical plants—most get destroyed by burrowing within weeks. Hardy pothos or spider plants tolerate low light and toad traffic. Plant roots directly into the substrate, but wait 7 days before introducing your toad. This allows roots to anchor, preventing muddy water when your toad digs. Never use fertilized soil—rinse roots thoroughly in dechlorinated water. If your toad ignores plants after 2 weeks, switch to artificial silk ferns (smooth edges only).
Why Fake Plants Outperform Live Ones for Toads
- Zero maintenance: No root disturbance during burrowing
- Mold resistance: Silk doesn’t decay in humid conditions
- Easy cleaning: Remove and rinse weekly without habitat disruption
Plant Danger Signs to Watch For
- Yellowing leaves → overwatering (dries out substrate)
- Mushy stems → bacterial growth (remove immediately)
- Toad chewing leaves → toxic plant (switch to artificial)
Responsible Toad Acquisition and Long-Term Habitat Maintenance
Captive-bred toads from ethical breeders live 2x longer than wild-caught ones. Never take adults from the wild—they carry parasites and won’t adapt to captivity. If sourcing a juvenile, take only one per acre of land and confirm it’s legal in your state. Once home, your habitat needs weekly spot-cleaning (remove feces, replace damp substrate patches) and monthly deep cleans (replace all substrate, scrub hides with vinegar solution).
The 5-Minute Daily Habitat Check Routine
- Verify water dish is clean and full
- Check substrate moisture (spray if top ¼” is dry)
- Ensure hides are accessible (no substrate blockage)
- Test temperature with your hand (no hot spots)
- Observe toad activity (lethargy = humidity issue)
When to Consult a Herp Vet Immediately
- Skin appears pale or dry (dehydration)
- Toad floats in water dish (respiratory infection)
- Refuses food for >7 days (stress or impaction)
Final Note: A properly built toad habitat in an aquarium requires zero special lighting or heating—just consistent humidity and the right substrate depth. Your American toad will reward you with fascinating natural behaviors: burrowing after feeding, vocalizing during “rains” (your daily misting), and even recognizing your hand as a food source. Remember that ethical sourcing is non-negotiable; always choose captive-bred toads from breeders like USABred or local herp societies. For ongoing care, bookmark the Amphibian Survival Alliance’s habitat guidelines—they update seasonal maintenance tips based on real conservation data. Start building your 10-gallon habitat today, and within weeks, you’ll have a thriving ecosystem where your toad isn’t just surviving, but flourishing.