How to Remove Diatoms from Aquarium | Easy Guide
That dusty brown film smothering your aquarium glass, creeping over rocks, and dulling plant leaves? You’re facing a diatom bloom – the most common algae crisis for new tank owners. Often mislabeled as “brown algae,” these single-celled organisms with silica skeletons thrive when silicates flood your system, especially in tanks under six months old. While frustrating, diatoms signal your aquarium’s natural maturation process. This guide delivers actionable steps to eliminate existing blooms and prevent recurrence, transforming your murky tank into a crystal-clear showcase. You’ll learn to identify true diatoms versus other algae, slash silicate levels at the source, and implement a foolproof 4-step battle plan that works for freshwater and planted tanks.
Why New Tanks Become Diatom Hotspots (2-6 Month Vulnerability)
Diatoms exploit unstable tank conditions during the critical maturation phase. In newly cycled aquariums (typically 2 weeks to 6 months old), beneficial bacterial colonies haven’t fully established to process silicates from tap water or substrates. This creates a perfect storm: high silicate levels combined with excess nutrients from fish waste and decaying matter. Unlike true algae, diatoms consume silicates to build their glass-like cell walls, explaining why they dominate new setups. You’ll notice them first as a soft, slippery brown coating easily wiped from glass but stubbornly clinging to slow-growing plants and substrate. Crucially, diatoms prefer low-light conditions – a key differentiator from green algae that thrive under bright light.
How to Confirm It’s Diatoms vs. True Algae
Perform the “wipe test”: Run your finger across the brown film. Diatoms feel slightly gritty (like fine sand) due to their silica shells and wipe away cleanly with minimal pressure. True algae typically feel slimy or stringy. Diatoms also favor shaded tank areas and appear within weeks of setup, while green algae blooms usually emerge later. If your tank is under six months old and the brown coating disappears temporarily after cleaning but returns within days, you’re battling diatoms – not a persistent algae strain requiring harsh treatments.
Step 1: Manual Removal – Scraping Glass and Vacuuming Substrate

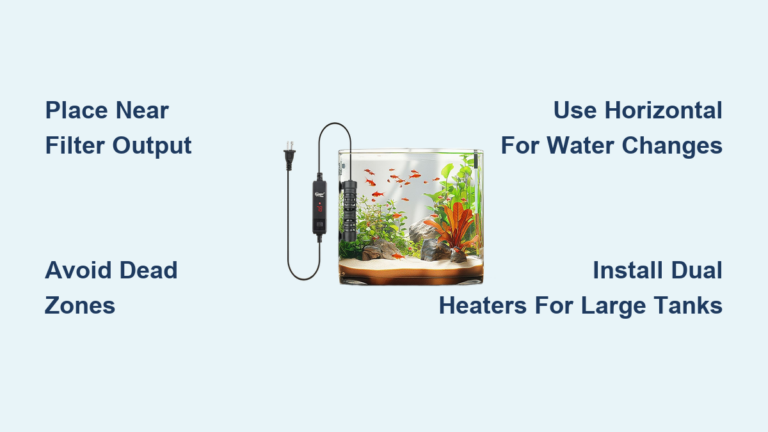
Immediate physical removal reduces diatom biomass while you address root causes. Start with glass: Use a dedicated algae scraper (not a razor blade) during water changes when the water level is lower. For acrylic tanks, use only plastic scrapers to avoid scratches. Disassemble magnetic cleaners monthly to clean debris from the blade. For decorations and plant leaves, gently rub with an old toothbrush in a bucket of tank water – never use chemicals that could harm your ecosystem. Critical technique: Vacuum the substrate thoroughly using slow, shallow passes with your gravel cleaner. Stir the top layer just enough to lift diatom clumps without clouding the water, then siphon the debris. This single step removes 30-50% of visible diatoms and the nutrient-rich detritus feeding them.
Substrate Vacuuming Technique That Prevents Regrowth
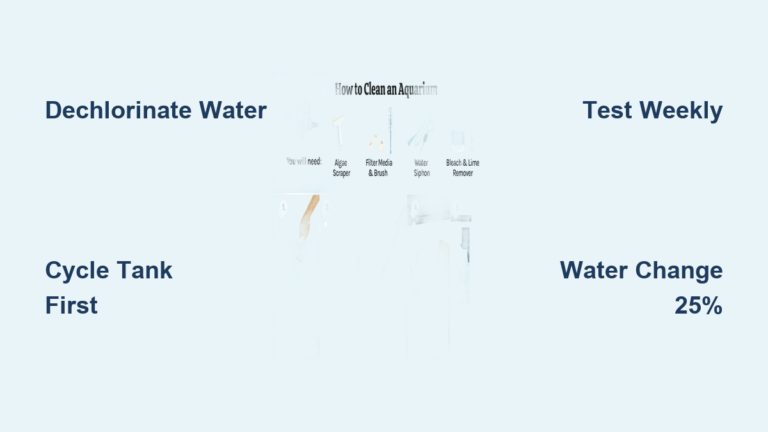
Focus on high-risk zones: behind decorations, under driftwood, and near filter outflow. Move your vacuum in overlapping “S” patterns 1-2 inches deep. Pause every 10 seconds to let debris settle into the tube. After vacuuming, perform a 30-50% water change using dechlorinated water matched to tank temperature. Never clean filter media under tap water – rinse cartridges gently in the removed tank water to preserve beneficial bacteria. This dual approach (vacuuming + water change) slashes silicate levels while removing the diatom “seed bank” in your substrate.
Step 2: Slash Silicate Levels with Targeted Water Changes

Silicates are diatoms’ primary fuel, so reducing them is non-negotiable. Perform 30-50% water changes every 48 hours for one week – not the standard weekly change. Why? Diatoms reproduce rapidly, and frequent changes outpace their growth cycle. Use a silicate test kit (available online) to monitor progress; aim for levels below 5 ppm. If your tap water tests high in silicates (common in well water areas), stop using it immediately. Switch to reverse osmosis/deionized (RO/DI) water for changes, or install a silicate-specific filter like Seachem PhosGuard in your canister filter. During changes, dose a bacterial supplement to maintain nitrogen cycle stability – crucial since frequent changes can disrupt beneficial bacteria.
Test Your Tap Water for Silicates – And What to Do If High
Fill a clean container with tap water and test it separately. If silicates exceed 5 ppm, you’ve identified your main culprit. Solutions: Use 100% RO/DI water for changes (remineralize for fish health), or add silicate-removing media like Chemi-Pure Blue directly to your filter. Replace chemical media monthly as it becomes saturated. For immediate relief during blooms, add activated aluminum oxide media to your filter – it binds silicates within 24 hours. Never skip this step; continuing to use silicate-rich water guarantees diatom recurrence regardless of other efforts.
Starve Diatoms: Control Nitrates Below 20ppm and Phosphates Under 0.5ppm
Excess nutrients from overfeeding and poor maintenance create diatom buffets. Test nitrate and phosphate weekly with liquid test kits (strips are unreliable). Nitrate should stay under 20 ppm; phosphates under 0.5 ppm. Achieve this by: Feeding fish only what they consume in 2 minutes, once daily. Implement one fasting day weekly. Vacuum substrate diligently during water changes to remove uneaten food. If levels remain high, add phosphate-removing media like PhosGuard to your filter. Crucially, avoid phosphate-heavy fertilizers in planted tanks during blooms. These adjustments starve diatoms while supporting plant health – a critical balance many hobbyists miss.
Best Diatom-Eating Cleanup Crew: Nerites, Otos & Shrimp Compared
Introduce natural grazers that specifically target diatoms. Nerite snails are the undisputed champions – their rasping mouths scrape silica shells efficiently without harming plants. Add 1-2 per 5 gallons. Otocinclus catfish (Otos) are equally effective but require tanks over 20 gallons and stable parameters. Avoid common plecos – they ignore diatoms after juveniles. For shrimp tanks, Amano shrimp outperform cherry shrimp for diatom control. Critical note: Never add cleanup crews to unstable tanks; ensure ammonia/nitrite are zero first. Introduce slowly (2-3 specimens weekly) to avoid bioload spikes that worsen the problem.
Lighting Adjustments That Crush Diatom Growth (6-8 Hours Max)

Diatoms photosynthesize but prefer low light – unlike nuisance green algae. Reduce your photoperiod to 6-8 hours daily using a timer. Position lights farther from the water surface if adjustable. If diatoms persist after two weeks of manual removal and water changes, implement the 2-day blackout method: Cover the tank completely (use cardboard, not towels that shed fibers), turn off all lights, and stop feeding. After 48 hours, perform a 50% water change and resume normal 6-hour lighting. This shocks diatoms without harming fish, but never extend beyond 72 hours as plants need light. Avoid LED dimming – complete darkness is essential for effectiveness.
Fast-Growing Plants That Outcompete Brown Algae for Nutrients
Dense planting is your long-term diatom defense. Fast-growing stem plants like hornwort, water wisteria, and floating water sprite absorb silicates and nitrates diatoms need. Plant in clusters: 5-7 stems per bunch, spaced 2 inches apart. For substrate-rooted plants, add root tabs near bases. In low-tech tanks, prioritize java fern and anubias tied to driftwood – their broad leaves provide grazing surfaces for cleanup crews. A heavily planted tank (aim for 70% coverage) creates competition that starves diatoms within 3-4 weeks. Never trim plants during active diatom blooms; wait until the brown film recedes to avoid releasing nutrients back into the water.
Chemical Media That Removes Silicates: PhosGuard vs Chemi-Pure Blue
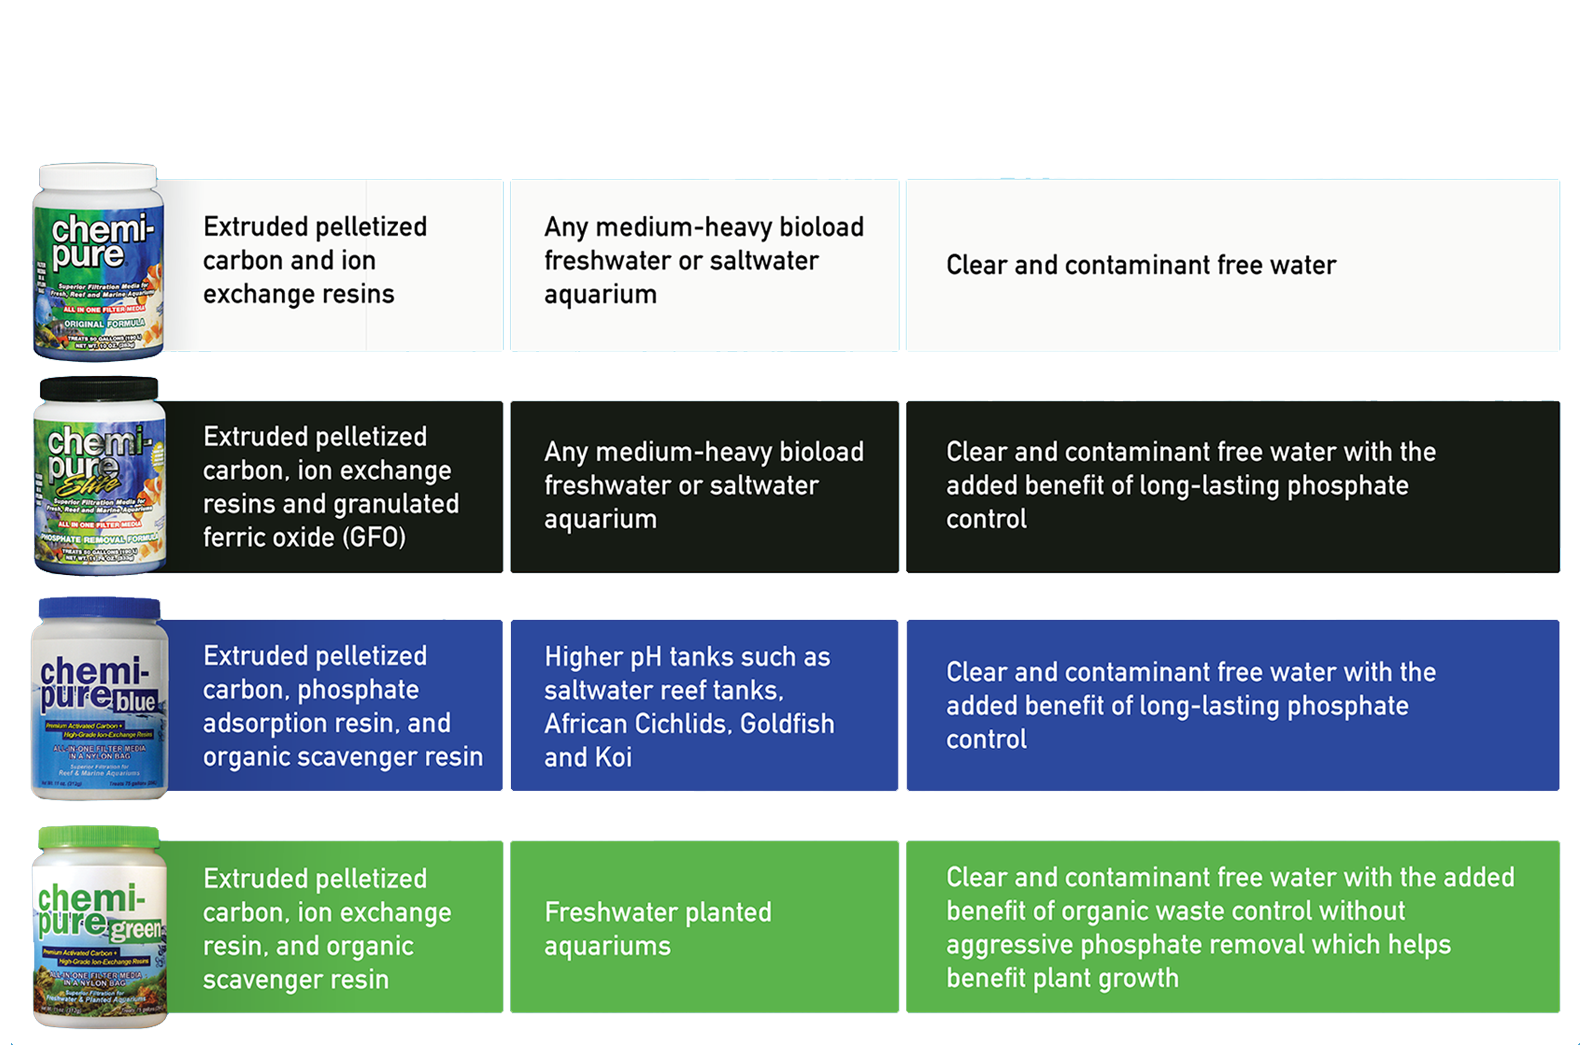
When manual and biological methods stall, add targeted chemical filtration. PhosGuard (granular ferric oxide) absorbs both phosphates and silicates but requires monthly replacement. Use 1 cup per 100 gallons in a media bag inside your filter. Chemi-Pure Blue combines copper-free phosphate removal with silicate-binding resins and lasts 4-6 weeks. Place it after mechanical filtration to prevent clogging. Critical caution: Never use in tanks with invertebrates (shrimp/snails) as copper traces can be lethal. Run chemical media for 2-3 weeks max during active blooms, then switch to maintenance doses. Always pair with water changes – media alone won’t solve silicate-rich source water.
The 2-Day Blackout Method: When and How to Use It Safely
This emergency protocol works when diatoms cover >60% of surfaces despite other efforts. First, vacuum substrate thoroughly and perform a 50% water change. Cover the tank completely with opaque material (no light leaks). Turn off all lights and stop feeding. Monitor fish for stress – if gasping occurs, provide 1 hour of light. After 48 hours, perform another 50% water change and restart 6-hour lighting. Why it works: Diatoms lack energy reserves to survive prolonged darkness, while fish and plants endure short blackouts. Never use with CO2 injection (risk of pH crash) or in tanks with sensitive species like discus. Most blooms collapse within 72 hours post-blackout.
Long-Term Prevention: Your Weekly Maintenance Routine
Prevent recurrence with four non-negotiable habits: First, perform 15-20% water changes weekly using RO/DI or silicate-tested tap water. Second, feed sparingly – 2-3 pellets per small fish once daily. Third, vacuum substrate during changes, focusing on dead zones. Fourth, test silicates monthly, especially after source water changes. Upgrade to a canister filter with dedicated media compartments for PhosGuard. In established tanks (over 6 months), diatoms rarely return if silicates stay below 5 ppm. If they reappear, immediately retest your water source – municipal water changes often trigger silent silicate spikes.
Diatoms are nature’s indicator that your aquarium is maturing. By slashing silicates at the source, introducing targeted grazers, and implementing strategic lighting cuts, you’ll clear the brown film within 10-14 days. Remember: Patience beats panic – most new tanks outgrow diatoms naturally by month 4 as bacterial colonies stabilize. Maintain consistent 6-hour lighting, weekly 20% water changes, and prudent feeding to keep your tank crystal clear. When in doubt, test your tap water first; 80% of recurring diatom issues trace back to unaddressed silicate sources. Your pristine aquarium isn’t just possible – it’s inevitable with these science-backed steps.