How to Set Up Air Stone in Aquarium
Your fish are gasping at the surface. The water feels stagnant. Oxygen levels are crashing—and you need a solution fast. Installing an air stone is the fastest, most affordable way to restore life to your aquarium ecosystem. This critical device creates surface agitation that exchanges deadly carbon dioxide for vital oxygen, preventing suffocation in your fish. In this guide, you’ll discover exactly how to set up an air stone in aquarium environments of any size, avoid dangerous backflow disasters, and optimize placement for maximum oxygen exchange. Forget confusing jargon—we’ll walk you through every physical step with pro-tested techniques that work for bettas, community tanks, and breeding setups.
Most beginners make one critical mistake: positioning the air pump below water level. This turns your pump into a siphon during power outages, flooding your floor and destroying equipment. We’ll fix that immediately. You’ll also learn why running your air stone 24/7 is unnecessary (and harmful for some species), how to spot clogs before bubbles fail, and why pre-soaking new stones prevents frustrating “one-bubble” syndrome. By the end, you’ll have a crystal-clear, oxygen-rich tank where fish thrive—not just survive.
Choose Your Air Stone Size Based on Tank Dimensions
Selecting the wrong air stone cripples oxygen exchange and wastes energy. For tanks under 10 gallons, use a 1–2 inch disc or cube stone to avoid overwhelming fish with aggressive bubbles. In 20–50 gallon community tanks, opt for a 4–6 inch bar or roll stone that creates a curtain of bubbles across the back wall. Never bury stones in substrate—they’ll clog instantly with debris. Instead, rest them on tank bottoms or secure with suction cups. Breeding tanks require special consideration: place stones near the surface to minimize water movement that could scatter eggs. Remember, larger stones need proportionally stronger pumps; a 10-gallon tank typically requires a 3.5W pump, while nano tanks thrive with 1–3W models.
Why Stone Pore Size Determines Bubble Quality
Fine-pored stones produce dense microbubbles ideal for oxygen exchange but clog faster in hard water. Coarse stones create dramatic decorative bubbles (perfect for pirate chests or volcanoes) but offer less aeration. Test pore quality by submerging the dry stone: quality stones bubble immediately after pre-soaking, while cheap versions sputter weakly. If your new stone only bubbles in one spot, soak it in dechlorinated water for 60 minutes to dislodge manufacturing dust—a critical step 90% of beginners skip.
Match Pump Power to Stone Capacity
An undersized pump paired with a large stone creates feeble bubbles that won’t agitate the surface. Conversely, a powerful pump with a tiny stone blasts fish with violent currents. Verify compatibility by checking the stone’s airflow rating (measured in liters per minute) against your pump’s output. For example, a standard 4-inch bar stone needs 100–200 LPM; most 3.5W pumps deliver this range for 10–20 gallon tanks. When in doubt, start low—you can always increase airflow with an inline valve.
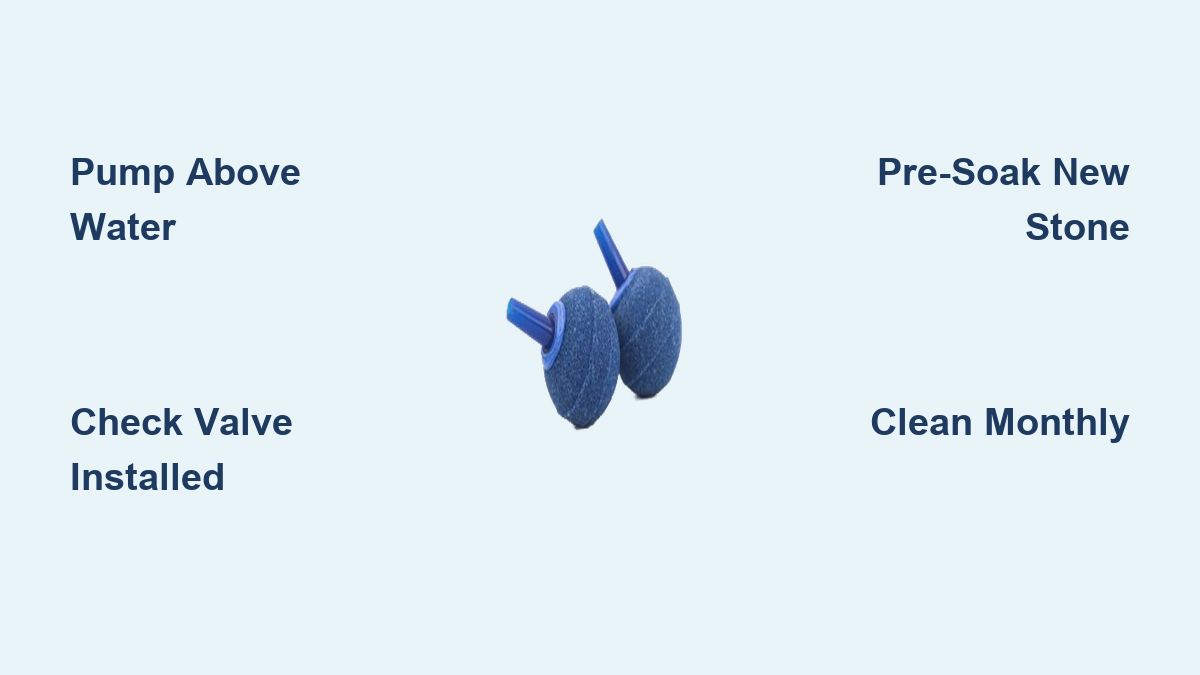
Position Your Air Pump Above Water Level: Avoid Costly Backflow

This single step prevents $50 pump replacements and flooded floors. Always mount your air pump on a shelf or wall bracket at least 6 inches above your tank’s waterline. Gravity will then prevent siphoning during power failures. Never place pumps inside cabinet bases below tank level—that’s an accident waiting to happen. If space is tight, use double-sided tape to secure the pump to the tank’s back panel above the waterline. Pro tip: wrap the pump in a thin towel to muffle vibration noise that stresses fish.
Install the Check Valve Within 6 Inches of the Tank
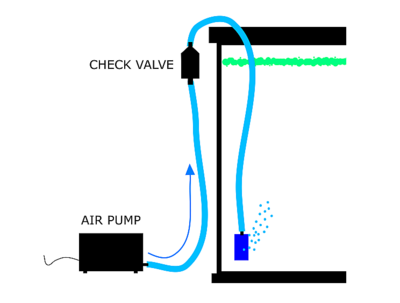
That tiny plastic valve is your pump’s lifeline. Clip it onto the airline tubing within 6 inches of where the tube enters your aquarium. Confirm correct orientation: the arrow on the valve must point toward the tank (away from the pump). This allows air to flow in but slams shut if water reverses direction. Skip this, and a single power flicker will suck tank water into your pump, causing immediate corrosion. Test valve function by blowing through it—you should feel resistance one way but not the other.
Attach and Secure the Air Stone Without Failures
Connect airline tubing to your pump’s outlet port first, then thread it through a gap in your tank hood. Leave 4–6 inches of slack before attaching the check valve—this prevents tension from dislodging connections. Push the tube firmly onto the air stone’s barb until it clicks; a loose fit causes air leaks that kill bubble production. For stone security, wedge it under a flat rock or use a magnetic holder. Floating stones? Weigh them down with a non-toxic ceramic base—never use metal that could leach toxins.
Submerge and Activate in the Correct Sequence
Drop the stone into the tank before plugging in the pump. Why? Air trapped in dry stones causes initial sputtering that looks like failure. Once submerged, plug in the pump and watch for bubbles within 10 seconds. If nothing happens, disconnect power and check:
– Tubing kinks (straighten all curves)
– Valve orientation (arrow toward tank)
– Stone dryness (pre-soak new stones for 10+ minutes)
Never force connections—use scissors to recut tubing ends if they fray.
Power On and Adjust for Gentle, Effective Bubbles

After activation, fine-tune bubble intensity using these visual cues:
– Ideal flow: Steady stream of rice-sized bubbles rising vertically
– Too weak: Large gaps between bubbles; no surface ripple
– Too strong: Violent churning; fish hiding from currents
Install an inline valve on the tubing above water level for real-time control. Turn clockwise to reduce bubbles, counterclockwise to increase. For planted tanks, reduce flow slightly to prevent CO2 loss—watch for tiny bubbles clinging to leaves as your indicator. In community tanks, aim for surface movement that creates a faint “skin” break without splashing.
Set Daily Runtime Based on Tank Conditions
Run your air stone 10–12 hours daily—no more. Continuous operation stresses surface-dwelling fish like bettas and wastes energy. Use an outlet timer to automate cycles:
– Dawn to noon: Highest oxygen demand as fish wake
– Avoid nighttime: Plants produce oxygen during photosynthesis
Exception: During medication treatments (which deplete oxygen), run 24/7 until treatment ends.
Troubleshoot Weak Bubbles and Noise Issues in 5 Minutes
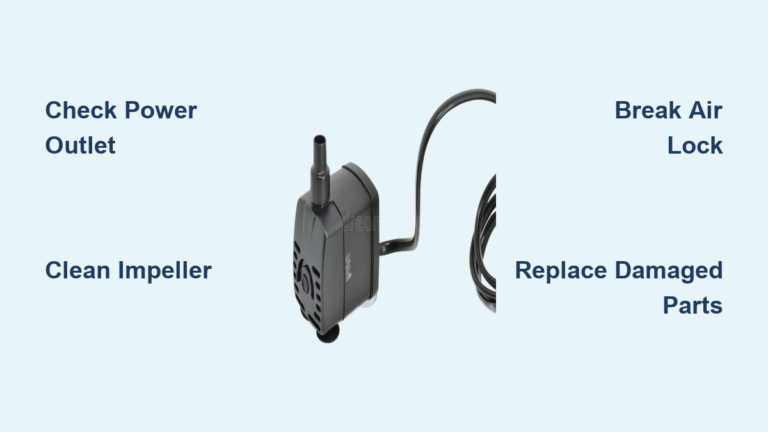
Fix “No Bubbles” With This Diagnostic Flowchart
- Check power: Is the pump humming? If silent, test the outlet.
- Inspect connections: Pull tubes off and reseat firmly at pump, valve, and stone.
- Test for clogs: Disconnect the stone and blow through the tube. If air won’t pass, replace tubing.
- Revive clogged stones: Soak in 1:3 bleach-water solution for 1 hour, then rinse 3x in dechlorinated water.
Eliminate Annoying Pump Hum
Place pumps on vibration-dampening pads like mouse pads or folded towels. Route tubing in gentle curves—sharp bends amplify noise. If humming persists, submerge the pump in a separate container (like a bucket) placed higher than the tank; water muffles sound while maintaining safety height.
Maintain Your Air Stone for Years of Reliable Service
Clean stones monthly to prevent mineral buildup. Remove the stone and soak overnight in a vinegar-water solution (1 part vinegar to 3 parts water). Rinse thoroughly until the vinegar smell disappears—residue harms fish. Replace stones every 6–12 months; crumbling indicates worn-out pores that won’t produce fine bubbles. When installing replacements, always pre-soak new stones for 10 minutes to prime pores.
Upgrade With Decorative Aeration Ornaments
Transform function into art with ornaments designed for airflow:
– Bubble walls: Attach bar stones to tank backs for cinematic effects
– Sunken ships/chests: Insert stones into designated ports for themed bubbles
– Coral reefs: Use porous ceramic ornaments that diffuse bubbles softly
Never force stones into non-aeration decorations—they’ll create loud, disruptive bursts. Always verify “aeration-safe” labeling.
When Breeding Tanks Require Special Air Stone Placement
In fry-rearing or egg-laying setups, excessive surface agitation can scatter delicate eggs or exhaust newborn fish. Position stones within 2 inches of the water surface to create minimal ripple. Use coarse-pored stones that produce fewer, larger bubbles. For bubble-nest builders like bettas, run the air stone only 2–4 hours daily during feeding times. Monitor fry behavior—erratic swimming means reduce flow immediately.
Final Note: Correctly setting up an air stone in your aquarium takes just 15 minutes but delivers life-saving oxygen for years. Remember the golden rules: pump above water level, check valve installed, and stone positioned at tank bottom (except in breeding setups). Clean monthly, replace annually, and run only 10–12 hours daily for optimal results. Within 24 hours of installation, you’ll see fish swimming actively throughout the water column—not gasping at the surface. For deeper insights, explore our guide to aquarium air pumps that covers silent models and multi-tank setups. Your thriving underwater world starts with one perfectly placed bubble stream.