How to Make an Aquascape Aquarium: Easy Steps
Your reef tank’s rock structure isn’t just decoration—it’s the foundation of your entire ecosystem. When poorly planned, it creates dead zones, blocks coral growth, and turns maintenance into a nightmare. I learned this the hard way after my first aquascape left 2 inches of useless space below the waterline, trapping hair algae my fox face rabbitfish could never reach. If you’ve ever stared at a chaotic pile of rocks wondering why your corals won’t thrive, you’re not alone. This guide reveals exactly how to build a functional, breathtaking saltwater aquascape using proven techniques from reef-building veterans. You’ll discover why 90% of beginners fail at height planning, the secret to blending cement joints invisibly, and critical safety steps most tutorials ignore—so you can create a thriving underwater landscape in 6 weeks or less.
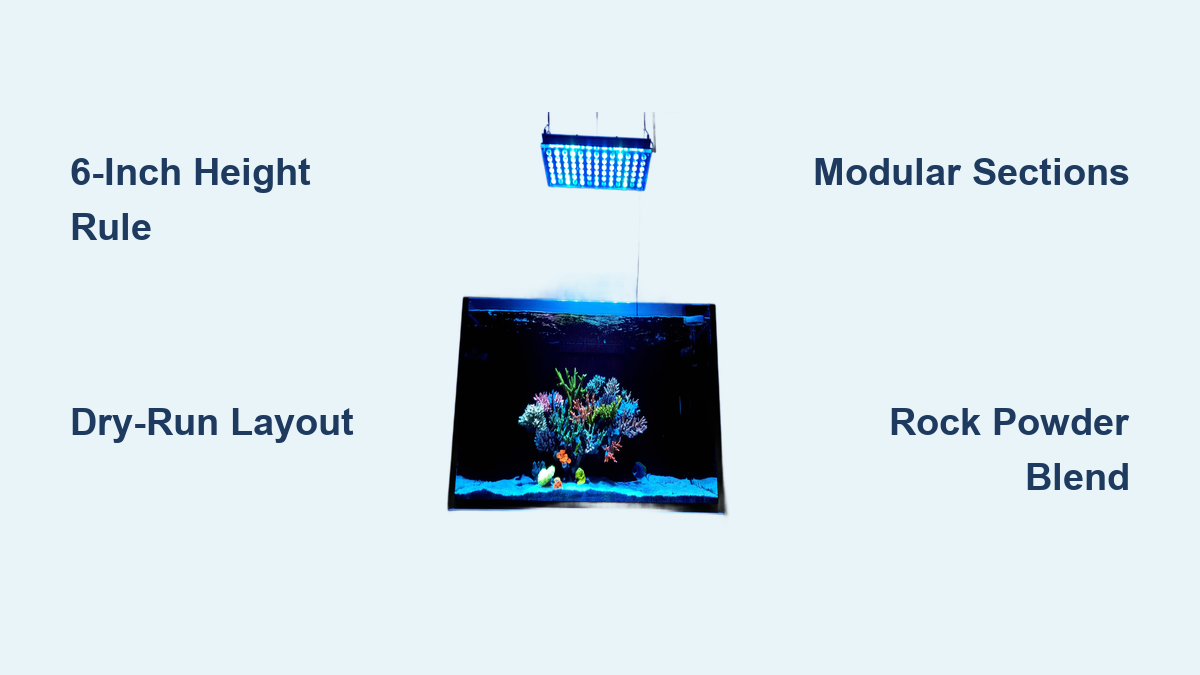
Avoid the 6-Inch Height Trap That Ruins Reef Tanks
Most reef aquascapes fail before the first rock hits water because builders measure from the tank’s glass height instead of the actual water level. This critical error wastes precious real estate where corals grow and fish swim. Your rockwork must stay at least 6–8 inches below the water surface to prevent three disasters: trapped algae your fish can’t reach, restricted water flow that creates dead zones, and wasted space where corals won’t receive proper light. Measure your tank’s filled water height—not the glass—and build your template accordingly. When I ignored this, my aquascape towered 3 inches too high, blocking 40% of potential coral placement areas. Use a ruler taped to the inside glass to mark your max height before assembling rocks. This simple step ensures every inch of your tank actively contributes to the ecosystem.
Why Dry-Run Layouts Prevent Costly Mistakes
Never skip the dry assembly phase. Place your tank footprint on cardboard, then arrange rocks outside the aquarium to test stability and sightlines. This reveals flaws invisible on paper: overhangs that collapse when wet, narrow caves where fish get stuck, and imbalanced weight distribution. During my rebuild, I created three distinct sections—a main base, a shelf, and an overhang—testing each for wobble before gluing. If your structure rocks more than 1/4 inch when nudged, it’s unstable. Remember: water adds 8.3 pounds per gallon of pressure. A dry run takes 20 minutes but saves hours of frustration later.
Modify Live Rock Like a Pro for Perfect Fit

Pukani, Dragon Stone, and other porous rocks require customization to fit your vision. Don’t force mismatched pieces—chisel, drill, or break them strategically. I used a 4 lb hammer to fracture large Pukani chunks into smaller, angled fragments that locked together like puzzle pieces. For precise shaping:
– Chisel flat bases on irregular rocks using a masonry chisel (wear safety glasses!)
– Drill holes for acrylic rods with a diamond-tipped bit (lubricate with RODI water)
– Snap brittle sections by tapping along natural fracture lines with a hammer
Never stack rocks vertically like Jenga blocks. Instead, angle pieces inward to create caves and ledges where corals thrive. If a rock won’t hold its position when dry, it’ll collapse underwater. Discard unstable pieces immediately—they’re not worth the risk.
Build Modular Sections for Faster Assembly
Forget gluing rocks directly into the tank. Assemble self-contained sections first:
1. Create a base with 2–3 large rocks bonded by acrylic rods
2. Build a separate “shelf” using zip ties to hold smaller rocks
3. Craft an overhang with hydraulic cement on a flat surface
This modular approach lets you test weight distribution and height before tank placement. When I built my aquascape in sections, I spotted a 2-inch height error during dry assembly—fixing it took 10 minutes versus the 2 hours it would have required in a flooded tank. Attach sections to the base using super glue gel, holding pieces for 30 seconds until set. Let the entire structure cure for 24 hours outside the tank.
Reinforce Joints with Stone Fix Cement (Without Ruining Aesthetics)
Super glue alone won’t hold heavy rock sections long-term. Aquaforest Stone Fix or similar hydraulic cement creates bombproof bonds but leaves unsightly gray patches. Here’s how to apply it invisibly:
1. Mix cement powder with RODI water to a toothpaste consistency
2. Inject into joints with a pipette (not your fingers—causes burns)
3. Wipe excess immediately with a damp cotton swab
The real magic happens in the blending phase. Crush leftover rock rubble into powder using a hammer on a towel (outside!). Lightly mist joints with RODI water, then dust with matching rock powder. Reapply super glue—the moisture triggers an intense reaction that binds powder to rock. But never skip safety gear: This process releases fumes that sting eyes and skin. Work in a ventilated area with gloves, goggles, and an N95 mask. One slip here can ruin your aquascape’s natural look.
Why 30% Cement Coverage Is Your Visual Threshold
Exceed 30% cement coverage, and your aquascape looks like a construction site. During my first attempt, cement coated 40% of the Pukani, creating jarring gray patches. To avoid this:
– Apply cement only to structural joints (not visible surfaces)
– Use powder blending on all exposed seams
– Test blending on a spare rock fragment first
If cement dries too thick, gently scrape it with a dental pick before it fully cures. Patience here pays off—my final aquascape now has cement joints that disappear completely, mimicking natural rock erosion.
Fix Tank Placement Errors Before Adding Water
Even perfect dry assemblies look wrong once in the tank. Common issues include:
– “Floating rock” effect: Structures appear disconnected due to poor sightlines
– Flow dead zones: Overhangs block pumps, creating algae traps
– Height miscalculation: Water level reveals 1–2 inches of excess height
Don’t panic—adjustments are possible before flooding. If your aquascape looks too tall, remove the highest section and rebuild it shorter. For dead zones, reposition rocks to create diagonal flow paths (not straight walls). Use a flashlight to simulate lighting angles; shadows should highlight textures, not create black holes. I spent a full week tweaking my layout, consulting with my partner for fresh eyes. This saved me from a “good enough” scape that would have frustrated me for years.
The 7-Day Rule for Final Approval
Never rush the placement phase. Leave your assembled aquascape in the empty tank for 7 full days. Walk past it multiple times daily. Does it draw your eye to a focal point? Can you visualize where each coral type will go? If you hesitate, disassemble and rebuild. My wife’s “it looks fine” comment almost made me skip this step—but waiting revealed critical flaws in coral placement zones. This patience transformed my tank from functional to extraordinary.
Achieve Natural Blending with Rock Powder
The final secret to a seamless aquascape? Matching rock powder. Sand won’t work—it’s too uniform. Crush your own rock scraps for perfect color and texture harmony:
1. Place small rubble pieces on a towel
2. Gently hammer into fine powder (avoid dust clouds)
3. Sift through 1mm mesh to remove chunks
Apply powder to damp cement joints using static electricity: Rub a plastic spoon on cotton to charge it, then dip into powder. The powder will cling precisely to moist areas. Mist lightly with RODI water afterward to set. This technique turned my cement scars into natural-looking rock erosion that even reef veterans can’t spot.
Maintain Your Reef Aquascape for Long-Term Success
Your work isn’t done at setup. Prevent future rockwork disasters with these habits:
– Monthly stability checks: Gently nudge structures to test for shifting
– Algae patrol: Remove hair algae immediately from rock crevices
– Flow optimization: Reposition powerheads if detritus accumulates in corners
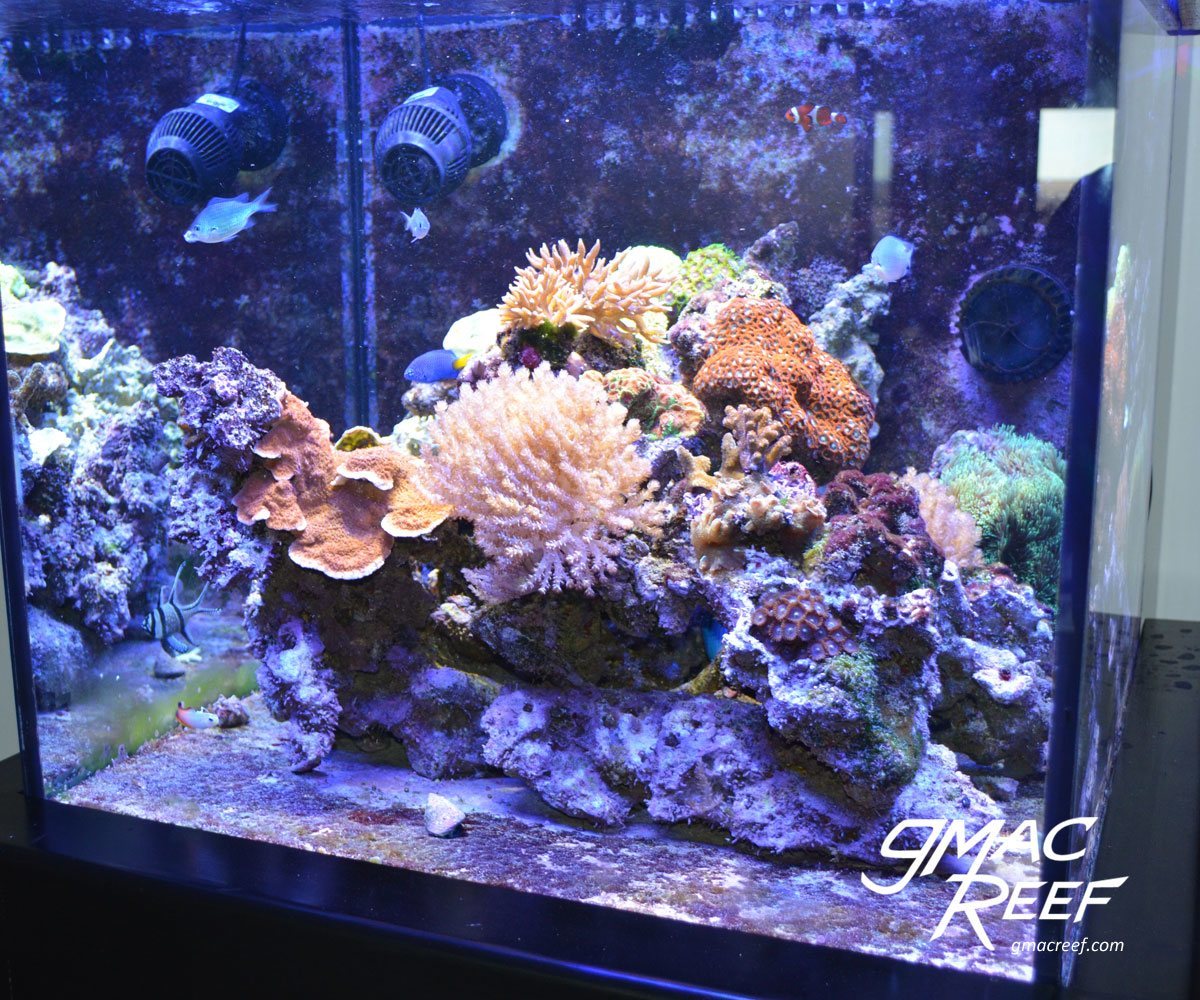
Most importantly, resist the urge to overstock. A crowded tank stresses your aquascape’s structural integrity. Start with just 2–3 coral frags to let the ecosystem stabilize. My rebuilt aquascape now supports 12 coral types with zero dead zones—because every rock serves a purpose.
Final Note: A breathtaking saltwater aquascape isn’t built—it’s engineered. By planning for 6–8 inches of water column clearance, building modular sections, and mastering the rock powder blend technique, you’ll create a functional masterpiece where corals thrive and fish explore. Remember the 7-day approval rule: Never settle for “good enough” when your reef deserves extraordinary. Start your dry assembly today, and in six weeks, you’ll unlock the underwater paradise you’ve been dreaming of—one perfectly placed rock at a time.