How to Fix Aquarium Filter Issues
That unsettling silence when your aquarium filter stops humming is every fishkeeper’s emergency alert. Without proper water circulation, ammonia spikes can occur within hours, threatening your entire aquatic ecosystem. Whether you’re staring at a completely dead filter, a sluggish trickle of water, or an alarmingly loud grinding noise, how to fix aquarium filter problems is critical knowledge for maintaining a healthy tank. Most filter failures stem from three preventable issues: clogged impellers, air locks, or improper priming. The good news? Over 80% of common filter malfunctions can be resolved in under 30 minutes with basic tools and this targeted troubleshooting approach. You’ll learn exactly how to diagnose symptoms, execute precise repairs, and implement foolproof maintenance to keep your filter running smoothly for years.
Diagnosing Your Filter’s Specific Failure Symptoms
Before disassembling components, match your filter’s behavior to these precise failure patterns. Each symptom requires a different repair strategy—misdiagnosis wastes precious time when water quality is deteriorating.
Filter Completely Dead With No Power or Sound
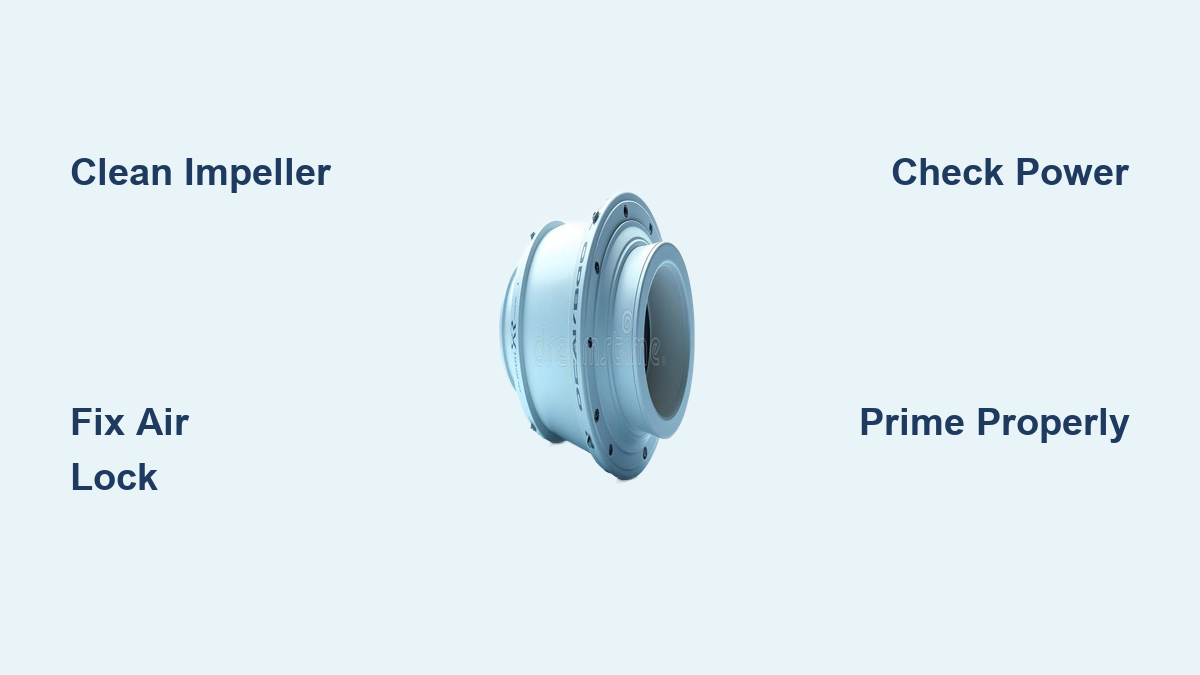
When your filter sits silent with zero vibration or hum, electrical issues or severe mechanical jams are likely culprits. First, rule out simple power failures: Unplug another device into the same outlet to verify power, check for tripped GFCI switches (common near water sources), and inspect the power cord for fraying or kinks. If power checks out, the impeller—the magnetized rotor driving water flow—is probably jammed by debris like gravel, plant matter, or accumulated detritus. Gently rotate the impeller housing by hand; if it won’t budge, sand or hair has likely wedged it against the shaft. Never force it, as this can crack the impeller housing. Critical note: A “dead” filter that hums but doesn’t move water indicates motor power but impeller failure—skip to the impeller cleaning section.
Low or No Water Flow Despite Running Motor
This frustrating scenario—where the motor hums but output is reduced to a trickle—points to obstructions or priming failures. Immediately check these four trouble spots:
– Clogged intake strainer (remove visible debris with tweezers)
– Over-packed filter media (sponges or ceramic rings blocking flow)
– Kinked or collapsed tubing (common in canister filters)
– Air trapped in the impeller chamber (prevents proper suction)
For hang-on-back (HOB) filters, verify water levels: The tank must maintain at least 1-2 inches above the pump intake. During water changes, dropping levels below this threshold breaks the siphon, requiring re-priming. If you hear a high-pitched whine, the impeller is likely spinning freely but unable to move water due to internal blockages—proceed to impeller cleaning immediately.
Grinding, Clicking, or Excessive Noise During Operation
Unusual mechanical sounds signal imminent failure requiring urgent attention. A grinding noise almost always means debris trapped in the impeller chamber—tiny particles like sand or fish food wedged between the impeller blades and housing. Clicking sounds indicate a loose impeller magnet or cracked impeller fin. Loud humming with vibration suggests misalignment between the impeller shaft and motor housing. Do not ignore these sounds: Continuing to run a noisy filter accelerates wear and can burn out the motor within hours. Power down immediately and inspect the impeller assembly before restarting.
Executing Precision Repairs: From Diagnosis to Restoration
Now that you’ve pinpointed the failure mode, follow these model-specific repair protocols. Always unplug the filter before starting—safety is non-negotiable when working with water and electricity.
Immediate Diagnostic Checks and Quick Resets
Begin with these non-invasive fixes that resolve 60% of common issues in under 5 minutes:
- Force-reprime HOB filters: Unplug the unit, fill the filter box completely with tank water using a cup, then rapidly plug/unplug 10-15 times. This dislodges vapor locks by cycling the motor.
- Clear intake obstructions: Remove the intake tube and soak it in vinegar for 15 minutes to dissolve lime buildup, then scrub internally with a pipe cleaner.
- Check impeller mobility: With power off, use a toothpick to gently rotate the impeller through the intake opening. It should spin freely. If stuck, proceed to full disassembly.
- Reposition canister filters: Ensure all valves are fully open and the canister is completely filled with water before restarting—never run dry.
Pro tip: For persistent air locks in canister filters, disconnect the outlet hose, hold the canister upright, and vigorously shake it side-to-side while submerged in tank water to dislodge trapped air bubbles.
Impeller Deep Cleaning: The #1 Fix for 90% of Failures
Since impeller issues cause most filter problems, this meticulous cleaning process is essential:
- Unplug filter and remove housing cover (twist or unclip per manufacturer instructions)
- Gently pull out the impeller assembly—never yank, as ceramic shafts snap easily
- Soak in warm tank water for 5 minutes, then use a soft toothbrush to clean:
– Impeller blades (remove slime/debris between fins)
– Impeller chamber walls (check for hair or string缠绕)
– Magnetic core (wipe with damp cloth—never submerge electronics) - Inspect critical components:
– Spin impeller on shaft—it must rotate silently without wobble
– Check for hairline cracks in plastic fins (replace if damaged)
– Verify shaft isn’t worn smooth (causes slippage and noise) - Reassemble, ensuring impeller seats fully into the drive magnet
Warning: Never lubricate with non-aquarium-safe products. If shaft friction persists, use a tiny drop of aquarium-safe silicone grease on the shaft base only.
Strategic Replacement Decisions: Repair vs. Replace

Not all filters warrant repair—know when to cut losses:
| Component | Repair If… | Replace Filter If… |
|---|---|---|
| Impeller | Blades intact, shaft undamaged | Cracked fins, magnet detached, or >2 years old |
| Motor | Humming but impeller stuck | Burning smell, visible smoke, or motor hot to touch |
| Housing | Minor cracks sealed with aquarium-safe epoxy | Structural cracks near electrical components |
Rule of thumb: If parts cost exceeds 60% of a new filter’s price (e.g., $30 for a $50 filter), replace the unit. Modern filters like Fluval or Eheim offer better energy efficiency and warranties. However, always keep a spare impeller kit—most cost under $10 and prevent emergency store runs.
Emergency Prevention: When to Seek Expert Help
Some failures demand professional intervention to avoid electrocution or tank disasters:
Call an aquarium technician immediately if:
– You detect a burning electrical smell or see smoke (indicates motor short-circuit)
– Water leaks near exposed wiring or cracked motor housing
– The filter repeatedly fails after proper cleaning (hidden electrical fault)
– Moisture penetrates the motor compartment (requires specialized drying)
Temporary emergency measures while waiting for help:
1. Add an airstone on a battery-operated air pump for oxygenation
2. Perform 25% water changes every 4 hours to dilute toxins
3. Install a backup sponge filter running off your existing air pump
Proactive Maintenance: Double Your Filter’s Lifespan
Prevention beats emergency repairs every time. Implement this tiered maintenance schedule:
Daily: Visually confirm strong water flow and listen for abnormal sounds—early detection prevents 70% of failures.
Weekly: Squeeze sponges in removed tank water (never tap water—chlorine kills beneficial bacteria).
Monthly: Disassemble and clean impeller chamber; check O-rings for cracks; inspect tubing for kinks.
Quarterly: Replace impeller assembly (preventative, not reactive); deep-clean intake tubes with vinegar soak.
Critical golden rules:
– Never run filters dry—even 10 seconds without water destroys impellers
– Store spare parts in your tank cabinet: impeller kit, O-rings, and aquarium-safe silicone grease
– Prime properly after maintenance: Always fill HOB filter boxes completely before restarting
By mastering these specific diagnostic steps and repair techniques, you transform filter failures from tank-threatening emergencies into manageable 15-minute fixes. Remember: A humming filter isn’t just background noise—it’s the sound of biological balance. When you hear that steady rhythm after a successful repair, you’re not just fixing equipment; you’re safeguarding the invisible ecosystem that keeps your fish thriving. Keep this guide handy, maintain your preventative schedule, and you’ll rarely face a filter issue you can’t solve before ammonia spikes endanger your aquatic community. For persistent problems with brand-specific models like AquaClear or Marineland, consult manufacturer diagrams—most failures trace back to those three culprits: clogs, air, or worn impellers.