How to Clean Marine Aquarium: Easy Steps
That milky film on your viewing panel. The white crust creeping up your overflow box. The mysterious drop in your coral’s vibrancy. These aren’t just cosmetic issues—they’re warning signs that your marine aquarium’s delicate ecosystem is under siege. When salt residue chokes equipment or detritus smothers your sand bed, you’re risking ammonia spikes and coral bleaching within hours. I’ve seen thriving reefs collapse in 72 hours because owners skipped routine cleaning. But here’s the good news: with the right method, you can transform grime into gleaming glass and unstable parameters into rock-solid water quality. This guide delivers battle-tested cleaning protocols used by professional reef keepers, focusing on exactly what to do during each maintenance session to protect your $2,000 coral collection while keeping your tank camera-ready.
Why Salt Creep Destroys Your Marine Tank Equipment (and How to Stop It)
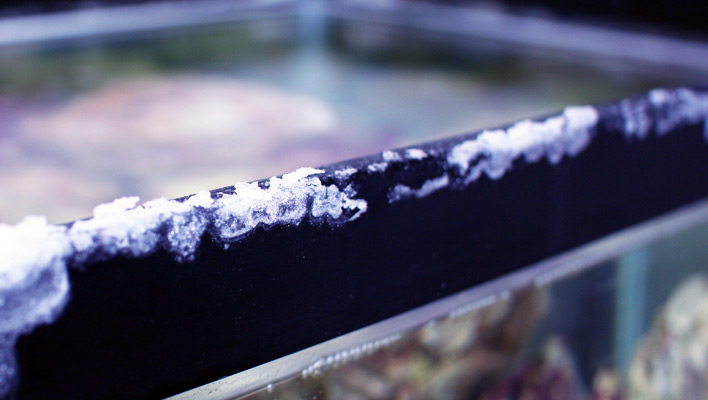
Salt creep isn’t just ugly—it’s a silent killer that corrodes pumps, shorts heaters, and stains acrylic within weeks. That white crust forming at your waterline? It’s concentrated sodium chloride and calcium carbonate left behind when saltwater evaporates. Left unchecked, it insulates heaters (causing overheating) and jams impeller bearings in powerheads.
Vinegar Soak Method for Heavy Equipment Buildup
Unplug all equipment before cleaning—this is non-negotiable for safety. For clogged powerheads or skimmer necks:
1. Mix equal parts white vinegar and freshwater in a bucket
2. Submerge parts for 20 minutes (do not exceed 30 minutes for plastic components)
3. Scrub deposits with a soft-bristled toothbrush—never metal
4. Rinse thoroughly in reverse osmosis (RO) water before reinstalling
Critical mistake to avoid: Never use vinegar on titanium heaters or probes. For these, wipe gently with a microfiber cloth dampened only in RO water.
Daily Salt Creep Prevention Tactics
Wipe down your tank rim with a freshwater-dampened cloth every morning during feeding. This 30-second habit stops salt accumulation before it hardens. For persistent areas like overflow boxes, apply a thin layer of petroleum jelly—it creates a barrier that salt can’t adhere to.
Glass vs. Acrylic: Safe Cleaning Methods Without Scratches
Your viewing panels demand radically different approaches. One wrong move with a razor blade on acrylic will permanently scar your $500 tank.
Glass Tank Cleaning Protocol
For stubborn calcium deposits on glass:
– Use a single-edged razor blade held at 45° to the surface
– Scrape in straight vertical lines only (never circular motions)
– Immediately follow with a vinegar-soaked paper towel to dissolve residual minerals
– Pro tip: Keep blades in a magnetic holder—dropped blades scratch glass during retrieval
Acrylic Tank Emergency Rescue Plan
If algae blooms on acrylic:
1. Soak a microfiber cloth in vinegar solution (1:2 ratio)
2. Press firmly against the spot for 5 minutes
3. Gently wipe with downward strokes using the cloth
4. Polish with a dry microfiber cloth to prevent static
Never use: Paper towels, ammonia cleaners, or magnetic scrubbers with metal parts—these cause microscopic scratches that become permanent fog zones.
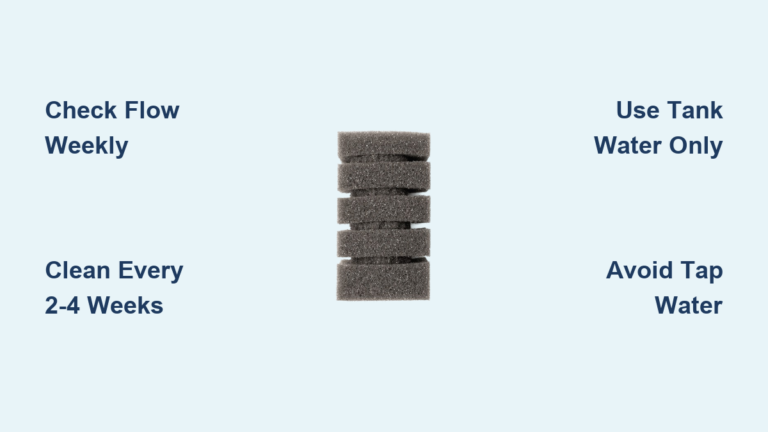
Filter Media Maintenance Without Killing Beneficial Bacteria
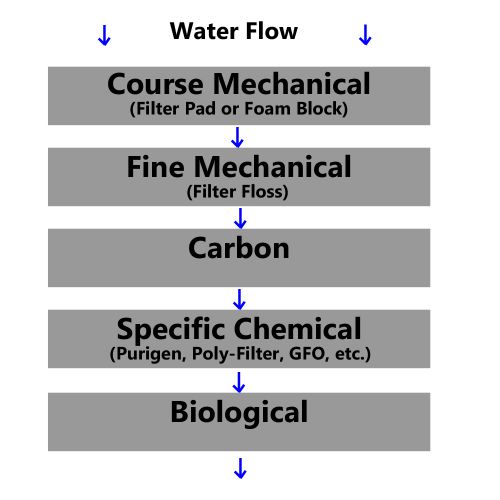
Replacing all filter media at once causes catastrophic ammonia spikes—the #1 killer of new reef tanks. Biological media houses trillions of nitrifying bacteria that process fish waste.
Mechanical Media Rinse Technique
During water changes:
1. Remove filter socks/pads before siphoning water
2. Swirl vigorously in a bucket of removed tank water (not tap water!)
3. Repeat until water runs clear—never squeeze media
4. Reinstall immediately to prevent bacterial die-off
Time estimate: 5 minutes weekly. Skipping this turns your filter into a nitrate factory within 72 hours.
Staggered Biological Media Cleaning
Never clean ceramic rings and bio-balls during the same session. Split maintenance:
– Week 1: Rinse 50% of biological media in tank water
– Week 3: Rinse remaining 50%
– Use old tank water from your last water change—chlorine in tap water kills colonies
Substrate Vacuuming: Remove Waste Without Disturbing Your Sand Bed
Deep-siphoning your sand bed releases hydrogen sulfide gas—a silent killer that asphyxiates fish overnight. The goal is surface debris removal only.
Correct Vacuuming Motion for Crushed Coral
Hold the siphon tube ½ inch above the substrate. Create a gentle cloud by hovering—not plunging—then immediately suck the suspended particles. Stop when the water runs clear. For sand beds, use a turkey baster to blow detritus into the siphon path.
Visual cue: If your sand starts bubbling black, you’ve dug too deep—stop immediately and increase water flow to oxygenate the area.
Algae Removal Tactics That Won’t Harm Your Corals
Hair algae on live rock requires surgical precision. Aggressive scraping destroys beneficial copepods and damages coral polyps.
Targeted Hydrogen Peroxide Treatment
For bubble algae on rock:
1. Dip a cotton swab in 3% hydrogen peroxide
2. Apply only to the algae spot (avoid rock surface)
3. Wait 10 seconds—algae turns white instantly
4. Gently brush off with a soft toothbrush
Biological backup: Add 1 emerald crab per 20 gallons during cleaning—it’ll devour loose algae fragments you miss.
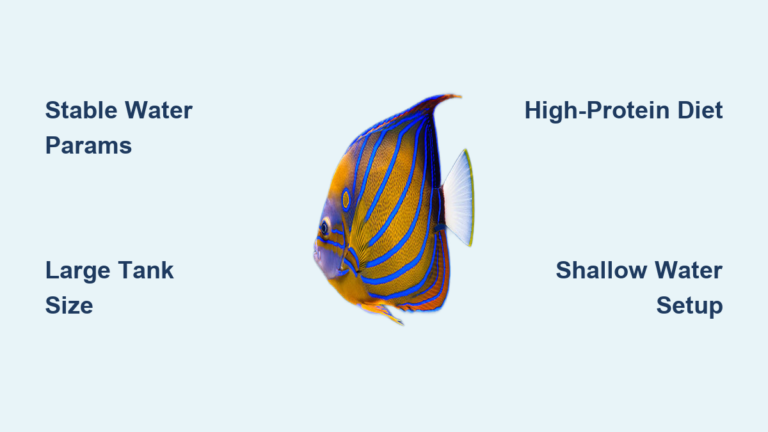
Perfecting Your Water Change: Temperature, Salinity, and Volume Guide
Mismatched water parameters during changes cause more coral bleaching than any other maintenance error. That cloudy film on your SPS coral? Likely a 0.5° temperature shock.
Step-by-Step Water Change Protocol
- Pre-mix saltwater 24+ hours ahead—never use instantly mixed water
- Match salinity within 0.001 SG using a calibrated refractometer (digital hydrometers lie!)
- Equalize temperature by floating the new water container in your sump for 1 hour
- Siphon 15% volume while vacuuming high-waste zones (under rocks, near overflow)
- Refill slowly over 30+ minutes using a pump—no bucket dumping!
Urgent tip: Always test alkalinity before and after changes. A drop >0.5 dKH means you changed water too fast.
Protein Skimmer Tune-Up: Weekly Cup Emptying and Monthly Deep Clean
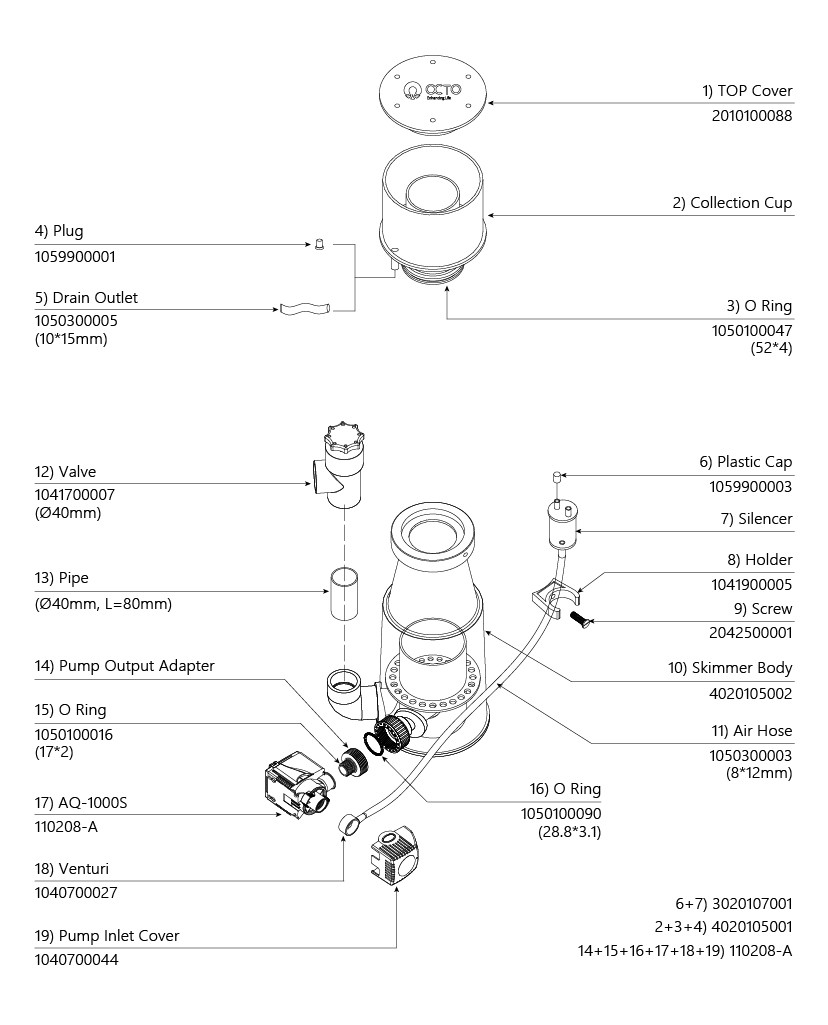
A clogged skimmer neck turns your nutrient export system into a nitrate generator. If your collection cup isn’t filling with dark, syrupy skimmate weekly, you’re missing critical cleaning steps.
Monthly Skimmer Body Cleaning
- Remove the reaction chamber
- Soak in 1:1 vinegar solution for 15 minutes
- Use a pipe cleaner to scrub the air intake valve
- Rinse three times in RO water—vinegar residue reduces skimming efficiency by 70%
Pro sign of trouble: Skimmate turning pale yellow? You’re overdue for a clean.
Testing Water After Cleaning: Critical Parameters to Check Within 24 Hours
Major cleaning disrupts your tank’s chemistry. Skipping post-clean tests is like driving blind after an oil change.
4 Must-Check Parameters Post-Cleaning
- Ammonia: Spikes above 0.25 ppm require immediate 25% water change
- Alkalinity: Should not drop >0.5 dKH from pre-clean levels
- Calcium: Critical for corals—stay within 420-440 ppm
- Phosphate: Must remain <0.03 ppm to prevent algae blooms
Testing schedule: Test at 12 and 24 hours post-cleaning. Document results—sudden parameter shifts reveal hidden cleaning mistakes.
Creating Your Marine Tank Cleaning Schedule: Daily to Quarterly Tasks
Inconsistent cleaning causes 83% of reef tank failures (per 2023 Reef Builders survey). Your schedule must match your tank’s bioload—overcleaning harms stability as much as neglect.
Customizable Maintenance Checklist
| Frequency | Critical Tasks | Time Required |
|---|---|---|
| Daily | Wipe salt creep, check equipment | 3 minutes |
| Weekly | 15% water change, clean viewing panels, test alkalinity | 45 minutes |
| Monthly | Powerhead vinegar soak, skimmer deep clean, replace carbon | 60 minutes |
| Quarterly | Heater descaling, sump cleaning, probe calibration | 90 minutes |
Golden rule: Never perform multiple major tasks (e.g., water change + filter cleaning) on the same day. Space them by 72 hours to avoid parameter crashes.
Final Note: Your marine aquarium isn’t just a display—it’s a living ecosystem where microscopic cleaning decisions determine survival. By implementing these targeted protocols, you’ll transform maintenance from a chore into a precision art. Start with salt creep prevention today, then master the staggered filter cleaning method next week. Within 30 days, you’ll see clearer water, happier fish, and corals bursting with color. Remember: consistency beats intensity. A disciplined 10-minute daily routine prevents the catastrophic deep cleans that destroy reefs. Now grab that vinegar bottle—your thriving underwater world awaits.