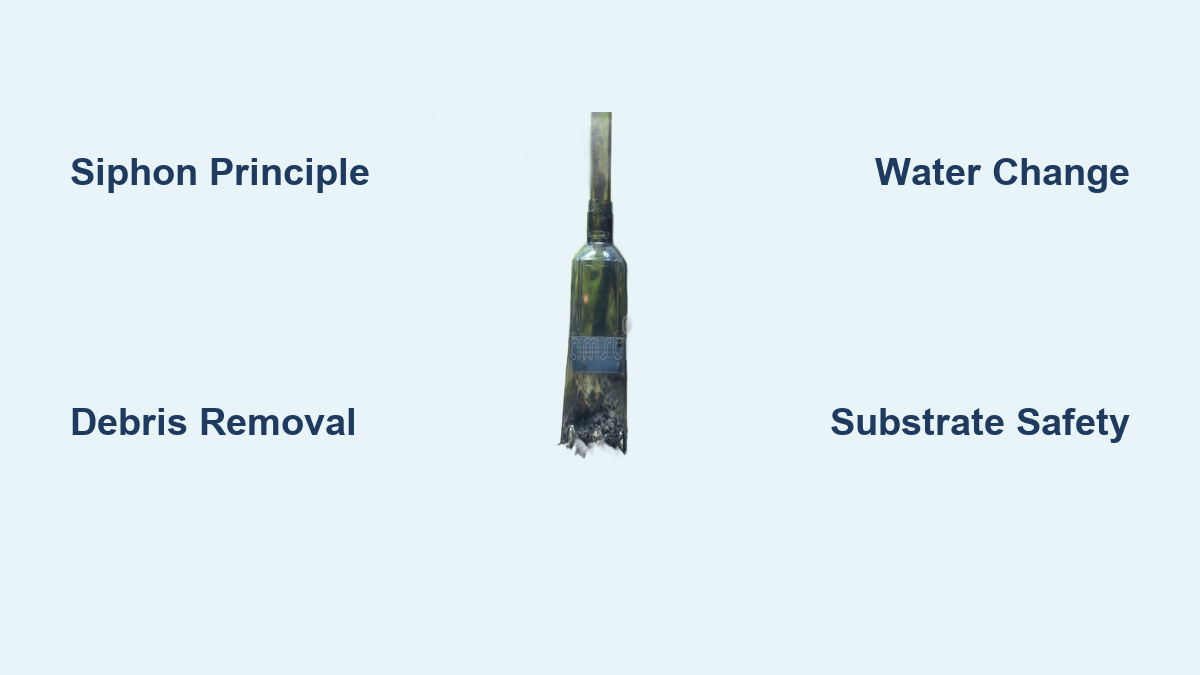
How an Aquarium Gravel Vacuum Works
Cloudy water, murky gravel, and lingering fish waste signal trouble in paradise. That layer of debris hiding between your substrate particles isn’t just unsightly—it’s a toxic time bomb releasing ammonia that stresses fish and fuels algae blooms. Yet the solution requires no electricity, complex machinery, or expensive gadgets. Your humble aquarium gravel vacuum leverages pure physics to perform two critical maintenance tasks simultaneously: deep-cleaning your substrate while executing a vital water change. Understanding exactly how does an aquarium gravel vacuum work transforms this simple tube from a confusing chore into your most powerful tank maintenance ally.
This siphon-driven tool exploits gravity and water density to remove invisible threats without disturbing beneficial bacteria colonies. Unlike household vacuums that rely on suction power, your aquarium cleaner uses the unstoppable force of water seeking equilibrium. By the end of this guide, you’ll master the science behind debris removal, avoid common pitfalls that harm tank ecosystems, and leverage your vacuum’s full potential for crystal-clear water. Let’s dive into the physics that keeps your underwater world thriving.
Why Gravity Beats Suction in Your Aquarium Gravel Vacuum
Your gravel vacuum operates on an ancient hydraulic principle: the siphon effect. When the rigid tube and connected hose fill completely with water, gravity initiates a self-sustaining flow as long as the hose outlet sits lower than your tank’s water level. This creates negative pressure in the tube—pulling water and debris upward—not through mechanical suction but through water’s relentless movement toward equilibrium.
The rigid tube’s diameter (typically 1.5–3 inches) directly controls cleaning power. Larger diameters move more water per second, enabling faster debris removal in deep gravel beds but risking substrate loss in fine sand. Crucially, this system requires zero electricity—the same force that moves rivers powers your tank cleaning. Attempting to create stronger “suction” by pinching the hose actually disrupts the siphon’s natural flow, reducing cleaning efficiency. When troubleshooting weak performance, always check that your collection bucket sits at least 12 inches below the tank waterline to maintain optimal gravitational pull.
Starting Your Siphon Without Swallowing Tank Water
Avoid the risky mouth-start method that exposes you to tank contaminants. Instead:
* Priming bulb technique: Submerge the entire tube in tank water, squeeze the attached bulb 3–5 times until water flows through the hose, then direct the outlet into your bucket
* Dip-and-plug method: Fill tube/hose completely underwater, cover the hose end with your thumb, lift it above tank water level, then plunge into bucket before releasing
* Faucet assist: For Python-style systems, attach to sink faucet—turning on cold water initiates siphon via venturi effect
Recognizing Proper Siphon Flow
Watch for these visual cues confirming correct operation:
– Water flows in a steady, uninterrupted stream (not bubbling or spurting)
– Tube remains completely filled with water (no air pockets)
– Debris visibly rises through the transparent tube
– Flow rate matches your bucket’s position (lower bucket = faster flow)
How Debris Gets Removed While Gravel Stays Behind

The real magic happens through density-based separation as you work the tube through your substrate. This isn’t random suction—it’s precision physics targeting only harmful waste. When you plunge the tube into gravel, your agitation releases trapped mulm (decomposing organic matter), fish waste, and uneaten food. The siphon then exploits a critical weight difference: lightweight debris particles get carried upward by water flow, while heavier substrate particles immediately fall back due to gravity.
Mastering Substrate-Specific Techniques
Gravel vacuuming for coarse substrates requires vigorous plunging:
1. Insert tube 1–2 inches deep into gravel bed
2. Twist tube 360 degrees while gently jiggling
3. Hold position for 5–10 seconds until debris cloud rises
4. Lift tube slightly to let gravel settle before moving
Fine sand demands surface-only cleaning to avoid losing substrate:
– Hover tube ¼ inch above sand surface
– Use slow, sweeping motions rather than plunging
– Reduce flow rate by raising bucket height
– Stop immediately if sand enters tube (indicates excessive flow)
Planted tank precautions prevent root damage:
– Vacuum only near plant bases (avoid disturbing root zones)
– Use narrow-diameter tubes (1–1.5 inches) for precision
– Clean after feeding when fish are distracted
– Skip vacuuming newly planted areas for 2–3 weeks
Your Gravel Vacuum’s Dual-Action Water Change Superpower
:strip_icc()/water-changes-1381886_final2-63b5961634e043cfb7bb233be39f4cc9.png)
Every time you clean substrate, you simultaneously remove nitrate-rich tank water—making gravel vacuuming the most efficient water change method. As debris-laden water flows into your bucket, you’re eliminating dissolved pollutants that filters can’t catch. This two-for-one action solves aquarium maintenance’s biggest time sink: separating cleaning from water changes.
For optimal results, match water removal to tank needs:
– New tanks (under 3 months): Replace 15% weekly (prevents ammonia spikes)
– Mature community tanks: Replace 25% every 1–2 weeks
– Heavily stocked tanks: Replace 30% weekly
– Planted tanks: Replace 20% weekly (replenishes trace elements)
Stop siphoning when bucket volume reaches your target percentage—never remove more than 30% at once. Always pre-mix replacement water with dechlorinator and match temperatures within 2°F of tank water to avoid shocking fish. The cloudy water draining from your hose? That’s visible proof of removed toxins—celebrate those murky buckets!
Choosing the Right Vacuum for Your Tank Setup
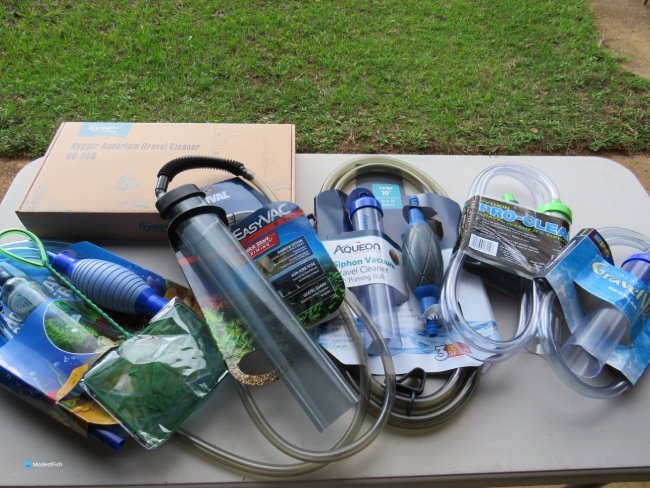
Manual Siphons for Small Tanks (Under 30 Gallons)
Basic models with 1.5–2 inch tubes work best for nano tanks. Look for:
– Clear acrylic tubes for visibility
– Adjustable flow valves to control suction
– Ergonomic handles for comfortable plunging
– Best for: Desktop aquariums, betta bowls, quarantine tanks
Hand-Pump Systems for Effortless Starting
These eliminate messy priming with integrated pumps:
– One-handed operation while holding tube steady
– Consistent flow without mouth-starting
– Auto-shutoff valves prevent backflow
– Best for: Elderly aquarists, frequent water changers, hospital tanks
Python Systems for Large Aquariums (55+ Gallons)
Hose-connected systems connect directly to your sink:
– Drain AND refill through single hose (no buckets)
– Handles 75%+ water changes effortlessly
– Built-in gravel guard prevents substrate loss
– Best for: Reef tanks, cichlid setups, planted tanks over 100 gallons
Critical Mistakes That Sabotage Your Tank Health
Over-Vacuuming Beneficial Bacteria Colonies
New aquarists often make this fatal error: vacuuming 100% of the substrate in one session. Since 60% of your biological filtration lives in the top 1-inch of substrate, this crashes your nitrogen cycle. Fix: Clean only 1/4 of the tank bottom per session, rotating sections weekly. Leave visible biofilm on rocks—it’s healthy bacteria, not “dirt.”
Accidentally Removing Fish or Shrimp
Small bottom-dwellers like otocinclus or cherry shrimp get sucked into tubes during cleaning. Prevention:
– Place hand or mesh net above tube intake while vacuuming
– Vacuum at night when shrimp are less active
– Add air stones to create current that pushes fish away from tube
Ignoring Water Temperature During Refills
Adding cold replacement water causes thermal shock—a leading cause of fish death. Solution:
1. Fill bucket with tap water 24 hours before cleaning
2. Add dechlorinator immediately
3. Use submersible heater to match tank temperature
4. Float bucket in tank for 15 minutes pre-refill
How Often Should You Vacuum Based on Tank Type?
Bare-bottom tanks: Vacuum surface 2x weekly (no substrate to clean)
Sand-bottom tanks: Surface-clean every 7–10 days (deep vacuum monthly)
Gravel tanks: Deep clean 25% of bed weekly (rotating sections)
Planted tanks: Vacuum only paths between plants weekly (avoid root zones)
Cichlid tanks: Deep clean 30% weekly (these fish create heavy waste)
The gravel vacuum remains aquarium keeping’s most elegant engineering solution—a tool that harnesses natural forces to solve critical maintenance challenges. By understanding how does an aquarium gravel vacuum work, you transform routine cleaning from a dreaded chore into a precise science that protects your ecosystem. Remember: consistent partial vacuuming beats infrequent deep cleans, and cloudy outflow signals successful toxin removal. Keep your siphon flowing smoothly, respect the delicate balance of your substrate ecosystem, and you’ll maintain water clarity that showcases your aquatic masterpiece. Your fish don’t just appreciate clean gravel—they depend on it for survival.