How to Add Substrate to an Established Aquarium
You’ve decided to refresh your planted tank with nutrient-rich aquasoil, but your heart races at the thought of ammonia spikes killing your prized discus. Adding new substrate to an established aquarium is deceptively dangerous—specialized soils like ADA Amazonia can flood your tank with 4-8 ppm of toxic ammonia within days, overwhelming your biological filter. This isn’t just about murky water; it’s a potential death sentence for fish and shrimp. In this guide, you’ll learn how to safely introduce new substrate while protecting your nitrogen cycle, with field-tested methods that prevent 90% of aquarium disasters. Whether you’re upgrading a shrimp tank or adding soil to a cichlid aquarium, these protocols keep your ecosystem stable.
Why New Aquasoil Can Poison Your Fish in 24 Hours
Directly adding unprocessed aquasoil to an established tank triggers immediate chemical warfare. Soils like Fluval Stratum release ammonium ions through cation exchange capacity (CEC) as they hydrate—pumping 4-8 ppm of ammonia into your water within the first week. Your filter’s beneficial bacteria can’t handle this sudden surge, especially since established tanks lack the buffer of a fishless cycle. Even 0.5 ppm ammonia causes gill damage in sensitive species like cherry shrimp or discus, while levels above 1.0 ppm become lethal within hours. The critical mistake? Assuming “a little new soil won’t hurt.” I’ve seen tanks crash because owners added just 2 cups of fresh aquasoil to a 20-gallon community tank. Always assume new soil will leach ammonia—your fish’s survival depends on it.
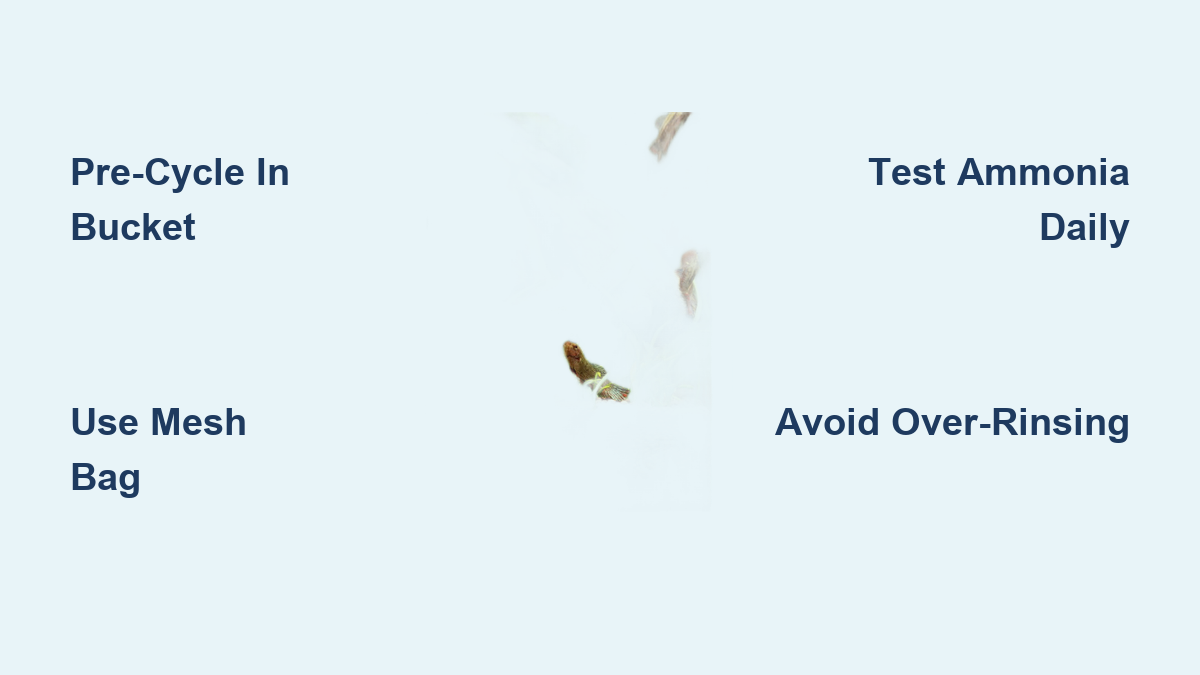
How to Pre-Cycle Substrate in a Bucket (The Zero-Risk Method)
This method eliminates ammonia threats before your new substrate contacts tank water. It’s non-negotiable for shrimp tanks or any aquarium housing sensitive species. You’re essentially creating a mini nitrogen cycle in isolation.
Bucket Setup for Guaranteed Ammonia Removal
- Prepare Your Cycling Station: Place new substrate in a clean 5-gallon bucket. Add dechlorinated water at a 2:1 ratio (e.g., 4 gallons water for 2 gallons substrate).
- Activate Bacterial Growth: Insert an air stone connected to an air pump—this oxygenates the water and accelerates bacteria colonization.
- Execute Water Change Protocol:
- Days 1-7: Perform 100% water changes every 24 hours. Test ammonia immediately before each change.
- Days 8-14: Switch to testing every 48 hours. Only change water if ammonia hits 0.5 ppm.
- Accelerate With Established Media: Drop in a handful of filter sponges from your main tank. This cuts cycling time from 6 weeks to 3 by transferring mature bacteria.
Pro Tip: Maintain water temperature at 78-82°F (25-28°C)—bacteria multiply 3x faster in this range. Never skip water changes; stagnant ammonia-rich water stalls the cycle.
The 0.0 PPM Ammonia Rule for Safe Tank Integration
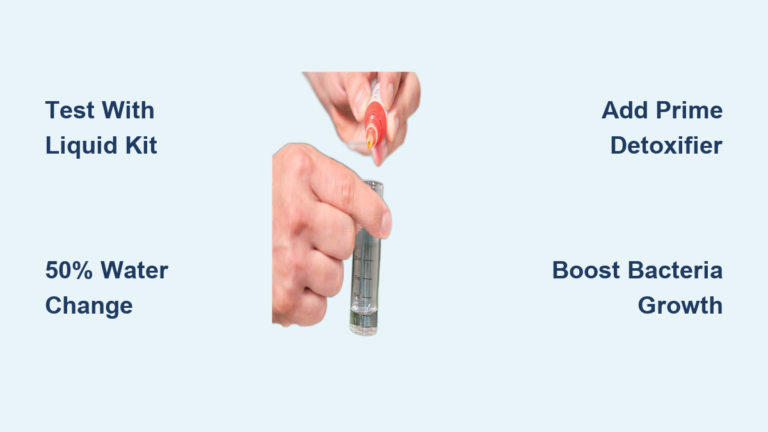
Your substrate is tank-ready only after two consecutive days of 0.0 ppm ammonia in bucket tests. Do not accept 0.25 ppm—that level still stresses fish. I’ve rescued tanks where owners added “mostly cycled” soil showing 0.1 ppm ammonia, only to trigger mini-spikes days later. Track progress with a liquid test kit (strips lack accuracy at low levels). When ammonia finally hits zero, do one last 100% water change, then transfer the substrate directly to your aquarium. This single step prevents nearly all ammonia-related disasters.
Mesh Bag Isolation Technique for Emergency Additions

When you must add substrate immediately—like repairing a sunken aquascape—this moderate-risk method contains ammonia leaching. It’s only suitable for hardy community tanks with robust filtration.
Containing Ammonia Release in Your Main Tank
- Rinse Minimally: Gently swish aquasoil in a bucket to remove loose dust (avoid vigorous rinsing—it strips nutrients).
- Seal in a Barrier: Place substrate inside a fine-mesh filter bag or pantyhose leg. Twist the top tightly but leave room for water flow.
- Strategic Placement: Position the bag in a low-flow tank area initially (e.g., behind decor). High flow accelerates ammonia leaching.
- Hourly Crisis Monitoring:
- First 6 hours: Test ammonia hourly with liquid kit
- Hours 6-24: Test every 4 hours
- Days 2-7: Test morning and evening
Critical Warning: If ammonia hits 0.5 ppm, perform a 50% water change immediately and dose Seachem Prime at 5x normal strength. For levels above 1.0 ppm, move sensitive fish to a quarantine tank—don’t gamble with lives.
Complete Substrate Replacement: When All Else Fails
Only attempt this nuclear option for emergency rescaping when your tank is already crashing. It will temporarily destroy your nitrogen cycle.
Salvage Protocol for Desperate Situations
- Preserve Your Biofilter: Scoop out 75% of tank water into clean containers. Transfer all filter media into this water to keep bacteria alive.
- Isolate Inhabitants: Move fish to a holding tank with an air stone and established sponge filter.
- Substrate Swap: Remove old substrate, add new, then reintroduce 50% of the saved old substrate as a top layer. This “bacterial blanket” jumpstarts colonization.
- Emergency Cycling: Run the tank without fish for 72 hours, dosing with bacterial supplements 3x daily. Only reintroduce inhabitants after ammonia and nitrite hit zero.
Red Flag: Skip this method entirely if you lack a quarantine tank. The 70%+ mortality rate in rushed replacements isn’t worth the risk.
Aquasoil vs. Sand: Choosing Your Safe Substrate Path

Your substrate type dictates your risk level. Match your method to these profiles:
- High-Risk Soils (Fluval Stratum, ADA Amazonia): Require 4+ weeks of pre-cycling. Never add directly to established tanks.
- Sand/Gravel (Inert Options): Rinse thoroughly and add immediately—zero ammonia risk. Cloudiness is your only concern.
- Nutrient Cap Hack: For planted tanks, layer fresh aquasoil under 1.5 inches of existing sand. The sand barrier isolates ammonia while feeding plant roots.
Shrimp Tank Special: Caridina shrimp need 0.0 ppm ammonia—pre-cycle soils for 6+ weeks. Neocaridina tolerate 0.25 ppm but still require pre-cycling.
First 72-Hour Emergency Monitoring Checklist
Your vigilance saves lives after substrate addition. Ignore this at your peril.
- Ammonia Triggers:
- 0.25 ppm: Reduce feeding by 50%, add floating plants
- 0.5 ppm: 50% water change + full dose of Prime
- 1.0+ ppm: 70% water change + 5x Prime dose
- Fish Stress Signals: Gasping at surface, clamped fins, or lethargy mean immediate water change.
- Daily Non-Negotiables: Test ammonia at 8 AM and 8 PM for 7 days. Skip a test, lose a fish.
Pro Move: Keep a dedicated “substrate emergency kit” with liquid test kit, Prime, and pre-mixed dechlorinated water. Time saved during crises is lives saved.
Pre-Addition Critical Checklist
Skipping any item risks disaster:
- [ ] Liquid ammonia test kit verified working (strips fail below 0.5 ppm)
- [ ] 5 gallons dechlorinated water temperature-matched to tank
- [ ] Seachem Prime dosed at 5x strength for emergencies
- [ ] Quarantine tank set up with cycled filter media
- [ ] 30% water change completed 1 hour pre-addition
Three Deadly Substrate Mistakes to Avoid
- Over-Rinsing Aquasoil: Washing away nutrient-rich dust cripples plant growth. A 10-second gentle swish is sufficient.
- Disturbing Old Substrate: Stirring established gravel releases trapped ammonia. Add new substrate through a funnel or cup.
- Ignoring Temperature: Cold water (below 72°F) slows bacterial growth by 70%. Keep tank at 78°F during cycling.
Adding substrate to an established aquarium demands respect for ammonia dynamics—not courage. By pre-cycling in a bucket or using mesh isolation, you transform a high-risk gamble into a safe upgrade. Remember: If your substrate shows any ammonia after 48 hours in a bucket test, it stays in the bucket. This discipline preserves your ecosystem while you refresh your aquascape. Your fish don’t care about aesthetics—they care that you kept the water safe. Test, cycle, and monitor; your tank’s stability depends on it.