How to Add CO2 to Aquarium: Easy Steps
If your planted aquarium isn’t delivering the vibrant, dense growth you expected, the missing ingredient is almost certainly CO2. Most hobbyists don’t realize that fish respiration provides only a fraction of the carbon dioxide plants need for optimal growth. This guide cuts through the confusion to show you exactly how to add CO2 to aquarium setups safely and effectively—whether you’re maintaining a simple 5-gallon nano tank or a complex aquascape. You’ll discover which method matches your budget and skill level, how to avoid dangerous CO2 overdosing, and why proper CO2 injection transforms slow-growing plants into lush underwater jungles.
The critical factor is balance. Plants require three elements in harmony: light, CO2, and nutrients. Think of it as a three-legged stool; if one leg is much shorter than the others, the whole system becomes unstable. Adding CO2 is often the key to unlocking the full potential of a high-light, high-nutrient aquarium. Without sufficient CO2, even with perfect lighting and fertilization, you’ll battle algae and experience stunted plant growth.
Why Your Planted Tank Needs More CO2 Than Fish Can Provide
Natural CO2 from fish respiration only reaches about 3-5 ppm—far below the 30 ppm ideal for most planted tanks. High-light setups with fast-growing plants like stem plants or carpeting species will quickly deplete available CO2, causing visible growth limitations within days. When CO2 becomes the limiting factor in your aquarium, plants develop smaller leaves, sparse growth patterns, and increased susceptibility to algae outbreaks.
Signs Your Tank Is CO2-Deficient
- Yellowing new growth on plants like Rotala or Ludwigia
- Pearling only at lights-on rather than continuous oxygen release
- Algae outbreaks on slow-growing plants despite good maintenance
- Stunted shoot tips on stem plants that should be growing rapidly
How Much CO2 Do Different Plants Need?
Low-light plants (Anubias, Java Fern): 5-10 ppm
Medium-light plants (Cryptocorynes, Anubias): 15-20 ppm
High-light plants (Hemianthus, Rotala): 25-30 ppm
Boosting Natural CO2 Without Equipment in Planted Tanks
For low-tech tanks under 20 gallons with moderate lighting, you can maximize natural CO2 production without adding equipment. This approach works best with hardy plants that don’t require high CO2 levels.
Optimizing Fish Respiration for Natural CO2
Moderately stocking your tank with 1 inch of fish per gallon provides a steady CO2 source. Bottom-dwellers like Corydoras are particularly efficient CO2 producers. Avoid overstocking, as this leads to poor water quality that negates any CO2 benefits. For a 10-gallon tank, 6-8 small fish creates sufficient natural CO2 for low-demand plants.
Surface Agitation Control Techniques
Turn down your filter outflow to create gentle water movement without breaking the surface tension. Use a sponge pre-filter or baffle to diffuse outflow. The goal is to maintain oxygen exchange while preserving dissolved CO2—a delicate balance that prevents gasping fish while maximizing plant growth.
Using Liquid Carbon Dosing for Low-Tech Algae Prevention
Liquid carbon supplements like Seachem Excel provide an alternative carbon source that plants can utilize when gaseous CO2 is limited. They’re not true CO2 replacements but valuable tools for specific situations.
When Liquid Carbon Works Best
- Nano tanks under 10 gallons where gas injection is impractical
- Low-light setups with moderate plant growth demands
- Algae-prone tanks where liquid carbon’s mild algaecidal properties help
- Newly cycled tanks where pressurized systems would be overkill
Proper Dosing Protocol to Avoid Fish Harm
Start with half the manufacturer’s recommended dose for the first week. For Seachem Excel in a 20-gallon tank, begin with 2ml daily instead of 4ml. Increase gradually only if you observe no negative effects on shrimp or sensitive fish. Always dose near high-flow areas to prevent localized high concentrations. Never exceed 1ml per 10 gallons daily without monitoring your livestock closely.
Building a Reliable DIY Yeast CO2 Generator for Nano Tanks

A properly constructed yeast CO2 system delivers consistent gas for small tanks at minimal cost. This $10 solution works surprisingly well for 5-15 gallon setups when built correctly.
Step-by-Step Yeast Generator Assembly
- Prepare the mixture: In a clean 2-liter bottle, combine 1 cup sugar, 1 teaspoon yeast, 1 teaspoon baking soda, and 16oz warm water
- Install safety components: Attach airline tubing through the bottle cap with a check valve positioned before the tank connection
- Connect to diffuser: Use a ceramic diffuser inside the tank positioned opposite your filter outflow
- Prime the system: Submerge the diffuser end in tank water to create a siphon break before initial setup
Maintaining Consistent Output for 7+ Days
Replace the sugar-yeast mixture when bubble production drops below 1 bubble every 5 seconds. To extend generator life, store the bottle in a consistently warm location (75-80°F). For best results, build two identical generators and rotate them—this ensures continuous CO2 while one batch is regenerating.
Pressurized CO2 System Setup: Components You Must Have

For tanks over 20 gallons or high-light aquascapes, a pressurized system is the only reliable solution. This investment pays off in consistent plant growth and reduced maintenance compared to DIY methods.
Essential Components Checklist
- CO2 cylinder: 5lb tank for 20-50 gallon tanks (lasts 6-12 months)
- Dual-stage regulator: Prevents “end-of-tank” pressure drops that destabilize CO2 levels
- Solenoid valve: Must connect to timer for automatic shutoff during dark period
- Drop checker: Your primary CO2 monitoring tool (use 4dKH solution)
- In-line reactor: More efficient than diffusers for tanks with canister filters
Installing Your CO2 Regulator Without Common Leaks
Improper regulator installation causes most pressurized system failures. Follow this sequence to avoid dangerous leaks and wasted gas.
Leak-Proof Connection Protocol
- Hand-tighten the regulator to the tank valve—never use tools
- Apply soapy water to all connections before opening the tank valve
- Open the tank valve slowly while monitoring for bubbles at connections
- If leaks occur, close tank valve, disconnect, and reapply thread seal tape
First-Time System Activation Steps
With all valves closed, open the tank valve slowly. Turn the regulator’s adjustment knob clockwise until the low-pressure gauge reads 30 PSI. Open the needle valve slightly until you see 1-2 bubbles per second in your bubble counter. Wait 15 minutes before adjusting further—CO2 systems need time to stabilize.
Setting the Perfect CO2 Bubble Rate for 20-Gallon Tanks

The right bubble rate depends on your tank size, plant density, and water movement. Start with these baseline settings then adjust using your drop checker.
Bubble Rate Guidelines by Tank Size
- 10 gallons: 0.5-1 bubble per second
- 20 gallons: 1-2 bubbles per second
- 40 gallons: 2-3 bubbles per second
- 75+ gallons: 3-5 bubbles per second
Fine-Tuning Based on Plant Response
After 24 hours of stable bubble rate, check your drop checker at midday. If it’s blue, increase bubbles by 0.5 per second. If yellow, decrease immediately. The ideal lime green color should appear within 2 hours of lights-on and remain until 1 hour before lights-off.
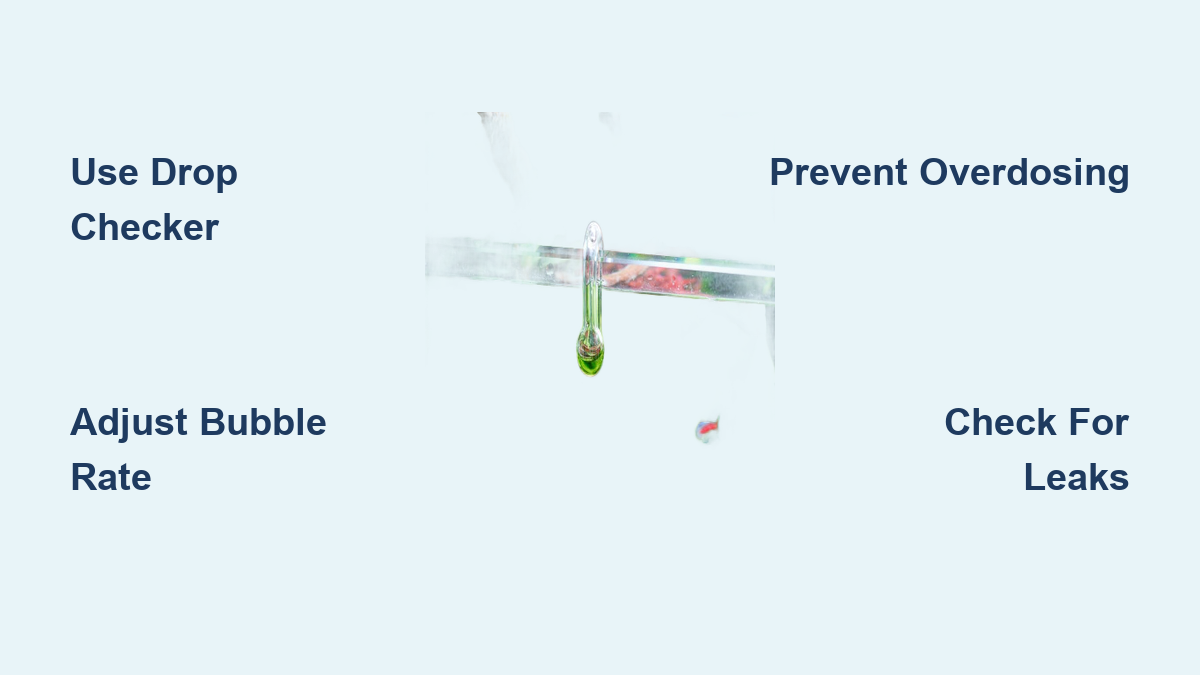
Reading Your Drop Checker for Safe 30ppm CO2 Levels
Your drop checker is the only reliable indicator of actual CO2 concentration—bubble counters measure flow rate, not dissolved gas.
Interpreting Drop Checker Colors Correctly
- Bright blue: Less than 15ppm CO2 (increase injection)
- Lime green: 25-35ppm CO2 (perfect for most plants)
- Yellow-green: 40+ppm CO2 (dangerous—reduce immediately)
- Bright yellow: 50+ppm CO2 (emergency—turn off CO2)
Common Drop Checker Mistakes to Avoid
Placing it near filter outflow creates false readings. Mount it mid-tank away from direct water movement. Use distilled water with 4dKH solution—your tank’s KH affects accuracy. Check it during peak photosynthesis (midday), not at lights-on or lights-off.
Troubleshooting CO2 Deficiency Symptoms in Fast-Growing Plants
When CO2 levels drop below optimal, high-demand plants show specific deficiency patterns that differ from nutrient deficiencies.
Plant-Specific CO2 Deficiency Signs
- Rotala: Red stems with sparse leaf growth
- HC Cuba: Stops carpeting and grows vertically
- Pearling: Only during first 30 minutes of lights-on
- New leaves: Smaller than previous growth with yellowing
Emergency CO2 Boost Protocol
For severe deficiency, temporarily increase bubble rate by 50% for 2 hours (monitor fish closely). Add liquid carbon at half-dose to supplement. Check your regulator connections for leaks—the most common cause of sudden CO2 drop.
Emergency Fixes for Overdosed CO2 Levels Threatening Fish
CO2 overdose is the most dangerous scenario in planted tanks. Fish gasping at the surface requires immediate action.
5-Minute CO2 Overdose Response
- Turn off CO2 at the tank valve immediately
- Increase surface agitation by redirecting filter output
- Perform 20% water change with aerated water
- Add hydrogen peroxide (1ml per 10 gallons) to boost oxygen
- Monitor fish until normal breathing resumes
Preventing Nighttime CO2 Buildup
Your solenoid must shut off CO2 1 hour before lights-off. Install a battery backup air pump that activates automatically during power outages to maintain oxygen levels.
Daily CO2 Maintenance Routine for Consistent Plant Pearling
Proper CO2 system maintenance takes just 2 minutes daily but prevents 90% of common problems.
Morning Checklist (Before Lights-On)
- Verify solenoid activated CO2 1-2 hours before lights
- Confirm bubble rate matches yesterday’s setting
- Check drop checker color (should be turning green)
- Inspect tubing for kinks or moisture accumulation
Weekly Maintenance Tasks
- Test all connections with soapy water
- Clean ceramic diffuser in vinegar solution
- Check regulator pressure gauge readings
- Verify timer settings haven’t reset
By implementing these precise CO2 techniques, you’ll transform lackluster plant growth into vibrant underwater landscapes. The key isn’t just adding CO2—it’s maintaining the precise 25-30ppm sweet spot that maximizes growth while keeping fish safe. Start with the simplest method matching your tank size, master the fundamentals of monitoring with a drop checker, and you’ll soon enjoy the dramatic difference proper CO2 levels make. Remember: consistent, moderate CO2 with good observation beats aggressive injection without monitoring every time. Your plants’ explosive growth and absence of algae will confirm you’ve mastered this essential planted tank element.