Freshwater Shrimp Aquarium Setup Guide
Watching a colony of vibrant red cherry shrimp forage through lush moss or observing crystal red shrimp meticulously clean plant leaves creates an underwater ballet that transforms any room into a living sanctuary. Unlike fish tanks, freshwater shrimp aquariums operate as delicate micro-ecosystems where stability trumps all—yet beginners often lose colonies within weeks due to overlooked water chemistry pitfalls. This guide eliminates guesswork by revealing exactly how to build a shrimp-safe environment from day one, using proven methods that prevent the ammonia spikes and parameter crashes responsible for 90% of beginner failures. You’ll discover why a 5-gallon tank outperforms larger setups for new keepers, how to cycle properly without fish, and the critical substrate differences between cherry and crystal red species.
Choosing the Perfect Tank Size for Your Shrimp Colony
Selecting the right aquarium dimensions creates the foundation for long-term shrimp survival. A 5- to 10-gallon tank strikes the ideal balance for starter colonies—large enough to buffer water parameter fluctuations but small enough to manage costs and maintenance. Larger 20-gallon tanks offer increased stability for advanced breeders, but their volume makes correcting water chemistry errors slower and more expensive when problems arise. Crucially, every tank requires a tightly sealed lid since dwarf shrimp like neocaridina and caridina species frequently climb filter pipes and escape through tiny gaps. Opt for rimless tanks with glass lids or retrofit standard hoods with foam padding to block all potential exit points.
Why Small Tanks Outperform Large Setups for Beginners
New keepers mistakenly believe bigger tanks automatically mean easier care, but shrimp thrive in smaller volumes where you can precisely control water chemistry. In a 5-gallon system, adjusting pH from 7.5 to 6.8 takes just 1-2 teaspoons of Indian almond leaves, while the same change in a 20-gallon requires exponentially more additives and testing iterations. Smaller tanks also reveal water quality issues faster—you’ll spot dangerous ammonia spikes in hours rather than days, allowing quicker interventions before shrimp perish. Start compact, master parameter control, then expand your colony.
Cycling Your Shrimp Tank Without Fish: The 4-8 Week Protocol

Introducing shrimp to an uncycled tank guarantees mass casualties within 72 hours due to ammonia sensitivity. The fishless cycling method using pure ammonia establishes the essential bacteria colony safely. Dose 4-5 drops of unscented ammonia per 10 gallons daily until levels hit 2 ppm, then monitor with liquid test kits (strips lack necessary precision). Expect the ammonia spike around day 3-5, followed by a nitrite surge at day 10-14. The cycle completes only when 2 ppm ammonia converts to nitrates within 24 hours—a process taking 4-8 weeks. Never shorten this timeline; shrimp literally breathe through their gills, making them 10x more vulnerable to toxins than fish.
Critical Cycling Mistakes That Kill Shrimp Colonies
Skipping daily testing or using household ammonia with surfactants introduces lethal chemicals that prevent bacterial growth. Equally dangerous is adding shrimp “just to test” the cycle—surviving a few days doesn’t indicate stability. True readiness requires zero ammonia/nitrite readings for 7 consecutive days with regular feedings (simulating shrimp waste). If nitrates exceed 20 ppm during cycling, perform 50% water changes immediately to avoid stalling the process. Rushing this phase causes mysterious shrimp deaths weeks later when the immature bacteria colony collapses under real waste loads.
Essential Low-Flow Filtration for Shrimp Safety
Powerful filters create deadly currents that exhaust shrimp and suck juveniles into intakes. A sponge filter driven by an air pump provides ideal gentle circulation while doubling as a bacteria factory. Size the sponge so it processes the entire tank volume 4-5 times hourly—e.g., a 5-gallon tank needs a filter rated for 20-25 GPH. Crucially, avoid canister or hang-on-back filters; their strong intakes require covering with fine mesh, which clogs rapidly and creates maintenance nightmares. Position sponge filters away from direct shrimp traffic zones to prevent accidental entanglement during molting.
Why Sponge Filters Outperform All Alternatives
Unlike cartridge-based systems that starve beneficial bacteria during monthly cleanings, sponge filters maintain colonies in their porous structure for years. The dual-action design traps debris on the surface while bacteria colonize deep within the foam—meaning you preserve the ecosystem during maintenance by rinsing only in tank water (never tap water). This continuous bacterial support prevents the mini-cycles that crash parameters when restarting mechanical filters. For nano tanks under 5 gallons, use air-driven sponge filters exclusively; even the quietest internal filters generate disruptive flow.
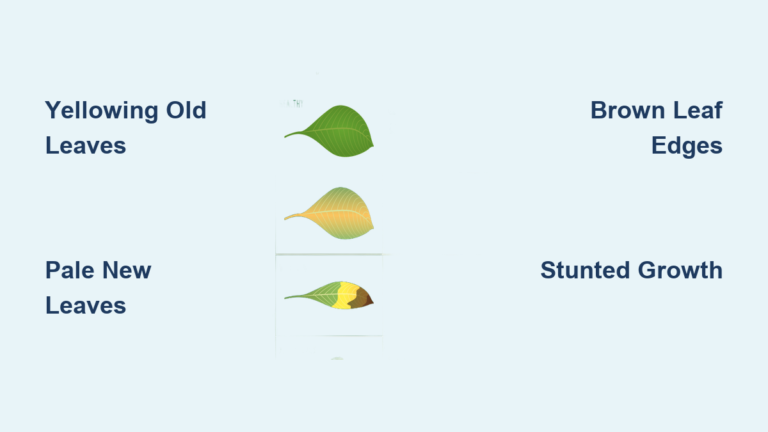
Substrate Secrets: Neocaridina vs. Caridina Requirements

Your substrate choice makes or breaks water chemistry stability. Neocaridina shrimp (cherry shrimp) tolerate inert substrates like pool filter sand or gravel that won’t alter pH. Caridina species (crystal reds) demand active buffering substrates such as ADA Amazonia or shrimp-specific soils that steadily release tannins to maintain pH 6.0-7.5. Never use crushed coral or limestone gravels—they elevate pH and GH to lethal levels for sensitive caridina. For mixed-species tanks, choose inert substrates and dose Indian almond leaves weekly to naturally lower pH.
How to Layer Substrates for Rooted Plants and Shrimp
Place 1-2 inches of nutrient-rich soil beneath 0.5 inches of inert sand to anchor plants without direct shrimp contact with acidic substrates. Slope the substrate from 1 inch at the front to 3 inches deep at the back for visual depth and plant growth. After filling the tank, let the substrate settle 24 hours before adding hardscape—rushing this step clouds water with fine particles that clog shrimp gills. Always rinse inert substrates thoroughly to remove dust, but never wash active soils as it leaches vital buffering compounds.
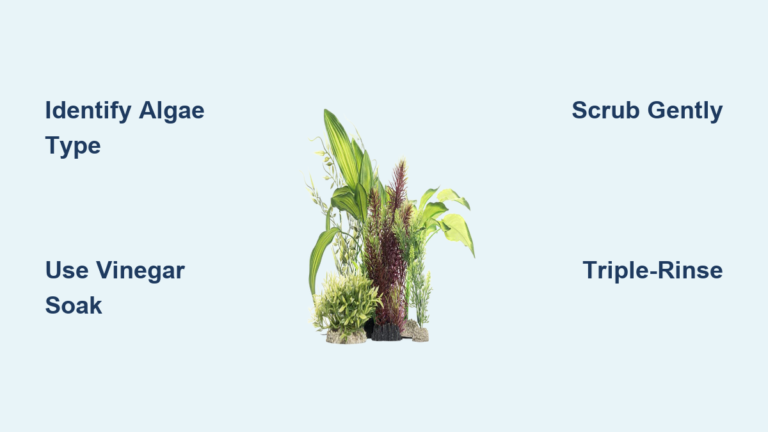
Hardscape Design: Creating Biofilm Buffets and Molting Havens
Shrimp spend 80% of their time grazing on biofilm-covered surfaces, making hardscape placement critical for natural nutrition. Use spiderwood or mopani driftwood pieces arranged to create shaded tunnels where biofilm thrives. Position slate or seiryu stone vertically against tank walls to form narrow crevices—ideal molting spots where shrimp feel secure during their vulnerable soft-shell phase. Avoid sharp-edged rocks that snag delicate appendages during molts. Boil all wood for 30 minutes to sterilize and sink it; stones require 10-minute vinegar soaks to remove algae spores.
Why Driftwood Outperforms Plastic Decor for Shrimp
Real wood releases tannins that lower pH naturally while providing textured surfaces for biofilm colonization. Plastic plants and ornaments create dead zones where waste accumulates and offer zero nutritional value. In tanks without wood, shrimp show increased stress behaviors like glass surfing and reduced breeding. Anchor wood with stainless steel weights rather than burying deep in substrate—this allows easy repositioning during maintenance without disturbing bacterial colonies in the soil.
Best Beginner Plants: Java Moss, Anubias, and Ferns
Live plants aren’t optional—they’re the shrimp’s primary food source and ammonia absorbers. Java moss covers 70% of beginner tanks success because it grows on any surface, tolerates low light, and hosts thick biofilm. Tie small clumps to driftwood with cotton thread (not fishing line) for instant grazing zones. Anubias nana and Java ferns provide broad leaves for algae growth; attach their rhizomes (never bury roots) to hardscape with superglue gel. Avoid stem plants like hornwort that shed leaves faster than shrimp can consume them, causing water quality crashes.
Plant Placement Strategies for Maximum Shrimp Grazing
Position moss clusters directly above the sponge filter outflow to accelerate growth through nutrient circulation. Create “plant islands” in tank corners—dense moss patches surrounded by open swimming areas—to mimic natural foraging behavior. Trim plants only when they block more than 50% of light penetration; over-pruning removes vital biofilm sources. In new tanks, supplement with alder cones to boost biofilm until plants establish.
Perfecting Water Parameters: The Species-Specific Blueprint

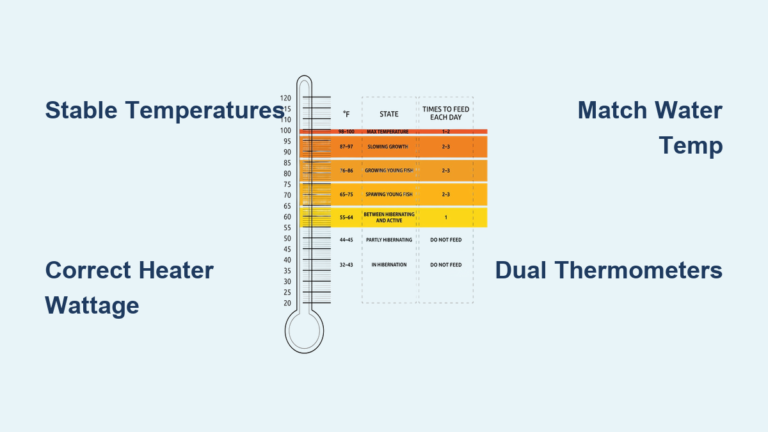
Cherry shrimp survive in 65-80°F water with pH 6.5-8.0, but breeding requires narrower ranges: 72-78°F, pH 7.0-7.5, GH 6-8. Crystal reds demand stricter conditions: 68-74°F, pH 6.0-6.8, GH 4-5, KH 0-2. Test parameters weekly with liquid kits—shrimp health declines at GH levels just 1 point outside their ideal range. Always match new water to tank parameters within 0.2 pH units and 1° temperature difference during changes. Use RO water blended with GH boosters for caridina tanks; tap water often contains excessive minerals that crash sensitive colonies.
Emergency Parameter Correction Protocol
If GH exceeds 8 for crystal reds, mix 50% RO water with tank water during changes—never replace >20% volume at once. To lower pH without shocking shrimp, add Indian almond leaves (1 per 5 gallons) which release tannins gradually. Never use pH adjusters; their chemical spikes cause immediate molting failures. If ammonia appears post-setup, add pure bacterial starters (not “cycling aids”) and withhold feeding for 48 hours—shrimp survive weeks without food but die within hours in toxic water.
Drip Acclimation: Saving Shrimp During Tank Transfers
Floating bags only equalizes temperature, ignoring lethal pH and TDS differences between store and tank water. The drip method over 90 minutes gradually adapts shrimp to your water chemistry. Fill a clean container with 50% transport water, suspend airline tubing from your tank with a control valve, and adjust flow to 2-3 drops per second. Stop when the container volume quadruples, then net shrimp directly into the tank—never pour transport water, which may contain diseases or copper.
Why Netting Beats Pouring During Acclimation
Pouring bag water introduces shrimp to your tank’s current flow suddenly, causing stress-induced molting. Netting allows immediate escape from strong currents to hiding spots. Use soft mesh nets to avoid leg damage—shrimp legs regenerate slowly and missing limbs increase predation risk from tankmates. Discard all acclimation water immediately; even clear store water often contains ammonia from shipping.
Feeding Schedule: Avoiding the #1 Beginner Killer
Overfeeding causes 70% of shrimp tank crashes by spiking ammonia. Feed high-quality pellets or wafers only 2-3 times weekly—shrimp eat constantly in established tanks thanks to biofilm and microorganisms. Drop 1-2 pellets per 10 shrimp and remove uneaten food after 2 hours. In new tanks without biofilm, skip feeding entirely for the first week; shrimp graze on substrate bacteria. Never use fish flakes—their high protein content decays rapidly, fouling water.
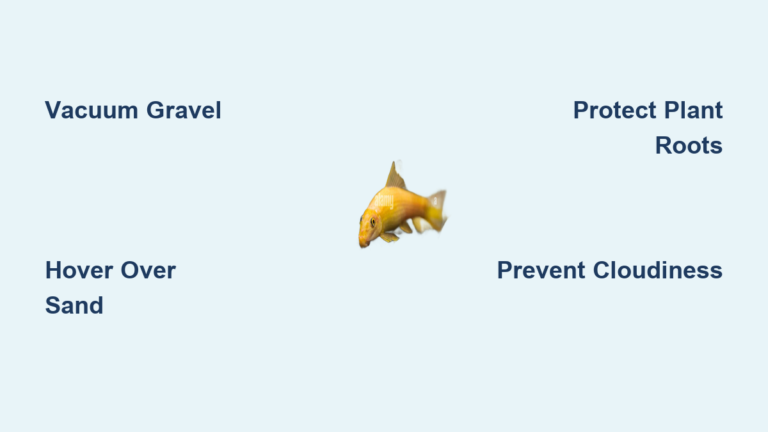
Weekly Maintenance: Preserving Biofilm During Water Changes
Replace 15% of tank water weekly with dechlorinated water matched to temperature and pH. Use a gravel vacuum on low suction only in open areas—avoid moss and plant zones where biofilm concentrates. Never scrub tank walls completely; leave 30% coverage as emergency food during breeding cycles. Clean sponge filters monthly by swishing in removed tank water; tap water chlorine kills essential bacteria.
Top Beginner Shrimp: Cherry Reds vs. Crystal Reds
Neocaridina davidi (cherry shrimp) thrive in standard community tanks with pH 6.5-8.0, making them perfect first colonies. Their rapid breeding (20-30 babies monthly) provides instant rewards. Caridina cantonensis (crystal reds) demand precise soft water (TDS 100-200) and stable parameters—ideal only after mastering cherry shrimp. Avoid mixing species; crossbreeding creates infertile hybrids that collapse populations. Start with 10-15 cherry shrimp in a 5-gallon tank to observe natural behaviors without overcrowding.
Final Note: Your thriving shrimp tank begins with perfect cycling and species-specific water chemistry—not expensive gear. Master the 4-8 week fishless cycle, prioritize sponge filtration, and feed minimally to build a self-sustaining ecosystem. Within three months, you’ll witness baby shrimp clinging to mothers’ legs—a sign your parameters are spot-on. For ongoing success, test water weekly, add alder cones monthly for biofilm, and never introduce store-bought plants without 14-day quarantine. The true magic happens when you stop “maintaining” and start observing nature’s balance.