How to Clean Plastic Aquarium Plants
You’ve noticed the telltale green film coating your plastic aquarium plants, and your fish are swimming through a murky soup of algae and debris. It’s frustrating—your once-vibrant underwater scene now looks neglected, and you worry about water quality. Cleaning plastic aquarium plants seems simple, but one wrong move could poison your fish or damage delicate tank inhabitants. The good news? With the right method, you can restore crystal-clear water and spotless plants in under 30 minutes. This guide reveals fish-safe techniques used by professional aquarists to remove stubborn algae, mineral deposits, and detritus without chemicals leaching into your ecosystem.
Ignoring dirty plastic plants isn’t just an eyesore—it directly threatens your fish. Algae blooms consume oxygen, block light from live plants, and release toxins when they die off. Mineral deposits from hard water create rough surfaces where harmful bacteria thrive, while accumulated fish waste decays into ammonia. Within days, these issues can spike nitrate levels, stressing fish and triggering disease outbreaks. By learning how to clean plastic aquarium plants properly, you’ll eliminate these hidden dangers while keeping your tank visually stunning.
Why Bleach Isn’t Your Only Option for Algae Removal
Many aquarists reach for bleach as a first resort, but harsh chemicals risk fish fatalities if rinsing isn’t perfect. The real solution lies in matching your cleaning method to the specific buildup on your plants. Green algae responds best to vinegar soaks, while black beard algae requires hydrogen peroxide spot treatment. Mineral crusts from hard water need acidic solutions, and diatom slime comes off with hot water alone. Choosing the wrong method wastes time and risks chemical residue—so identify your culprit first by examining the texture and color of the buildup.
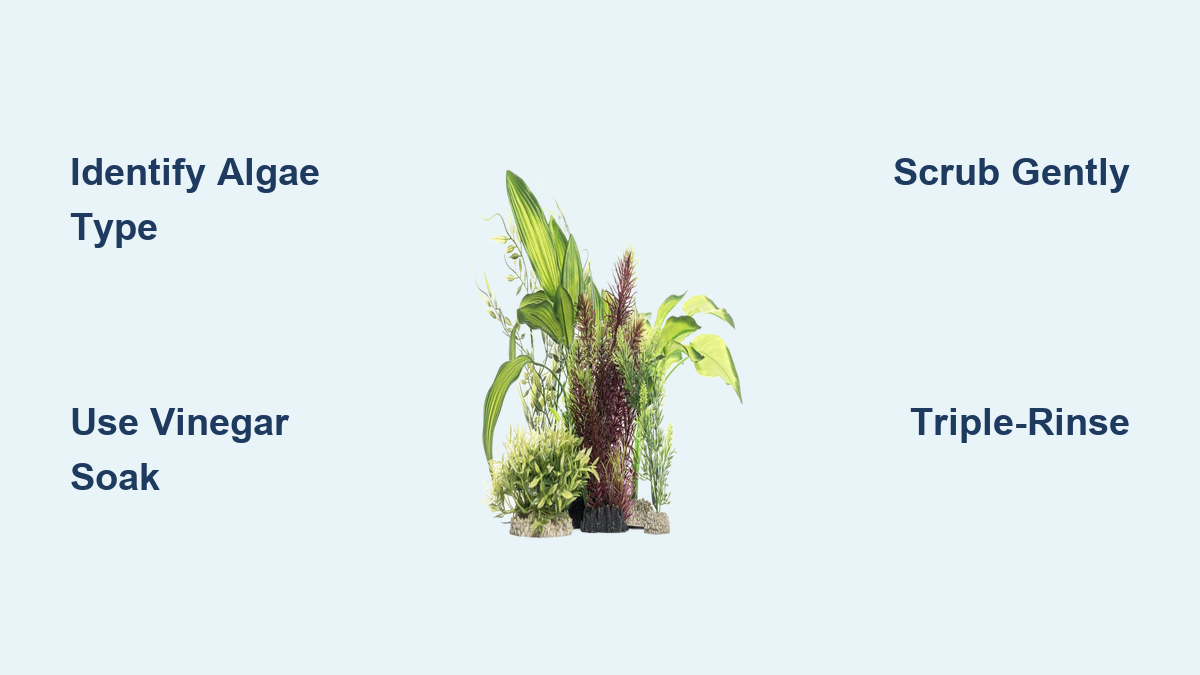
How to Identify Algae Types on Plastic Plants
- Green Hair Algae: Slimy green strands that wipe off easily with your finger. Treat with vinegar or hot water.
- Black Beard Algae: Dark, wiry tufts that feel rough. Requires hydrogen peroxide (turns purple during treatment).
- Diatoms (Brown Algae): Dusty brown film common in new tanks. Removes with hot water scrubbing.
- Blue-Green Algae: Slimy, foul-smelling patches. Needs extended hydrogen peroxide soak (30+ minutes).
Best Cleaning Solutions for Each Buildup
| Buildup Type | Recommended Solution | Soak Time | Critical Safety Step |
|---|---|---|---|
| Green Algae | 1:4 white vinegar/water | 45 min | Final rinse in dechlorinated water |
| Black Beard Algae | 3% hydrogen peroxide | 60 min | No neutralization needed |
| Mineral Deposits | 1:1 white vinegar/water | 90 min | Soak in baking soda solution after |
| General Grime | Hot tap water (120°F) | 20 min | None |
Never use soap, detergent, or undiluted bleach—these leave toxic residues even after rinsing. For bleach emergencies (severe algae outbreaks), mix 1 part household bleach to 19 parts water and soak no longer than 15 minutes. Always wear gloves and work in a ventilated area.
The 5-Step Fish-Safe Cleaning Process
:strip_icc()/cleaning-aquarium-plants-1381082_Final-5bc0f558c9e77c0051b23823.png)
This method works for all plastic plants—whether driftwood-attached ferns or silk lilies—and takes just 25 minutes. You’ll need a soft toothbrush, bucket, dechlorinator, and your chosen cleaning solution.
Step 1: Safely Remove Plants Without Disturbing Your Tank
Turn off filters and heaters before unplugging equipment. Gently wiggle plant bases to loosen substrate—yanking can tear delicate roots or stir toxic hydrogen sulfide from deep gravel. For weighted plants, lift slowly to avoid dumping debris into the water column. Place plants directly into your empty cleaning bucket; never set them on countertops where chemicals linger.
Pro Tip: Clean plants during your weekly 25% water change. Replace removed water with pre-conditioned fresh water to minimize stress on fish.
Step 2: Targeted Soaking Based on Buildup Severity
- Light Cleaning (Weekly): Submerge plants in hot tap water (120°F) for 20 minutes. The heat loosens organic matter without chemicals.
- Moderate Buildup (Monthly): Use 1:4 vinegar solution for 45 minutes—ideal for green algae and light mineral deposits.
- Heavy Infestations (Quarterly): For black beard algae, apply undiluted 3% hydrogen peroxide with a cotton swab, wait 10 minutes, then soak entire plant for 60 minutes.
Critical Warning: If using bleach (1:19 ratio), never exceed 15 minutes soak time. Overexposure degrades plastic, causing microfractures where bacteria hide.
Step 3: Gentle Scrubbing That Won’t Damage Plants
After soaking, use a new soft-bristle toothbrush (never shared with human use) to dislodge residue. Focus on stem joints and textured surfaces where algae hides. For stiff plastic plants, rub leaves between damp fingers—avoid twisting stems that could snap.
Common Mistake: Using abrasive pads or stiff brushes. These scratch plastic, creating grooves where future algae anchors tenaciously. If residue persists, repeat soaking instead of scrubbing harder.
Step 4: Triple-Rinse Protocol to Eliminate Residue

This step prevents fish poisoning:
1. Initial Rinse: Hold plants under cool running water for 60 seconds, rotating to hit all angles.
2. Neutralizing Soak: For bleach-treated plants, submerge in dechlorinated water with double the recommended dose of dechlorinator for 2+ hours. Vinegar-treated plants need a 10-minute soak in baking soda solution (1 tsp/gallon).
3. Final Rinse: Swish plants in a bucket of dechlorinated water for 5 minutes while rubbing surfaces. Smell plants—if you detect any chemical odor, repeat rinsing.
Visual Cue: Water should run clear with no oily sheen. Dip pH test strips in rinse water; readings must match your tank’s pH (6.5-7.8).
Step 5: Dry and Reintroduce Without Tank Shock
Air-dry plants on a clean paper towel for 10 minutes—never use cloth towels that shed fibers. Check for trapped water in hollow stems by shaking vigorously. Reinsert plants slowly to avoid splashing, and restart equipment immediately. Monitor fish for 24 hours; if they gasp at the surface, perform a 50% water change.
When to Replace Plastic Plants Instead of Cleaning
Some plants are beyond saving. Replace them immediately if you notice:
– Brittleness: Stems snap easily when bent (indicates plastic degradation)
– Flaking: Visible white powder or peeling surface (releases microplastics)
– Persistent Stains: Brown spots that won’t lift after three cleaning attempts
– Odor: Musty or chemical smells after thorough rinsing
Pro Tip: Rotate backup plants monthly. Keep two identical sets—one cleaning while the other’s in use—to avoid tank downtime during deep cleans.
7 Prevention Strategies to Cut Cleaning Time in Half
Stop algae before it starts with these vetted techniques:
1. Light Control: Use a timer for 6-8 hours daily—algae can’t photosynthesize in darkness.
2. Algae Eaters: Add 1 Nerite snail per 5 gallons or 2 Amano shrimp per 10 gallons for constant maintenance.
3. Nutrient Management: Test water weekly; keep nitrates below 20 ppm with 30% weekly water changes.
4. Feed Smart: Remove uneaten food after 2 minutes—excess is algae’s #1 food source.
5. Filter Upgrade: Use fine-mesh floss in your filter to catch floating spores.
6. Plant Placement: Position plastic plants away from direct filter outflow where debris collects fastest.
7. Monthly Maintenance: Rinse plants during water changes using a turkey baster to blast crevices.
Critical Mistake to Avoid: Overcleaning. Scrubbing more than once monthly strips beneficial biofilm that outcompetes algae. Stick to visual cues—clean only when plants look visibly cloudy.
Final Rinse Protocol for Emergency Situations
If fish show distress (rapid gilling, lethargy) after plant reintroduction, act immediately:
1. Remove all plastic plants and soak in double-strength dechlorinator for 1 hour
2. Perform 50% water change with pre-conditioned water
3. Add activated carbon to your filter for 48 hours to absorb residues
4. Test ammonia/nitrite levels until they read zero
Prevention beats crisis—always complete the full neutralization process before returning plants.
Final Note: Consistent 10-minute weekly maintenance prevents 90% of algae buildup. By cleaning plastic aquarium plants safely every 2-4 weeks using these methods, your tank will stay vibrant with minimal effort. Remember: the goal isn’t sterile perfection but balanced ecosystem health. When in doubt, choose gentler methods like hot water soaks over chemicals—your fish will thank you with years of thriving vitality. For tough cases, combine cleaning with algae-eating species to create a self-sustaining cleanup crew that keeps your plastic plants looking new.