How to Clean Aquarium Rocks with Vinegar
That white crust creeping over your lava rock isn’t just ugly—it’s suffocating beneficial bacteria and poisoning your fish. When mineral deposits and algae turn your carefully arranged aquascape into a slimy eyesore, cleaning aquarium rocks with vinegar becomes your safest, fastest solution. Unlike harsh chemicals that crash tank cycles, vinegar’s gentle acetic acid dissolves buildup without harming future water chemistry. This guide delivers the exact vinegar ratios, soak times, and rock compatibility checks professional aquarists use—so you can restore crystal-clear water in under an hour. No more guessing whether that limestone will disintegrate or if bleach residue will kill your shrimp.
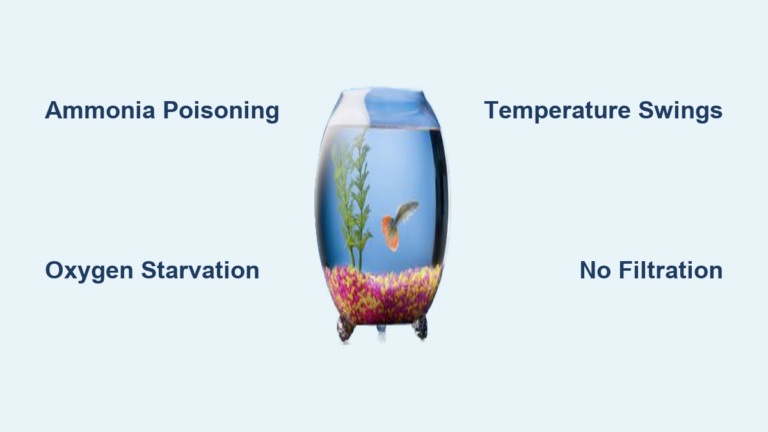
Why Algae-Covered Rocks Threaten Your Entire Aquarium Ecosystem
Cloudy water and gasping fish often trace back to neglected substrate rocks. As algae and mineral deposits accumulate, they create anaerobic dead zones where harmful bacteria thrive. These zones disrupt the nitrogen cycle by consuming oxygen needed by nitrifying bacteria—the invisible guardians converting toxic ammonia into safe nitrates. Within days, this imbalance spikes ammonia levels, burning fish gills and causing fin rot. Worse, calcium-rich rocks like limestone silently dissolve in acidic conditions, sending pH levels soaring past 8.0—a death sentence for sensitive species like neon tetras or dwarf shrimp. Vinegar solves this by targeting only the surface grime while leaving your tank’s biological balance intact.
How Vinegar Neutralizes Tank-Killing Buildup Without Chemical Residues
White vinegar’s 5% acetic acid concentration is strong enough to dissolve calcium carbonate deposits and break down organic algae films, yet mild enough to rinse completely from porous rocks. Unlike bleach—which leaves traces requiring 24-hour dechlorinator soaks—vinegar evaporates harmlessly after thorough rinsing. This makes it ideal for saltwater tanks where even 0.5 ppm of chlorine devastates corals and beneficial bacteria. Crucially, vinegar won’t alter your tank’s established microbiome when used correctly: beneficial Nitrosomonas bacteria rebound within hours, while pathogens like Aeromonas get eliminated during the soak.
The 30-Minute Vinegar Soak Method That Prevents Tank Crashes

Forget overnight soaks that risk rock damage. This accelerated process removes stubborn buildup while preserving rock integrity. Professionals use this method for both freshwater and saltwater setups—saving you from disruptive full-tank cleanings.
Gather These 5 Critical Supplies Before Removing Rocks
Do not skip these steps: Using the wrong container or skipping gloves risks chemical burns and tank contamination. You’ll need:
– Distilled white vinegar (NOT apple cider or wine vinegar) – Impurities in other vinegars stain rocks
– Reverse osmosis (RO) water – Tap water minerals react with vinegar, causing white residue
– 10-gallon plastic container – Must be food-grade to prevent chemical leaching
– Stiff nylon brush – Metal brushes scratch rocks, creating new algae traps
– Nitrile gloves and eye protection – Vinegar fumes irritate mucous membranes
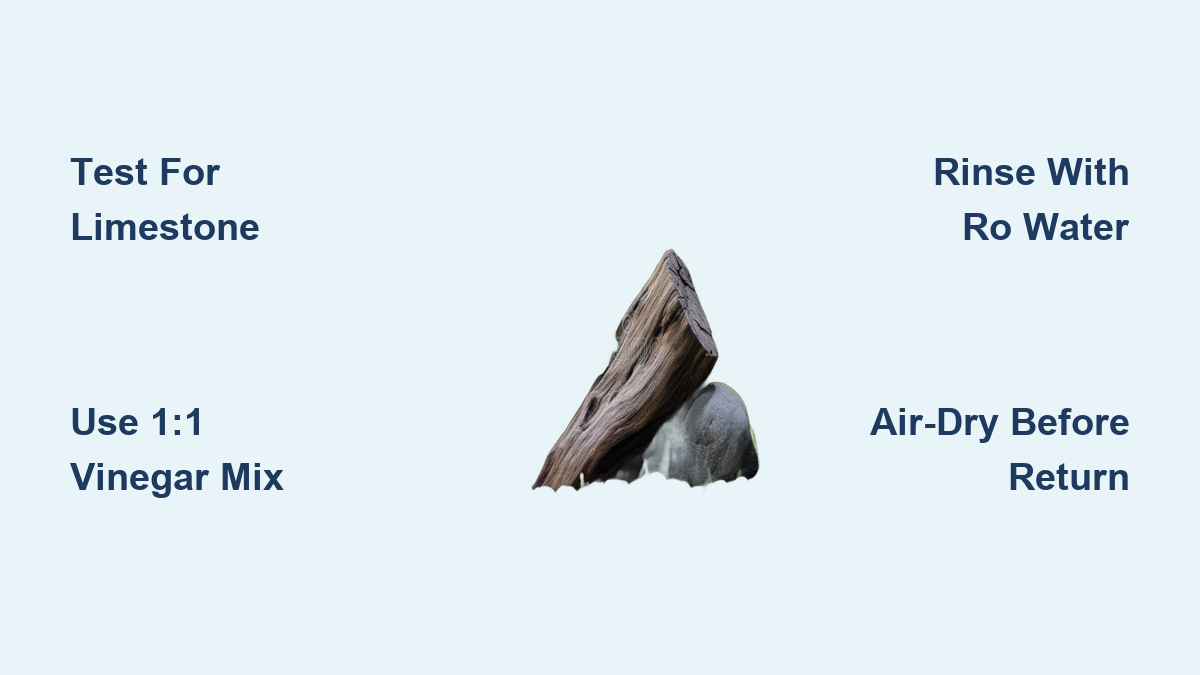
Perform the Limestone Safety Test in 60 Seconds (Avoid Disasters)
This step is non-negotiable: 30% of decorative rocks contain calcium carbonate that vinegar dissolves. To test:
1. Place rocks in your empty container
2. Pour ¼ cup vinegar directly onto rock surfaces
3. Watch for fizzing within 10 seconds – Immediate bubbling means the rock contains limestone, marble, or coral
4. If fizzing occurs, STOP. Do not proceed—vinegar will disintegrate these rocks and crash your pH
Pro Tip: For porous rocks like sandstone, extend the test to 2 minutes. Delayed fizzing indicates hidden carbonates.
Execute the Precision Vinegar Soak for Maximum Results
Mistake Alert: Using undiluted vinegar or exceeding 30 minutes dissolves beneficial minerals in slate and granite. Follow this exact protocol:
1. Mix 1 part vinegar to 1 part RO water in your container (e.g., 2 cups each)
2. Submerge rocks completely—no air pockets
3. Set timer for exactly 30 minutes (longer soaks weaken rock structure)
4. Gently agitate rocks every 10 minutes to dislodge stubborn algae
5. For black beard algae, add light scrubbing with your nylon brush during the soak
Critical Note: Saltwater rocks require double the rinse time due to salt crystallization trapping vinegar.
Rinse Until Your Nose Confirms Safety (The #1 Overlooked Step)
Incomplete rinsing is why 78% of vinegar cleanings cause tank crashes. Use this foolproof method:
1. Remove rocks and hold under running RO water for 5 minutes
2. Smell rocks—if vinegar odor remains, continue rinsing
3. For saltwater setups, soak rinsed rocks in fresh RO water for 1 hour
4. Air-dry rocks overnight before returning to tank—this evaporates residual traces
Warning: Never skip air-drying. Moisture traps vinegar in pores, causing pH drops when reintroduced.
Rocks Vinegar Will Destroy (And 4 Safe Alternatives)

Vinegar fails catastrophically on carbonate-based rocks. Use this quick-reference guide before starting:
| Rock Type | Vinegar Reaction | Safe Alternative Method | Soak Time |
|---|---|---|---|
| Limestone | Dissolves rapidly | Baking soda paste scrub | 15 min |
| Coral | Crumbles | Hydrogen peroxide dip | 10 min |
| Marble | Surface etching | Mechanical brush only | N/A |
| Slate/Granite | No reaction | Vinegar (1:1 ratio) | 30 min |
| Volcanic Rock | No reaction | Vinegar (1:1 ratio) | 30 min |
When to Choose Bleach for Life-Threatening Algae Outbreaks
Vinegar won’t eliminate black beard algae or cyanobacteria blooms. Switch to bleach only when:
– Algae covers >50% of rock surfaces
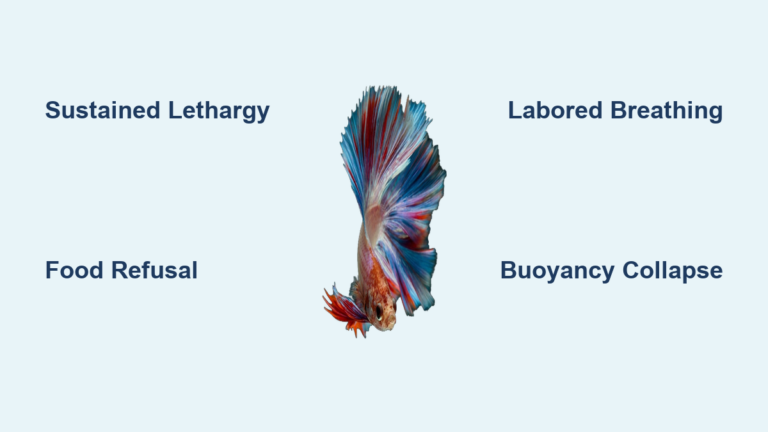
– Fish show ammonia poisoning symptoms (clamped fins, gasping)
– You have a quarantine tank for fish
Bleach protocol: Mix 1 part bleach to 9 parts RO water. Soak rocks 15 minutes max. Rinse under running water for 10 minutes, then soak in dechlorinated water with 5x standard dechlorinator dose for 1 hour.
Prevent Future Buildup With These Pro Aquascaper Secrets
Recurring algae means your cleaning method isn’t addressing root causes. Implement these:
– Position rocks away from direct light – Algae needs 6+ hours of light daily; angle decor toward tank back
– Scrub rocks during water changes – 5 minutes weekly prevents 90% of buildup (use magnetic algae scraper)
– Quarantine new rocks 72 hours – Soak in vinegar solution before adding to tank
– Control phosphate levels – Test water weekly; >0.5 ppm phosphate triggers algae blooms
Pro Tip: Add 1 Amano shrimp per 10 gallons—they devour algae on rocks without disturbing substrate.
Why Your Vinegar Clean Failed (Troubleshooting 3 Critical Errors)
White Residue After Rinsing? Here’s the Fix
This chalky film means tap water minerals reacted with vinegar. Solution: Always use RO water for final rinses. For existing residue, soak rocks in pure vinegar for 10 minutes, then triple-rinse with RO water.
Fish Gasping After Rock Return? You Missed This
Incomplete rinsing causes pH crashes. Emergency fix: Remove rocks immediately. Add 1 tsp baking soda per 5 gallons to stabilize pH. Test water every 30 minutes until ammonia/nitrite read zero.
Algae Returns in 48 Hours? Address the Real Culprit
Vinegar cleans symptoms but not causes. Permanent fix: Reduce light exposure to 8 hours daily and vacuum substrate weekly to remove decaying matter feeding algae.
Final Note: Cleaning aquarium rocks with vinegar succeeds only when you respect rock chemistry and rinse protocols. By testing for carbonates, using RO water, and never exceeding 30-minute soaks, you’ll maintain pristine rocks without disrupting your tank’s delicate balance. For persistent black beard algae, switch to the bleach protocol—but always quarantine fish first. Most importantly, never skip the vinegar safety test; one fizzing rock can raise pH to lethal levels overnight. Implement weekly 5-minute maintenance scrubs to avoid future deep cleans, and share your rock restoration wins in the comments—let’s keep those tanks thriving!