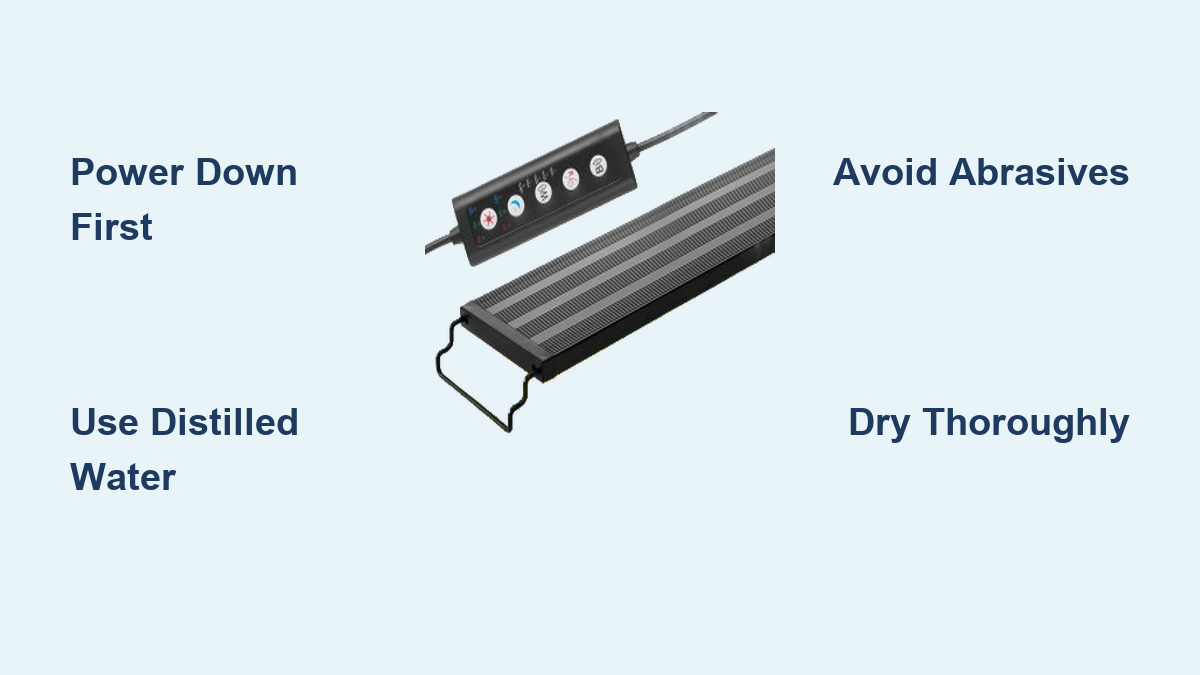
How to Clean Aquarium Light: Easy Steps
Your aquarium light covered in chalky white crust or slippery green algae isn’t just an eyesore—it’s starving your aquatic plants of vital energy. Within days of buildup, light penetration drops by up to 30%, causing stunted plant growth and stressed fish that lose their vibrant colors. This decline happens silently as mineral deposits from evaporated water and airborne algae gradually coat your fixture. Knowing how to clean aquarium light properly becomes essential maintenance, not just cosmetic upkeep. In this guide, you’ll discover the exact methods to safely remove stubborn salt creep from marine tanks, dissolve hard water stains in freshwater setups, and maintain crystal-clear illumination without risking electrical hazards or damaging sensitive components.
Ignoring light maintenance triggers a vicious cycle: dimmer light encourages more surface algae growth, which further blocks illumination. Within weeks, your carefully curated aquascape fades into a murky shadow of its potential. But with the right approach, you can restore 100% light output in under 20 minutes using supplies already in your cleaning cabinet. Let’s dive into the precise steps that protect both your equipment and aquatic inhabitants.
Power Down and Cool: Non-Negotiable Safety Steps for Light Cleaning
Working near water and electricity demands absolute caution. Skipping these safety protocols risks electrocution or destroying your expensive lighting system. Always unplug the fixture directly at the wall outlet—never rely on timers or switches. Then wait at least 30 minutes for metal halide bulbs or high-power LED arrays to cool completely; touching hot components causes severe burns or thermal shock cracks.
Confirm Your Fixture’s Water Resistance Rating First
Check the IP (Ingress Protection) code on your unit before applying any moisture. IP67-rated fixtures withstand brief submersion, while IP20 units only resist light splashes. Submerging a non-waterproof light during cleaning causes immediate short circuits. If your model lacks clear labeling (common with older fixtures), assume it’s water-resistant only and avoid direct liquid contact with vents or seams.
Identify Critical Vulnerable Zones
Focus your inspection on three high-risk areas:
– Electrical connections where corrosion accelerates if damp
– Ventilation slots that trap dust and moisture if blocked
– Lens seals that degrade when exposed to harsh chemicals
Never spray cleaners directly onto the fixture—dampen cloths instead to prevent liquid seepage into sensitive components.
Precision Cleaning Kit: What You Actually Need (No Gimmicks)
Gather these exact supplies before starting to avoid mid-clean improvisation that damages lenses. Distilled water is non-negotiable—tap water leaves mineral spots that worsen buildup. Skip abrasive sponges or paper towels that scratch acrylic diffusers; opt for lint-free microfiber cloths only. For freshwater tanks with hard water stains, keep white vinegar on hand. Marine aquarium owners battling salt creep need isopropyl alcohol (70%+) to dissolve corrosive crystals without residue.
Why Magic Erasers Backfire on Aquarium Lights
That ubiquitous cleaning sponge contains melamine foam—a mild abrasive that clouds plastic lenses over time. Avoid it entirely on acrylic or polycarbonate surfaces, common in modern LED fixtures. Instead, use a soft-bristled toothbrush reserved solely for aquarium maintenance to dislodge debris from heat sinks or grooves without scratching. For electrical contacts, cotton swabs with isopropyl alcohol remove corrosion safely where Magic Erasers would leave conductive fibers behind.
Five-Step Deep Cleaning Process: From Grime to Glow

Follow this sequence to avoid recontamination. Never skip the dry dusting phase—wiping over grit particles creates micro-scratches that accelerate future buildup. Work in a well-lit, dry area away from your tank to prevent accidental splashes.
Step 1: Dry Dust Removal with Zero Moisture
Lay your unplugged, cooled fixture on a towel. Use a dry microfiber cloth in straight motions (not circles) to lift surface dust from lenses and housings. Pay special attention to heat sink fins where dust traps moisture—blow gently between fins or use compressed air on the lowest setting. This step prevents grinding debris into surfaces during wet cleaning.
Step 2: Custom Solution Mixing for Your Contaminant Type
Match your cleaner to the specific buildup:
– Freshwater mineral deposits: 1:1 white vinegar/distilled water mix
– Marine salt creep: Pure isopropyl alcohol (70%+)
– Stubborn algae: 10% vinegar solution (1 part vinegar to 9 water)
Never mix chemicals—vinegar and alcohol create hazardous fumes. Test solutions on a hidden area first to check for material reactions.
Step 3: Lens and Housing Cleaning Without Damage
Dampen—not soak—a microfiber cloth with your solution. Wipe lenses in straight lines from center to edge to avoid streaks. For recessed lenses, wrap cloth around a chopstick for precision cleaning. On metal housings, avoid saturating screw holes where liquid seeps into electronics. Spend extra time on the underside of the fixture where evaporation concentrates minerals.
Step 4: Dissolving Salt Creep and Hard Water Crust
Soak a cloth in your solution and press it onto crusty deposits for 5-10 minutes. Never scrub aggressively—let the solution dissolve buildup naturally. For marine salt creep, follow with a distilled water rinse to neutralize acidity. Use a soft toothbrush only on textured surfaces, not smooth lenses. Reapply solution for severe buildup rather than increasing pressure.
Step 5: Critical Drying Protocol Before Reinstallation
Air-dry all components for 1 hour minimum in a warm, dust-free area. Then polish with a dry microfiber cloth—residual moisture causes internal condensation when powered on. Verify complete dryness by feeling heat sink fins; cold spots indicate trapped moisture. Reinstall only when surfaces feel room-temperature and show no sheen.
Fixing Specific Contaminants: Algae, Salt, and Mineral Crust
Eliminating Green Algae on Light Fixtures

Apply a 1:3 vinegar-water solution with a cloth, wait 5 minutes, then wipe toward the fixture’s outer edge to prevent algae spread. For internal algae in semi-sealed units, use a cotton swab dipped in solution—never disassemble beyond user-serviceable parts to avoid voiding warranties. Rinse with distilled water afterward to halt vinegar’s etching effect on plastics.
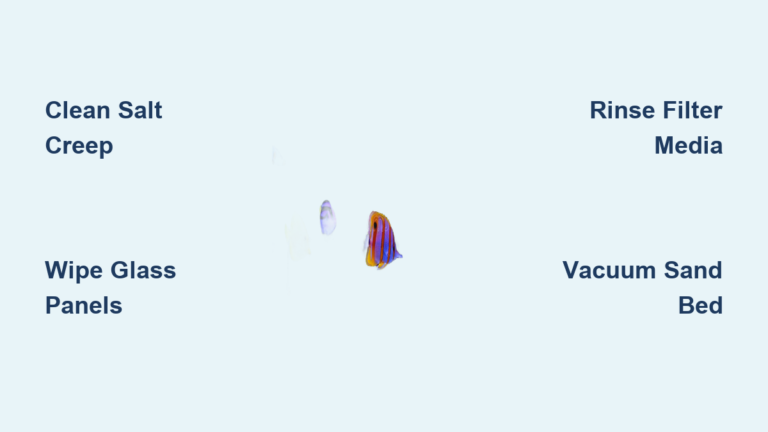
Removing Salt Creep from Reef Tank Lights
Soak a cloth in isopropyl alcohol and lay it over salt crystals for 3 minutes. Gently rub with a nylon brush (never metal). Immediately rinse electrical contacts with a distilled-water-dampened swab to prevent corrosion. Skip vinegar—it leaves residues that attract more salt.
Preventing Buildup: The 90-Second Weekly Routine
Reduce deep cleaning frequency by 75% with these habits:
– Wipe lenses with a dry microfiber cloth every time you feed fish
– Use RO/DI water for tank top-offs to minimize mineral spray
– Install a glass canopy to block 90% of evaporation residue
– Position lights 2+ inches above water surface to reduce splash exposure
– Run tank fans to lower humidity around fixtures by 40%
Deadly Mistakes That Destroy Aquarium Lights During Cleaning
Never submerge non-IP68 fixtures—even “waterproof” lights often lose seals over time. Avoid ammonia-based cleaners like Windex on acrylic lenses; they cause irreversible clouding within weeks. Most critically, never reconnect power to a damp fixture—residual moisture causes short circuits that melt wiring. If you detect a burning smell after reinstallation, unplug immediately and inspect for moisture in connectors.
Restoring your aquarium light’s brilliance takes less time than feeding your fish, yet transforms your entire ecosystem. Clean fixtures deliver 40% more usable light for plant photosynthesis while showcasing fish colors in true vibrancy. By following these precise methods monthly, you’ll avoid the frustration of tackling years of baked-on deposits. Remember: a quick wipe after each water change prevents 90% of buildup. Your plants will surge with new growth, your fish will display richer hues, and you’ll finally see the stunning aquascape you’ve nurtured—crystal clear. Grab that microfiber cloth today; your tank’s transformation starts now.