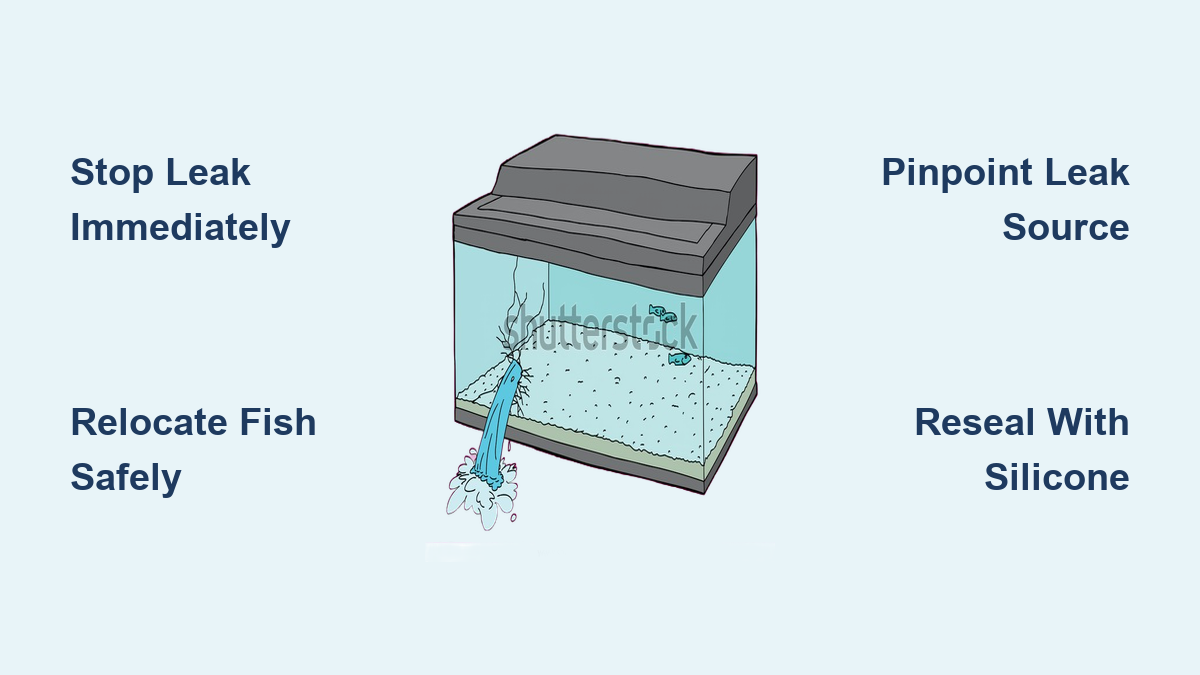
How to Fix Aquarium Leak Quickly
Waking up to a spreading puddle beneath your aquarium triggers instant panic—your fish are in danger, your floors are soaking, and time is running out. A leaking tank isn’t just a nuisance; it threatens aquatic lives and risks thousands in water damage within hours. Knowing exactly how to fix aquarium leak immediately separates crisis from catastrophe. This guide delivers battle-tested steps to stop leaks fast, safely relocate fish, and execute permanent silicone repairs that restore your tank’s integrity. You’ll learn to diagnose seam failures, apply emergency patches, and prevent future leaks—without losing a single fish or breaking the bank.
Ignoring even a slow drip accelerates silicone degradation, turning minor seepage into structural collapse. Most leaks stem from failed seams (85% of cases), hairline cracks, or loose bulkheads—not random “tank failures.” Acting decisively within the first 15 minutes prevents electrocution risks from submerged heaters and gives your fish a fighting chance. By the end of this guide, you’ll confidently execute temporary fixes and permanent reseals using proven aquarium-safe methods. Never drain a tank blindly or trust hardware-store silicone again—these steps work because they’re engineered for aquatic ecosystems.
Stop the Leak Immediately: 3 Critical Steps to Save Your Fish and Floor
The moment water appears, your priority is halting flow while protecting lives. Do not unplug equipment while standing in water—electrocution risks are real. First, cut power at the wall outlet using a dry towel to avoid contact with wet surfaces. Next, locate the leak’s origin by tracing water trails upward; leaks often appear at the bottom but originate higher up where silicone fails. Finally, lower the water level at least 2 inches below the leak point using a siphon hose or cup. This reduces pressure on the compromised seam, buying you 30–60 minutes for fish relocation. Place towels under the tank immediately—each gallon of escaped water can warp hardwood floors in under 10 minutes.
Why Draining Below the Leak Is Non-Negotiable
Many hobbyists make the fatal mistake of only partially lowering water, thinking “less is safer.” This actually increases stress on the tank structure. Water pressure intensifies at lower depths, forcing more water through micro-gaps. Draining below the leak eliminates hydrostatic pressure entirely, stopping seepage and preventing sudden catastrophic failure. Use a flashlight to inspect seams in a dark room—water beads glow under focused light, revealing hidden seepage points you’d miss otherwise.
Safely Relocate Your Fish and Beneficial Bacteria
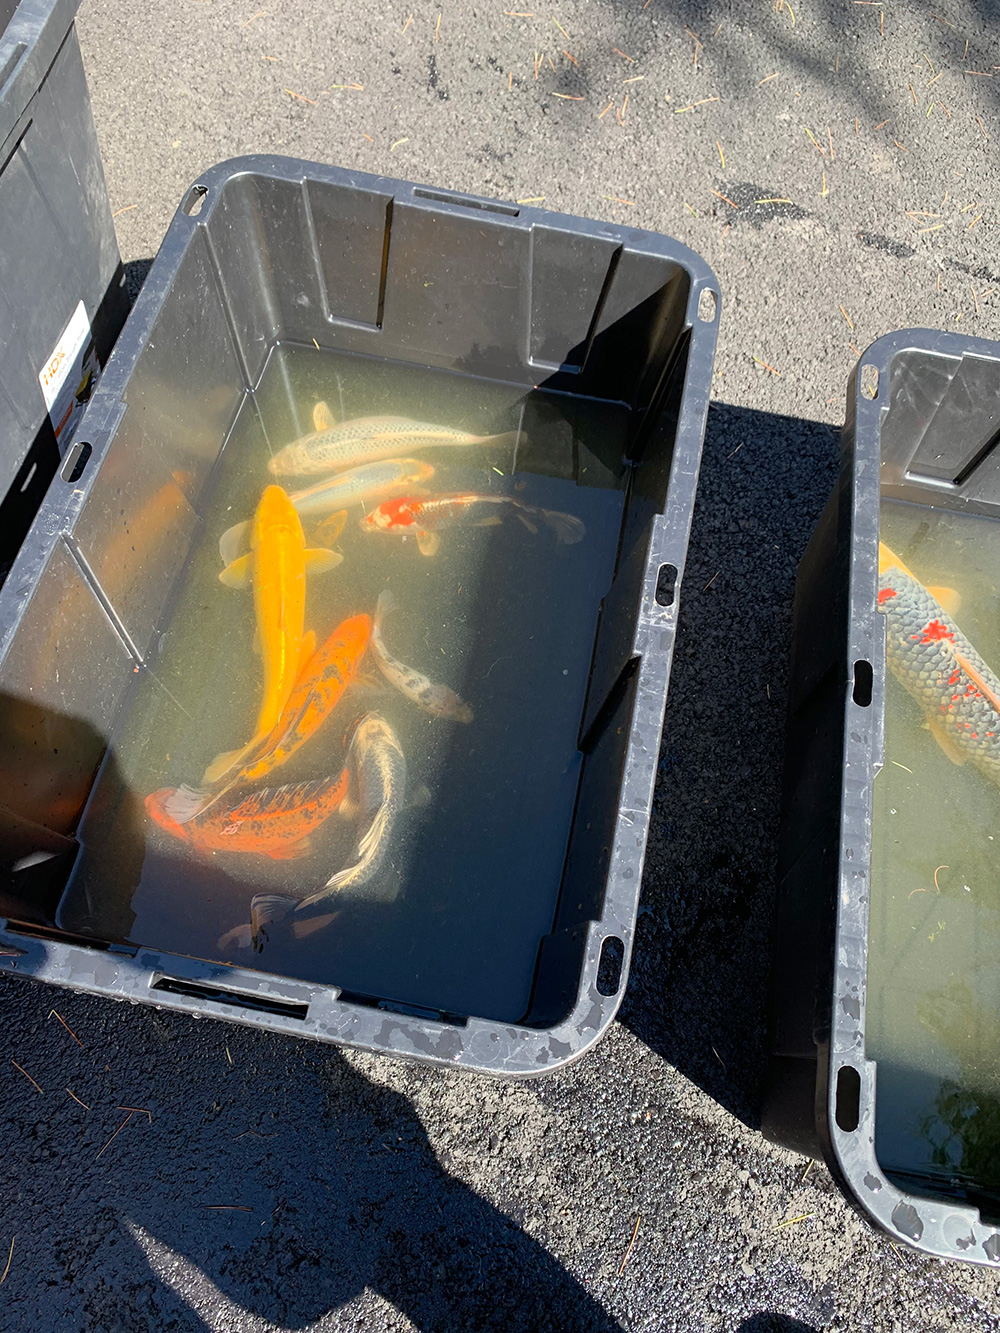
Your fish’s survival hinges on preserving water chemistry during the move. Prepare a temporary container (a clean plastic storage bin works) filled with 50% original tank water and 50% dechlorinated tap water. This maintains pH and mineral stability while diluting any potential toxins from the leak. Gently transfer fish using a net dipped in tank water—never lift them through air, which damages their protective slime coat. Keep filter media submerged in a bucket of tank water; this preserves 90% of your beneficial bacteria colony. Place the temporary container in a quiet, draft-free area away from heaters or windows to avoid temperature shocks.
Critical Mistake: Using Tap Water Alone
Filling the holding tank with pure tap water is a common killer. Chlorine and pH shifts cause gill damage within minutes. Always mix in original tank water, and add an airstone for oxygen—stressed fish consume oxygen 3x faster. Monitor fish closely for gasping or lethargy; if seen, perform a 25% water swap with conditioned tank water immediately.
Pinpoint the Exact Leak Source: Seams, Cracks, or Fittings?
Misdiagnosing the leak wastes precious time. Dry the tank exterior completely with microfiber cloths, then apply paper towels along all seams. Watch where moisture reappears:
– Seam failure: Water weeps from corners or base joints (most common in tanks over 3 years old)
– Hairline crack: A visible line where water jets out under pressure
– Bulkhead leak: Dripping around filter inlets or overflow boxes
For elusive leaks, fill the tank partially and add food coloring to the water. The dye concentrates at the leak point within minutes, revealing even slow seepage. If water appears only when filters run, suspect a loose bulkhead—tighten the nut inside the tank with aquarium-safe silicone around the threads.
Why Silicone Degradation Happens Faster Than You Think
Silicone seals dry out from UV exposure and temperature swings, becoming brittle within 5 years. Inspect seams monthly by pressing a dry finger along joints—crumbling residue or visible gaps mean imminent failure. Never ignore “weeping” seams; they’ll progress to full leaks within weeks.
Emergency Underwater Epoxy Patch for Small Leaks
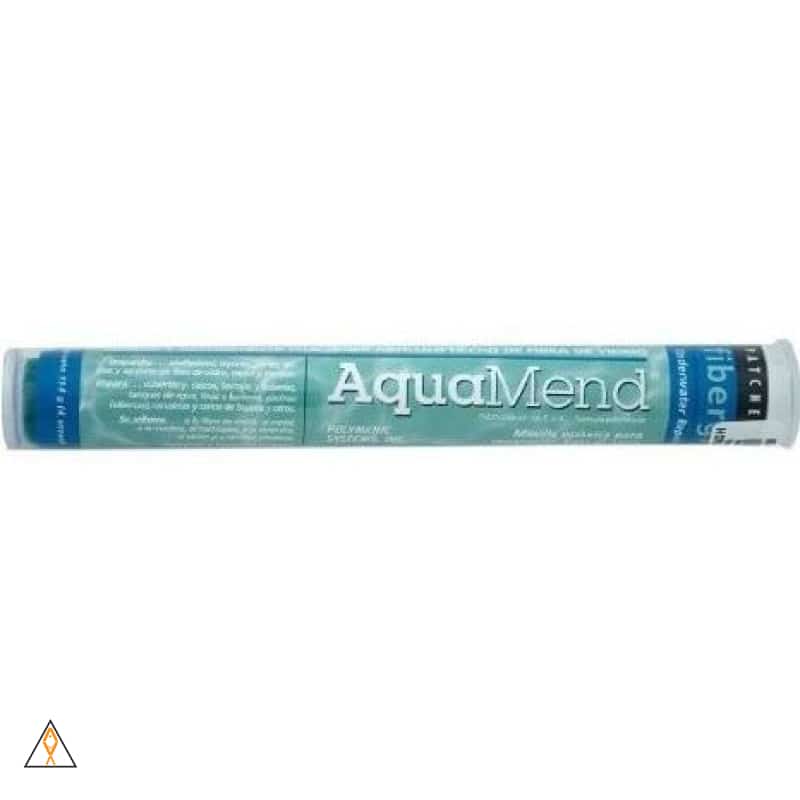
For pinhole leaks or hairline cracks under 1/8 inch, underwater epoxy putty buys 2–4 weeks for permanent repair. Drain water 1 inch below the leak and dry the area with a hair dryer on cool setting—any moisture prevents adhesion. Knead equal parts of the epoxy putty until uniform in color (30 seconds), then press firmly over the crack with gloved fingers. Hold pressure for 60 seconds until it sets. Avoid submerging the patch for 12 hours.
Warning: Epoxy is toxic during curing. Remove fish from the tank during application, and test water for ammonia spikes for 72 hours post-repair. This is strictly a temporary fix—never use epoxy on bottom seams where pressure is highest.
Reseal the Tank Permanently: Step-by-Step Silicone Repair
Failed seams require full resealing—the only permanent fix for glass tanks. Start by removing all old silicone with single-edge razor blades held at 30-degree angles to avoid glass scratches. Scrape until seams feel perfectly smooth. Clean residue with acetone-dampened rags—silicone won’t bond to old sealant. Apply painter’s tape 1/4 inch from each seam edge to create clean channels. Cut the silicone tube nozzle at 45 degrees, then apply steady pressure to lay a continuous bead into the seam. Smooth immediately with a soapy finger (1 tsp dish soap in water), removing tape before silicone skins over.
Critical Cure Time You Can’t Rush
Silicone cures from the outside in—24 hours lets it “skin over,” but full structural strength takes 72 hours minimum. Refilling early causes reseal failure 90% of the time. Place the tank on a level surface in a 75°F room with low humidity; cold or damp air doubles cure time. After 72 hours, press a fingernail into the bead—it should feel rubbery, not sticky.
Leak-Test Your Repair Before Refilling with Fish

Never skip this validation step. Fill the empty tank with tap water in your bathtub or garage. Mark the water level with a wax pencil, then wait exactly 24 hours. Check for:
– Water level drop (indicates hidden leaks)
– Moisture along seams (use paper towels for detection)
– Bubbles forming at seams (trapped air escaping)
If leaks appear, drain immediately, re-scrape the affected area, and reapply silicone. For zero-drop results, drain completely and dry for 48 hours before adding substrate—residual moisture disrupts bacterial colonization.
Restart Your Tank Safely After Fixing the Leak
Refilling too fast risks new leaks from uneven pressure. Add water in 2-inch increments, pausing 15 minutes between levels to check seams. After full refill, install filter media from your bacteria bucket and add a bacterial starter dose. Test water daily for ammonia/nitrite spikes—leak repairs often crash cycles. Only reintroduce fish after:
1. Zero ammonia/nitrite for 48 hours
2. Temperature matches the holding tank (within 1°F)
3. pH stabilizes (use your original tank’s parameters)
Acclimate fish slowly over 60 minutes by adding 1 cup of new tank water to their container every 10 minutes.
When to Replace Your Tank Instead of Repairing
Some leaks defy DIY fixes. Replace the entire aquarium if:
– Cracks exceed 1 inch in length
– Bottom panel glass is compromised
– Leaks persist after two reseal attempts
– Tank volume exceeds 100 gallons (pressure risks implosion)
Large tanks (>75 gallons) often have tempered glass bottoms that shatter if drilled or patched. Homeowner’s insurance typically covers sudden water damage—document leaks with dated photos before disposal. For priceless fish collections, consult aquarium repair specialists; their $200 service beats $1,500 in fish losses.
Final Note: A properly resealed aquarium lasts 10+ years with annual maintenance. Inspect seams quarterly with a magnifying glass, and reapply silicone preventatively every 5 years. Never place tanks on uneven surfaces—use a carpenter’s level during setup. Your fish depend on your vigilance; mastering how to fix aquarium leak transforms panic into peace of mind. Start your 24-hour leak test tonight, and sleep soundly knowing your aquatic world is secure.