Aquatic Turtle Aquarium Setup Guide
That cloudy water in your turtle tank isn’t normal—it’s screaming for better filtration. When your Red-eared Slider stops basking or develops shell fungus, the real culprit is almost always a flawed aquatic turtle aquarium setup. These ancient reptiles demand precise environmental engineering, not just a fish tank with a dock. A proper habitat prevents 90% of common health issues like metabolic bone disease and shell rot. In this guide, you’ll discover exactly how to build a self-sustaining ecosystem that keeps your turtle active and healthy for decades. We cut through the misinformation to deliver actionable steps verified by decades of keeper experience.
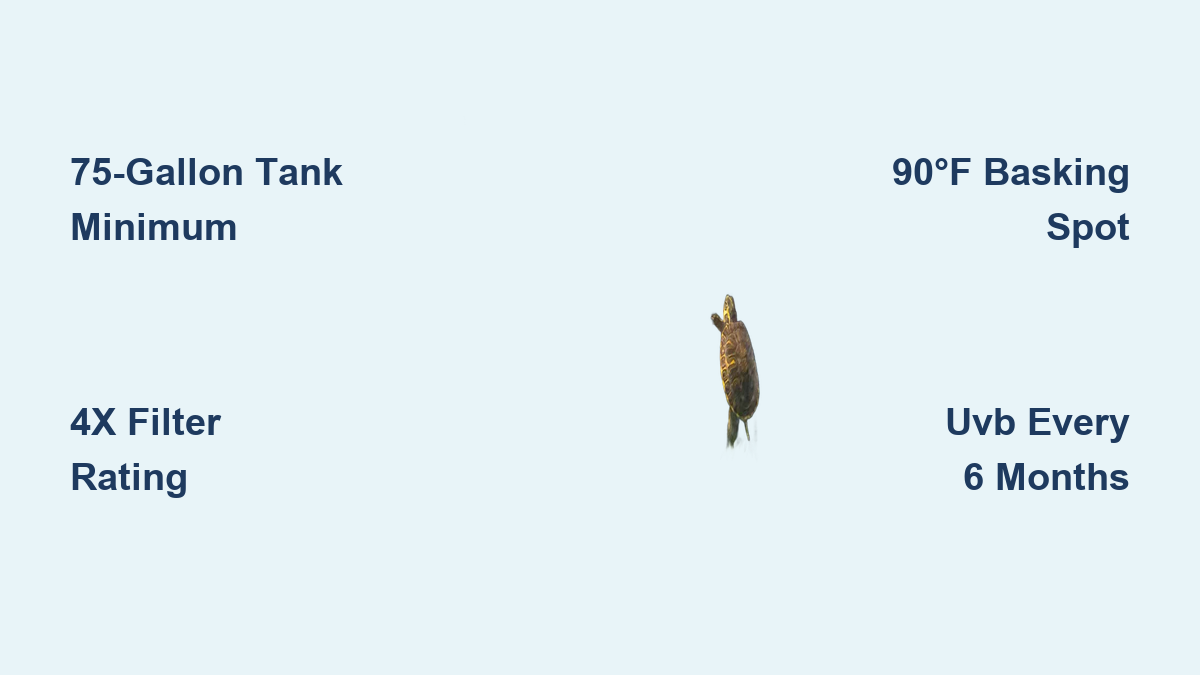
Why Your 75-Gallon Tank Is Minimum for Red-Eared Sliders
Forget the “10 gallons per inch” myth—your turtle needs exponentially more space as it grows. A single hatchling Red-eared Slider requires a 40-gallon tank minimum, but within 18 months, you’ll need 75-120 gallons. For adult Sliders (10-12 inches shell length), a 60″x18″x16″ tank (75 gallons) provides critical horizontal swimming space missing in taller 55-gallon tanks. Stock tanks become essential for large species: 110-gallon plastic stock tubs cost $120 versus $800 for glass equivalents. Always prioritize length over depth—turtles swim horizontally, not vertically. For Musk or Mud turtles, 55 gallons suffices for adults, but never house multiple turtles in under 100 gallons. If your turtle paces along the glass, it’s begging for expansion.
How to Measure Your Turtle for Tank Sizing
- Step 1: Measure straight carapace length (SCL) from neck to tail notch
- Step 2: Multiply SCL by 12 for minimum tank length (e.g., 6-inch turtle = 72″ tank)
- Step 3: Calculate water volume: (Tank length x width x water depth) ÷ 231
- Critical Check: Water depth must be 1.5x shell length minimum—no shallow setups
Tank Size Mistakes That Cause Health Crises
- Using a 20-gallon for a juvenile: Guarantees stunted growth and aggression
- Ignoring adult size projections: A 4-inch baby Slider becomes a 12-inch adult
- Overcrowding multiple turtles: One 100-gallon tank max for two adults
- Skipping the growth upgrade path: Budget now for a stock tank conversion
SunSun 303-B Filter Setup: Why 4x Tank Volume Rating Is Non-Negotiable
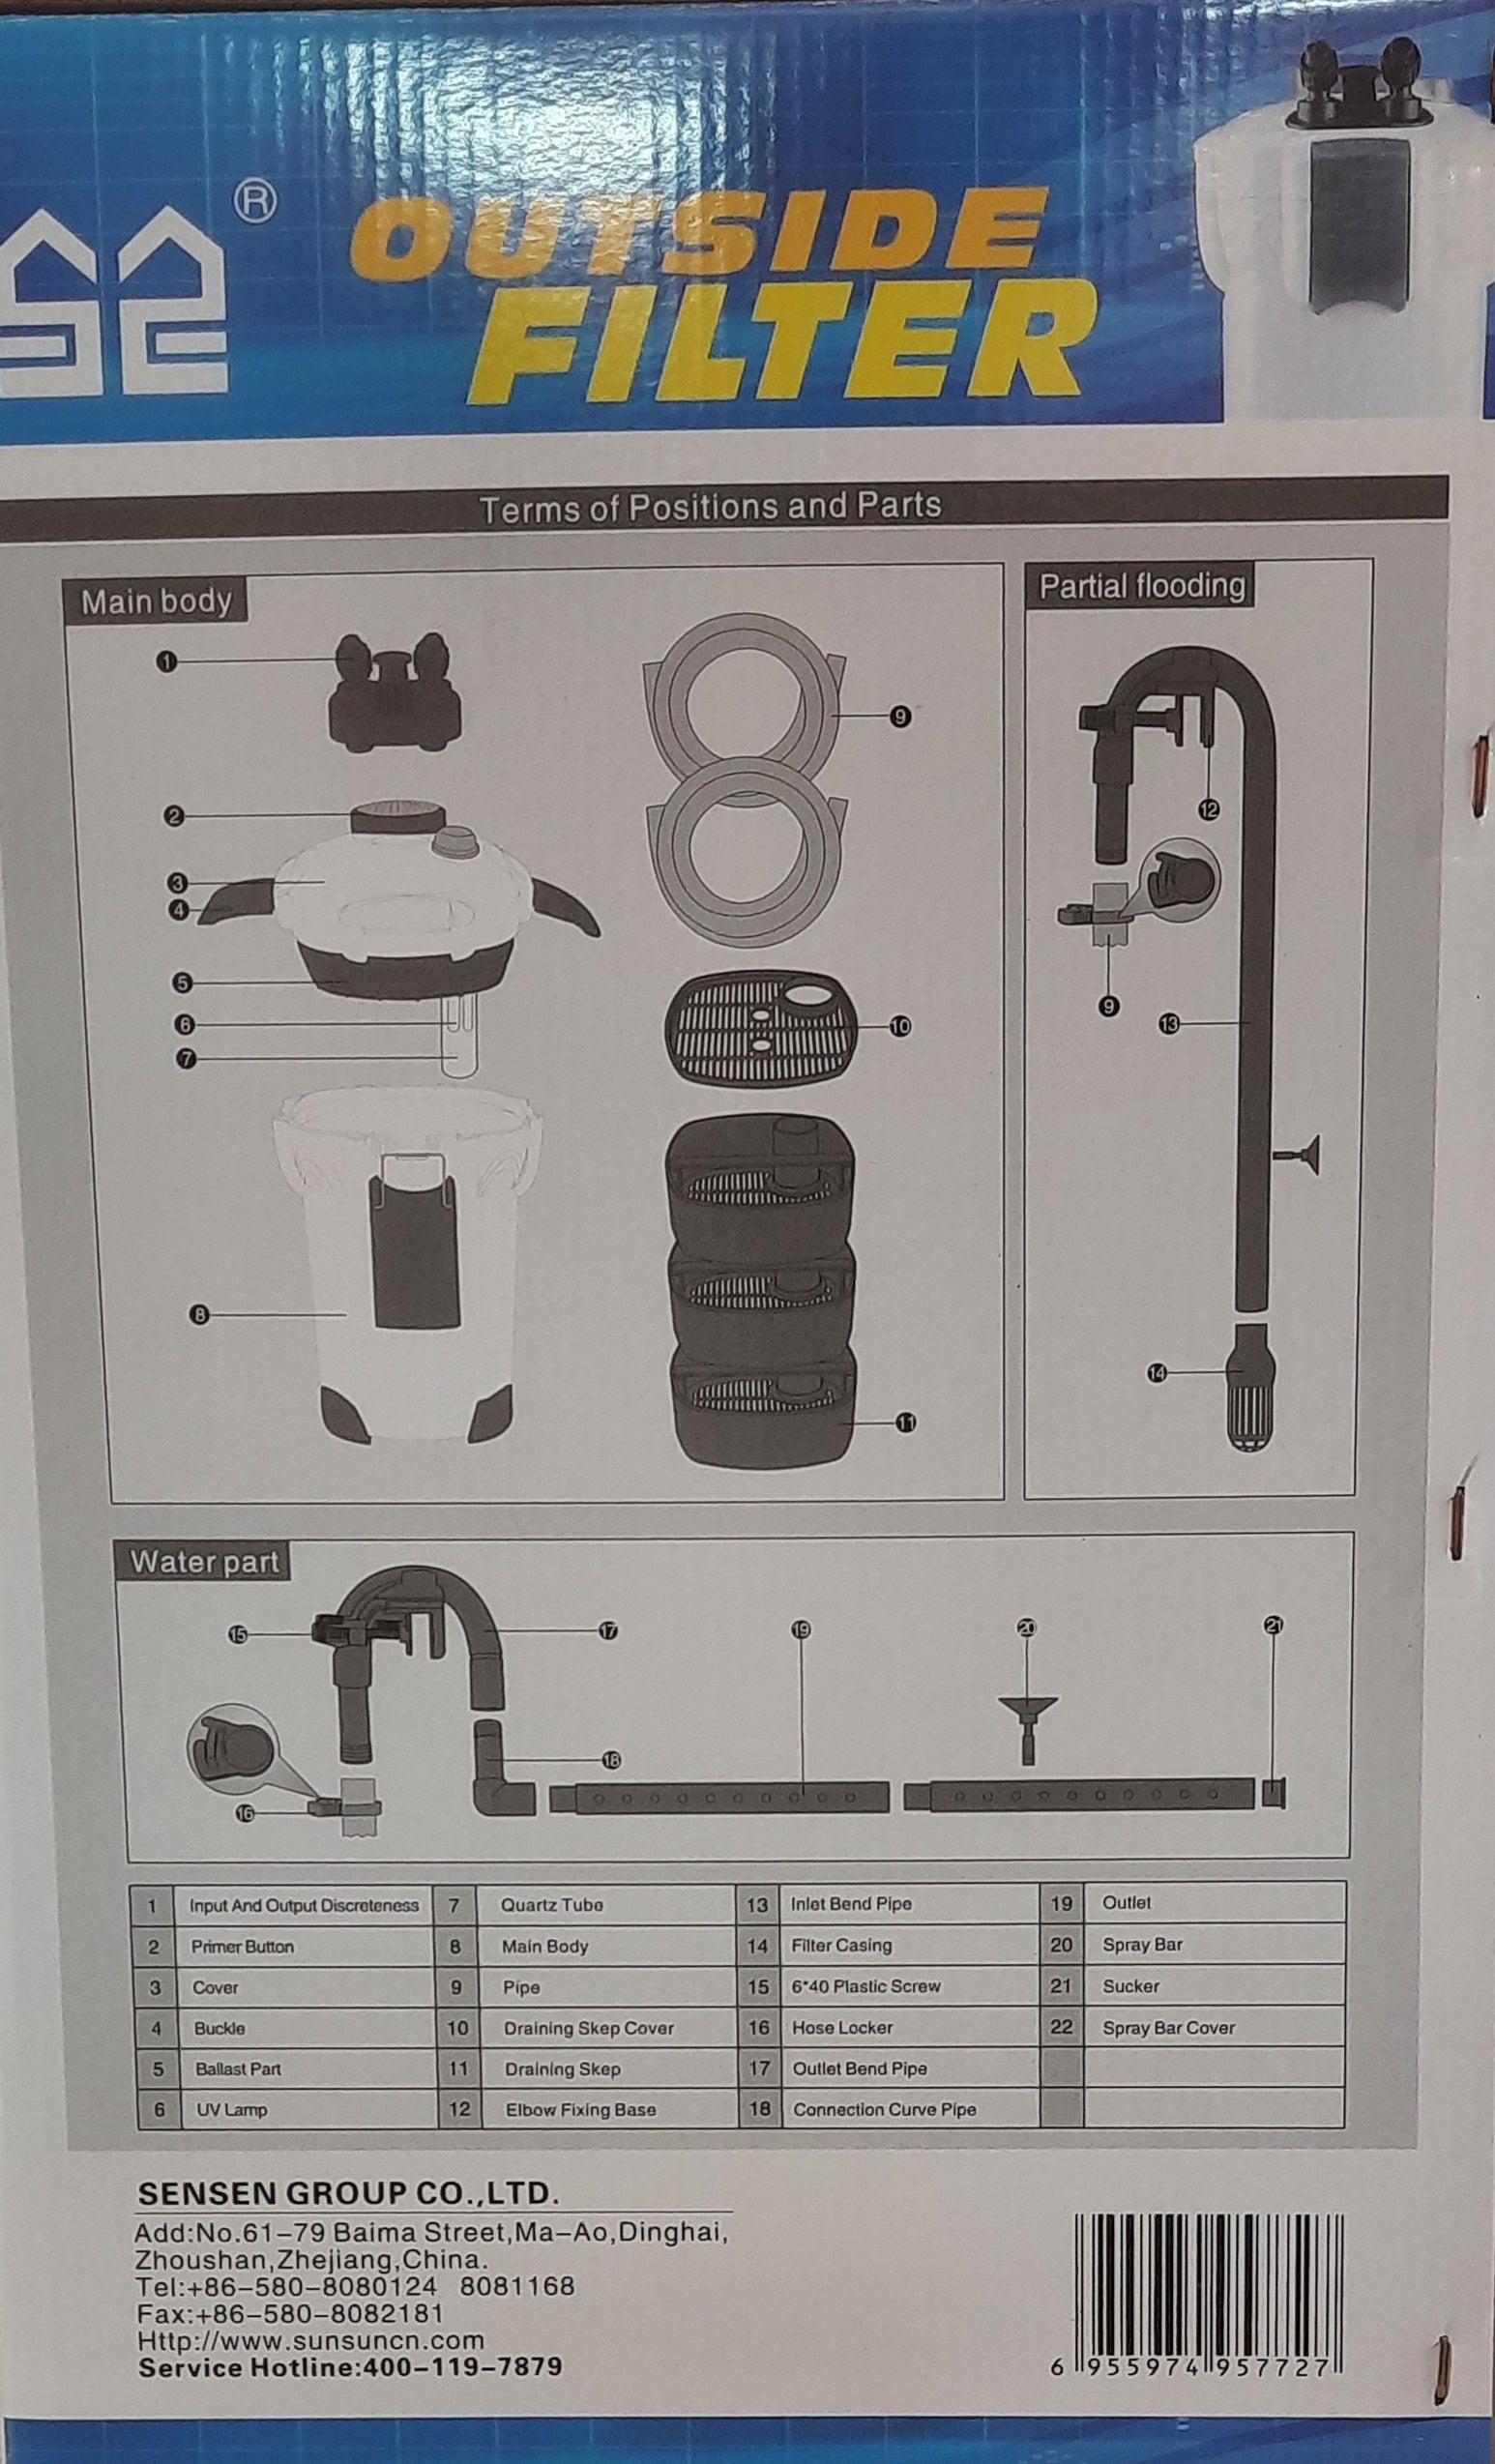
Your turtle produces waste like five goldfish combined—making filtration the #1 failure point in aquatic turtle aquarium setups. Canister filters aren’t optional; they’re life support. For a 75-gallon tank, install a filter rated for 300 gallons minimum. The SunSun 303-B (525 GPH) outperforms cheaper alternatives like the TurtleClean 511 by handling heavy bioload without constant clogging. Here’s the exact media layering that keeps water crystal clear:
- Top layer: Filter floss (mechanical)—remove weekly during water changes
- Middle layer: Ceramic rings (biological)—rinse monthly in tank water only
- Bottom layer: Purigen pouch (chemical)—recharge monthly with bleach soak
Pro Tip: Modify the intake with a pre-filter sponge to catch large debris before it jams the impeller. Clean mechanical media every 3 days when feeding pellets—skip this and face cloudy water within 48 hours.
Building a 90°F Basking Platform That Won’t Collapse

A wet basking spot causes fatal shell rot—yet 70% of beginner setups fail this critical element. Your platform must stay completely dry and reach 90-95°F surface temperature. DIY egg crate ramps are proven winners: cut PVC pipe into a rectangle, layer egg crate panels (zip ties filed smooth), and cover with reptile carpet. Commercial docks like Penn Plax floating models work but require bungee cord suspension to prevent tipping. Never use driftwood alone—it soaks up water and becomes slippery. Position the basking area under the UVB lamp with 12 inches of clearance to prevent burns.
Basking Area Temperature Troubleshooting
- Problem: Turtle won’t bask despite warm water
Fix: Raise basking lamp 2 inches—surface should hit 95°F within 15 minutes - Problem: Platform dries shell but UVB doesn’t reach
Fix: Install separate 10.0 UVB bulb 6-8 inches above basking zone - Problem: New turtle hides instead of basking
Fix: Add visual barriers (slate tiles) around platform edges
UVB Lighting Setup That Prevents Metabolic Bone Disease
UVB isn’t “nice to have”—it’s the difference between a healthy shell and a deformed death sentence. Mercury vapor bulbs like Zoo Med PowerSun UV provide heat and UVB in one unit but require precise height calibration (12” for 100W bulbs). For most setups, use dual fixtures: a 60W incandescent basking bulb + separate 5.0/10.0 UVB tube. Mount the UVB fixture 6-8 inches above the basking surface—any farther and UVB intensity drops below effective levels. Critical: Replace UVB bulbs every 6 months even if still glowing—output degrades invisibly. Use a Solarmeter 6.5 to verify UVI 3.0-8.0 at basking height.
Sand vs. Bare Bottom: The Substrate Showdown

Your substrate choice directly impacts cleaning time and turtle health. Play sand requires 30 minutes of rinsing to prevent cloudy water but allows natural foraging behavior. Pool filter sand is superior—finer grains resist compaction and won’t trap waste. For high-risk species like Snappers, skip substrate entirely: bare-bottom tanks let you spot-clean waste in seconds. Never use gravel—it causes fatal impactions when turtles accidentally ingest stones while hunting. If using sand, maintain 2-inch depth and vacuum weekly with a Python siphon.
| Substrate Type | Cleaning Time | Impaction Risk | Turtle Benefits |
|---|---|---|---|
| Pool Filter Sand | 15 mins/week | Low | Natural burrowing, plant growth |
| Bare Bottom | 5 mins/week | None | Zero maintenance, ideal for sick turtles |
| Play Sand | 20 mins/week | Moderate | Inexpensive, natural look |
| Large River Rocks | 30 mins/week | High | Visual appeal but traps debris |
Water Change Protocol: Stop Killing Beneficial Bacteria
Weekly 50% water changes aren’t optional—they’re how you prevent ammonia spikes that burn turtle eyes. But improper changes crash your nitrogen cycle. Always:
1. Match new water temperature within 2°F of tank water
2. Treat with Seachem Prime at double dose (neutralizes chloramines)
3. Vacuum sand in grid pattern without disturbing 1-inch base layer
4. Rinse filter floss in removed tank water (never tap water)
Never do this: Clean all filter media at once—always rotate sections to preserve bacteria colonies. Test ammonia/nitrite immediately after changes; readings above 0.25 ppm mean your cycle is unstable.
Troubleshooting Your Turtle’s Most Urgent Habitat Emergencies
Cloudy Water Within 24 Hours?
This signals bacterial bloom from overfeeding or filter overload. Immediate action:
– Stop all feeding for 48 hours
– Add 1 cup of tank-cycled water to boost bacteria
– Perform 50% water change with Prime treatment
– Reduce light duration to 8 hours daily
Turtle Won’t Bask After Tank Setup?
Diagnose in 5 minutes:
1. Check basking surface temp with infrared thermometer—must hit 90°F+
2. Verify UVB bulb is within effective range (6-8″ for tube bulbs)
3. Add hiding spot adjacent to platform (slate tile against wall)
4. Observe for 72 hours—new turtles often hide initially
Shell Fungus Spots Appearing?
Emergency protocol:
– Isolate turtle immediately
– Dry-dock for 12 hours daily on warm platform
– Apply Betadine solution to affected areas
– Fix root cause: Increase basking temp to 95°F and extend drying time
Your Next 24-Hour Habitat Upgrade Plan
Don’t wait for health crises to fix your aquatic turtle aquarium setup. Today: test UVB output with a Solarmeter and replace any bulb older than 6 months. Tomorrow: upgrade your filter to 4x tank volume rating—SunSun 303-B for 75-gallon tanks. This week: build a secure basking platform that hits 95°F surface temperature. Remember, turtles live 30+ years when their habitat meets biological needs. A proper setup isn’t expensive—it’s cheaper than $300 vet bills for preventable diseases. Start with one critical upgrade today, and you’ll see brighter eyes, active hunting, and clean shells within weeks. Your turtle’s thriving habitat begins with these non-negotiable steps.