How to Fix Aquarium Heater Issues
A faulty aquarium heater isn’t just an inconvenience—it’s a ticking time bomb for your entire aquatic ecosystem. When your heater fails, temperatures can plummet overnight or, worse, spike to lethal levels before you even notice. While modern heaters are built for reliability, they’re not immune to age, mineral buildup, or internal component failures. This aquarium heater repair guide delivers the precise diagnostic steps and repair protocols you need to address common issues safely. Crucially, working with electricity and water creates serious electrocution risks—these repairs should only be attempted by individuals with proper electrical training using appropriate safety equipment. When in doubt, replacement is always safer than repair for maintaining your tank’s delicate balance.
Why Your Aquarium Heater Failure Could Be a Silent Tank Killer
Most heater failures happen without warning signs until it’s too late. A malfunctioning thermostat might keep heating even after reaching the set temperature, while a cracked glass tube introduces immediate electrocution hazards. The most common failure point is the heating element itself—a nichrome wire that burns out like a lightbulb filament. When this happens, your tank loses its primary temperature regulation, putting stress on fish that can lead to disease outbreaks or mass fatalities within hours. Saltwater tanks face additional risks as mineral deposits accelerate corrosion on internal components, creating potential short circuits that standard freshwater heaters don’t encounter.
The Hidden Danger of Mineral Buildup in Hard Water Areas
Hard water aquariums develop limescale coatings on heating elements that act as thermal insulation. This forces the element to work harder, generating excessive heat that can crack the glass tube. You’ll notice this problem when your heater runs constantly but fails to maintain temperature. The white crust forming on the glass isn’t just unsightly—it’s actively compromising your heater’s functionality and safety. In saltwater systems, this mineral accumulation happens faster and creates conductive paths that increase electrical leakage risks significantly.
Essential Safety Procedures Before Touching a Faulty Heater
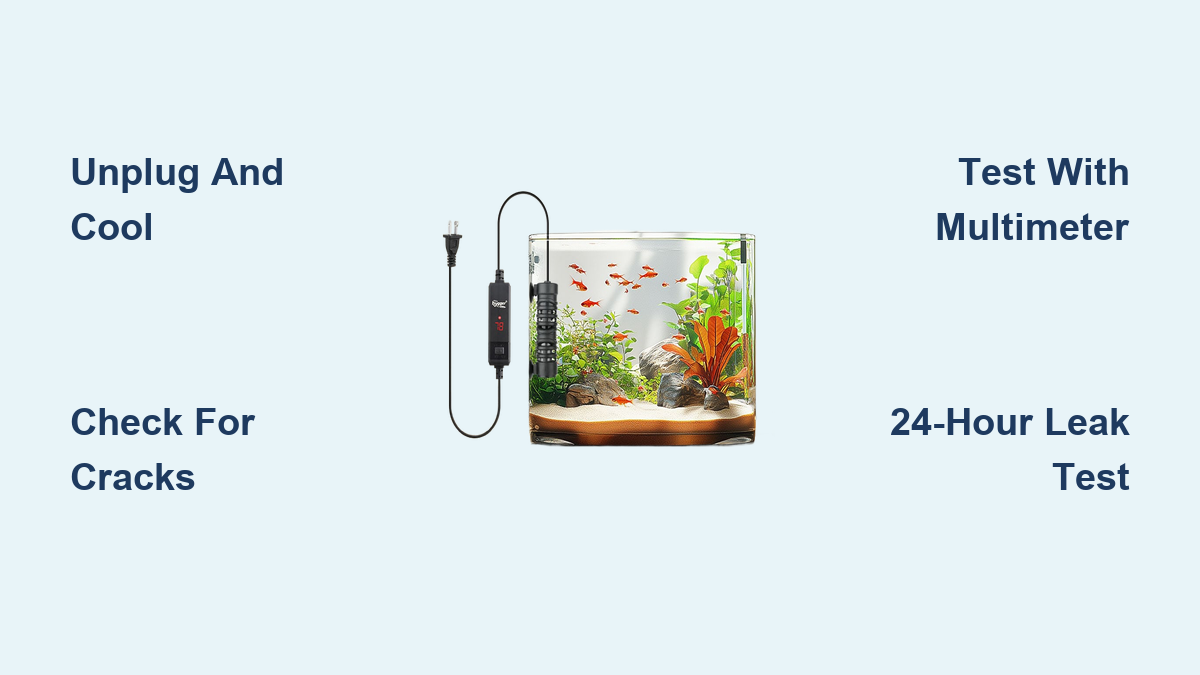
Unplug and Isolate: Your First Critical Step
Never skip this safety sequence: Unplug the heater, remove it from the tank, and allow 20 minutes for cooling. Electricity and water create lethal combinations—always verify the device is unplugged with a non-contact voltage tester before proceeding. Treat every heater as if it’s live until you’ve personally confirmed it’s disconnected from power.
Mandatory Visual Inspection Checklist
Examine these critical failure points before any testing:
– Cracks or cloudiness in the glass tube
– White mineral deposits or salt crust on the element
– Corrosion on metal components or electrical contacts
– Damaged power cord with exposed wires
– Brittle or cracked O-rings at connection points
How to Diagnose Common Aquarium Heater Problems in 15 Minutes

Step-by-Step Electrical Testing with a Multimeter
- Set your multimeter to resistance (ohms) mode
- Touch probes to the plug’s power and neutral pins
- For a 100W heater, expect 40-60 ohms; zero indicates a short circuit, infinite resistance means a broken element
- Test thermostat function by rotating the temperature dial—you should hear an audible click at specific points
Three Critical Failure Scenarios and Their Solutions
Heater completely dead (no heat, no indicator light): Check for blown thermal fuses (typically 85°C rating) or broken internal wiring connections. Thermal fuses are one-time use components that must be replaced after tripping.
Heater runs constantly overheating the tank: This indicates thermostat failure where the bimetallic strip is stuck in the “on” position. Electronic thermostats may require capacitor replacement or complete unit substitution.
Visible cracks or moisture inside the heater: Stop immediately—this unit must be replaced. Any breach in the glass tube or seals creates electrocution risks that cannot be safely repaired by most aquarists.
The Dangerous Truth About Thermal Paste in Aquarium Heater Repairs
Never use standard thermal paste or CPU compounds in aquarium heater repairs. These products contain toxic materials that will leach into your water, poisoning fish and invertebrates even in trace amounts. Thermal pastes break down at normal aquarium temperatures (25-30°C), creating toxic byproducts while simultaneously insulating the heating element and causing dangerous hot spots. Professional repairs use only aquarium-safe materials: high-temperature silicone sealants for seals and either quartz sand (0.5-1.0mm grain size) or ceramic beads (3-5mm diameter) for insulation—never thermal compounds.
Proper Heating Element Replacement: A Professional’s Step-by-Step Guide
Matching Critical Specifications
When replacing a heating element, you must match:
– Exact voltage rating (120V or 240V)
– Identical wattage (calculate using: Watts = Tank Gallons × Temperature Rise ÷ 2.5)
– Correct physical dimensions to fit your housing
Replacement Protocol
- Disassemble the heater housing, photographing each step
- Remove old element, noting wiring configuration
- Install new element with matching specifications
- Fill the housing with aquarium-safe quartz sand (40-70 mesh)
- Apply high-temperature silicone to all mating surfaces
- Torque end caps to 2-3 Nm specification
- Allow 72 hours for complete silicone curing
Critical Leak Testing Protocol: Why 24 Hours Submersion Is Non-Negotiable
Never skip this safety verification step. After reassembly, submerge your repaired heater in a bucket of water for a full 24 hours before plugging it in. Check for moisture inside the unit every 6 hours. Any sign of water intrusion means your seals failed—disassemble and repeat the sealing process. Plugging in a wet heater risks immediate electrocution and will destroy your repair work. Professional technicians use pressure testing at 1.5x operating pressure to verify seal integrity before water exposure.
Saltwater vs. Freshwater Heater Repairs: Special Considerations

Saltwater systems demand different repair approaches due to accelerated corrosion:
– Use only titanium-sheathed elements (never stainless steel)
– Implement double-sealed end caps with redundant O-rings
– Add sacrificial zinc anodes to protect metal components
– Apply multi-layered epoxy coatings for pinhole-free protection
Freshwater repairs focus more on limescale removal and standard corrosion prevention, while saltwater requires specialized materials that resist electrolytic corrosion. The conductivity of saltwater makes electrical leakage more dangerous—repairs must achieve higher insulation resistance (>100MΩ at 500V DC) compared to freshwater units.
Final Safety Checklist: 7 Tests Before Returning Your Heater to the Tank
Before reinstalling any repaired heater, verify these critical safety points:
– [ ] Ground continuity test shows less than 0.1Ω resistance
– [ ] Insulation resistance exceeds 100MΩ at 500V DC
– [ ] Zero moisture inside after 24-hour submersion test
– [ ] Temperature accuracy within ±0.5°C of set point
– [ ] No visible cracks or imperfections in glass tube
– [ ] Power cord and plug in perfect condition
– [ ] Thermal fuse properly installed with correct trip temperature
How to Prevent Future Heater Failures with Proactive Maintenance
Extend your heater’s lifespan with these professional maintenance techniques:
– Monthly: Wipe away mineral deposits with vinegar-soaked cloth
– Quarterly: Check thermostat accuracy against calibrated thermometer
– Biannually: Inspect O-rings for brittleness and replace as needed
– Annually: Test ground fault protection with dedicated tester
Install heaters near filter outputs for better water circulation and always use protective guards to prevent fish contact with hot surfaces. For critical systems, implement dual heaters with separate thermostats set 1-2 degrees apart—this creates redundancy if one fails.
When to Call It Quits: The Repair vs. Replacement Threshold
Repair only makes sense when:
– Housing remains undamaged with no cracks
– You have proper electrical training and testing equipment
– Replacement parts cost less than 40% of a new heater
– The repair can achieve full waterproof integrity
Most aquarists should replace rather than repair heaters showing visible damage, mineral-encrusted elements, or any signs of water intrusion. High-quality heaters with shatter guards cost less than professional repair services and come with safety certifications that DIY repairs can’t match. Your fish’s lives depend on reliable temperature control—don’t risk a substandard repair when replacement offers guaranteed safety and performance.
A properly functioning aquarium heater maintains the delicate thermal balance your aquatic ecosystem depends on. While understanding repair techniques provides valuable diagnostic knowledge, recognizing when replacement is the safer choice demonstrates true expertise in aquarium maintenance. Always prioritize safety over savings—your tank’s inhabitants depend on it.