Fix Air Bubbles in Aquarium Silicone Sealant
That tiny air bubble in your aquarium seam might seem insignificant, but it could be the first sign of a catastrophic failure waiting to happen. Air bubbles in aquarium silicone aren’t just cosmetic flaws—they compromise the structural integrity of your tank’s most critical component. When water pressure meets these weak spots, the result is often a sudden, devastating leak that floods your home and endangers your aquatic pets. This guide delivers precise, actionable steps to identify dangerous bubbles, execute proper repairs, and prevent future issues in your aquarium silicone seams.
A single compromised seam can unleash hundreds of gallons of water in minutes, causing thousands in property damage and potentially fatal consequences for your fish. Whether you’re dealing with a manufacturing defect in a new tank or bubbles forming in an older aquarium, understanding how to assess and address these weaknesses is non-negotiable for responsible fishkeeping. You’ll learn exactly what bubble sizes and locations demand immediate action, how to perform professional-grade repairs with basic tools, and the specific silicone application techniques that prevent bubbles from forming in the first place.
Pinpoint Critical Bubble Risks Before Disaster Strikes

Not all air bubbles threaten your aquarium’s structural integrity. The difference between a harmless cosmetic flaw and an imminent disaster depends on three precise factors: bubble size, location, and tank dimensions.
Size and Location Danger Zones
Your tank’s structural weak points demand immediate attention when bubbles appear in these high-risk areas:
Critical Danger Zones (Drain Tank Immediately):
* Bottom seams where water pressure reaches its maximum force
* Corner intersections where multiple stress points converge
* Lower third of vertical seams subjected to significant hydrostatic pressure
* Any bubble larger than 6mm diameter that compromises seal thickness
Monitor Zone (Schedule Repair Within 30 Days):
* Bubbles between 3-6mm in vertical seams above the tank’s midpoint
* Multiple small bubbles creating connected pathways
* Any bubble showing expansion during weekly inspections
Pro Tip: Shine a bright flashlight across seams at a low angle—this dramatically increases your ability to spot tiny bubbles and subtle seam irregularities that might otherwise go unnoticed.
Manufacturing Defects vs. DIY Repair Failures
New tanks with air bubbles typically show uniform, 1-3mm bubbles caused by rushed factory application. When purchasing a new aquarium, inspect seams with a magnifying glass before filling—it’s far easier to return a defective tank than repair it later. For DIY-resealed tanks, bubbles usually indicate surface contamination or improper tooling technique rather than silicone quality issues.
Repair Small Bubbles Without Draining Your Tank
Most minor air bubbles in non-structural areas can be fixed with minimal disruption to your aquarium ecosystem using these precise techniques.
Targeted Bubble Injection Method (Under 3mm Bubbles)
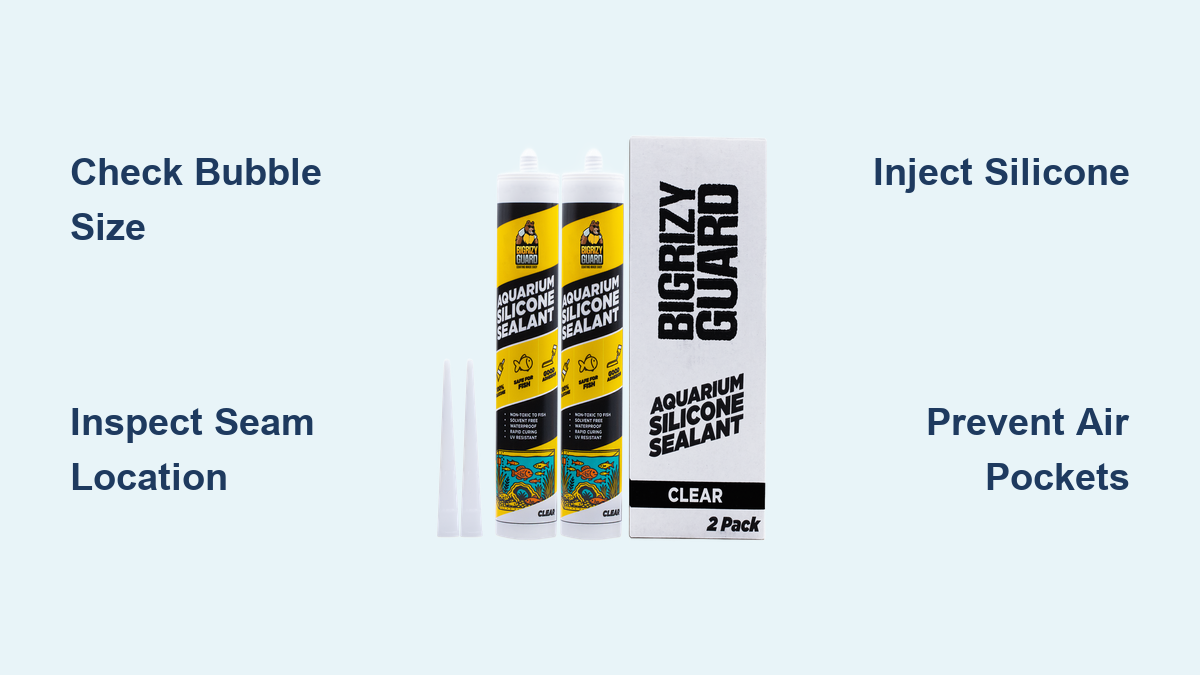
Tools Needed: 100% aquarium-safe silicone, 22-gauge needle syringe, denatured alcohol, razor blade
- Isolate and Clean: Mark the bubble with a dry-erase marker, then wipe the area with denatured alcohol using a lint-free cloth—any oil residue will prevent proper bonding
- Prepare Injection: Fill your syringe with high-quality silicone (GE Silicone I or Momentive RTV 108), then carefully insert the needle at the bubble’s base
- Inject Slowly: Depress the plunger gradually while watching for silicone to displace the air—stop when you see fresh silicone emerge around the bubble perimeter
- Smooth and Cure: Dip your finger in soapy water and gently press the injected area to ensure complete bonding—allow 48 hours of undisturbed curing before full water pressure returns
Execute Professional-Grade Repairs for Critical Seam Failures
When bubbles compromise structural seams, a comprehensive repair becomes essential to prevent catastrophic failure.
Complete Seam Resealing Protocol (For Bottom Seams or Large Bubbles)
-
Total Silicone Removal:
- Score the entire affected seam with a fresh razor blade at a 30-degree angle
- Peel away old silicone using needle-nose pliers—never leave residue behind
- Clean the joint with a 1:1 vinegar/water solution followed by 99% isopropyl alcohol
-
Precision Application:
- Apply painter’s tape 1/4″ from the seam on both sides for clean edges
- Cut silicone tube nozzle at 45 degrees and apply a continuous 3/16″ bead
- Tool the bead immediately with your soapy-water-dipped finger using firm, consistent pressure to eliminate air pockets
-
Critical Curing Process:
- Maintain 70-80°F temperature and 40-60% humidity during curing
- Wait 24 hours before light handling, 72 hours before water exposure
- Perform a graduated water test: 25% fill for 2 hours, 50% for 4 hours, 75% for 8 hours, and 100% for 24 hours
Expert Note: For tanks over 50 gallons, reinforce repaired bottom seams with an external 1/4″ acrylic plate bonded with structural silicone and 3M VHB tape during the curing process.
Prevent Air Bubbles During Silicone Application
Most aquarium silicone bubbles stem from preventable application errors—follow these exact protocols for bubble-free seams.
Surface Preparation Checklist
- Clean glass with denatured alcohol—not isopropyl alcohol which leaves residue
- Never touch prepared surfaces with bare hands (oils cause adhesion failure)
- Apply silicone within 30 minutes of final cleaning to prevent recontamination
- Work in 40-100°F temperatures with 40-60% humidity for optimal curing
Professional Application Techniques
- Apply silicone in one continuous motion without stopping—pauses create air pockets
- Maintain consistent bead thickness of at least 3/16″ diameter
- Tool the bead immediately after application using firm, even pressure
- Use a dedicated silicone tool or your soapy-water-dipped finger at a 45-degree angle
Know When to Call a Professional Resealer
While many bubble repairs are DIY-friendly, certain situations demand professional expertise to prevent catastrophic failure.
Emergency Professional Assessment Required When:
- Bubbles larger than 1/4″ appear in bottom seams or corners
- Multiple bubbles form interconnected channels through the seam
- You observe actual water seepage or moisture near the bubble
- The tank is over 75 gallons where water pressure creates extreme stress
Cost-Benefit Analysis for Professional Help
For tanks under 50 gallons, professional resealing often costs more than replacement—consider this when deciding. For larger or custom tanks, professional resealing typically costs 30-50% less than replacement while preserving your established ecosystem. Always get multiple quotes from specialists who provide written warranties on their work.
Immediate Action Plan for Bubble Emergencies
When you spot a concerning bubble, follow this precise sequence to protect your home and aquatic life:
-
Document and Assess: Photograph the bubble with a ruler for scale, noting exact location and size. Check if it’s expanding under water pressure by gently pressing adjacent glass panels.
-
Risk Mitigation: If the bubble is in a high-risk location (bottom seam or corner), immediately drain water below the affected seam level. Never ignore bubbles in these critical zones.
-
Repair Decision: For bubbles under 3mm in non-structural areas, schedule a targeted injection repair. For larger or structurally compromised bubbles, prepare for complete seam replacement.
-
Prevent Recurrence: After any repair, implement monthly seam inspections with photographic documentation. Track any bubble growth with digital calipers for precise measurement.
Final Safety Check: Before refilling after repairs, perform a dry pressure test by placing heavy books along seams to simulate water pressure—this reveals weak spots before water exposure. Always conduct your first water test in a contained area with towels and buckets ready for emergencies.
Your aquarium’s silicone seams represent the thin line between a thriving aquatic ecosystem and potential disaster. By understanding bubble risk levels, executing proper repairs, and implementing preventative application techniques, you ensure years of safe operation. Remember that bottom seams and corners demand zero tolerance for bubbles—address these immediately using the protocols outlined here. Whether you’re maintaining a new tank or repairing an aging aquarium, these precise techniques transform uncertainty into confidence, protecting both your investment and your home from water damage. Start with a thorough seam inspection today using the flashlight technique mentioned, and take action before small bubbles become big problems.