Can You Put Legos in a Fish Tank?
You’ve probably eyed that colorful bucket of LEGO bricks and wondered if they could transform your aquarium into an underwater wonderland. Maybe you’re envisioning a sunken pirate ship or a colorful coral reef made from those familiar plastic bricks. The answer isn’t a simple yes or no—while standard LEGO bricks can safely enhance your aquarium, improper preparation creates serious risks for your aquatic ecosystem. This guide cuts through the confusion with science-backed methods to integrate LEGO into your tank without endangering fish or water quality.
Most aquarium hobbyists don’t realize LEGO’s official stance: The LEGO Group explicitly states they “don’t recommend you use your LEGO bricks as decorations in aquariums or fish tanks.” Yet thousands of aquarists successfully incorporate LEGO with proper precautions. The critical difference between a safe underwater LEGO scene and a tank disaster lies in understanding material science, buoyancy physics, and fish safety protocols. By the end of this guide, you’ll know exactly how to prepare, anchor, and maintain LEGO structures that become permanent, safe features in your aquatic environment.
Why LEGO Bricks Float (And How to Fix It Permanently)
LEGO bricks naturally float because ABS plastic (their primary material) has a density of 1.01-1.04 g/cm³—slightly less than water’s 1.00 g/cm³. A single 2×4 brick weighs just 2.3g but displaces 8.8g of water, creating 6.5g of upward buoyant force. This physics problem requires strategic weight solutions rather than hoping your build will sink on its own.
The Weighted Base Method That Actually Works
Skip unreliable temporary anchors and build permanent stability into your LEGO structure from the start:
- Create a hollow foundation: Build a sealed box using a baseplate surrounded by 2-brick-high walls
- Mix proper ballast: Combine 100% silicone aquarium sealant with clean, fine-grain aquarium sand (ratio: 2 parts sand to 1 part silicone)
- Fill and seal: Pour the mixture into your hollow base through a small opening, then seal completely with plates
- Cure thoroughly: Allow 48 hours for full curing in a well-ventilated area before submerging
This creates a dense, inert weight that sinks your structure while maintaining LEGO’s interlocking integrity. For larger builds, calculate needed weight: A 10×10 baseplate needs approximately 100g of ballast to overcome buoyancy.
Avoid These Common Buoyancy Mistakes
Many aquarists waste time with ineffective methods that compromise tank safety:
– ❌ Using rocks glued externally: Creates unstable top-heaviness that tips structures
– ❌ Skipping the pre-soak test: Leads to floating builds that disrupt tank layouts
– ❌ Ignoring trapped air: Hollow studs retain air pockets that cause delayed buoyancy
Always perform the “bucket test” before tank installation—submerge your weighted build in dechlorinated water for 24 hours, watching for rising bubbles that indicate trapped air.
The Critical Pre-Soak Protocol Every Aquarist Must Follow
Rinsing LEGO under tap water leaves residues that cloud aquarium water and harm beneficial bacteria. Standard cleaning misses microscopic mold release agents used in manufacturing that can trigger algae blooms.
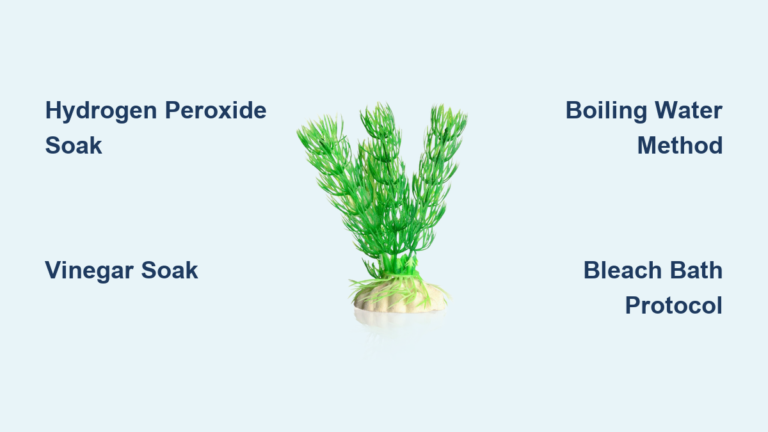
3-Step Deep Cleaning Process
Step 1: Vinegar Soak (15 minutes)
Submerge disassembled bricks in 50/50 white vinegar and water solution. This dissolves manufacturing residues without toxic chemicals. Never use soap—it leaves invisible films that suffocate fish gills.
Step 2: Targeted Scrubbing
Use a new soft-bristle toothbrush to clean inside studs and tubes where bacteria hide. Pay special attention to connector tubes that trap organic matter.
Step 3: Double Rinse Cycle
Rinse thoroughly under cool running water, then soak for 2 hours in dechlorinated tank water before final rinse. This removes all vinegar traces that could alter pH.
Hidden Dangers in LEGO Cavities and How to Eliminate Them

Air pockets inside hollow studs create deadly anaerobic zones where harmful bacteria like Clostridium botulinum thrive. These bacteria produce toxins that can kill fish within hours when disturbed.
De-Airing Techniques That Prevent Bacterial Growth
The Syringe Method for Complex Builds
1. Submerge your structure in a bucket of tank water
2. Insert an 18-gauge syringe needle into air pockets through pre-drilled 1mm holes
3. Inject water to force out trapped air
4. Seal holes with aquarium-safe silicone after de-aeration
Passive Venting for Large Structures
Drill 1-2mm holes at the highest points of sealed cavities to allow continuous water exchange. Position holes where fish can’t enter but water circulates freely.
Fish-Specific LEGO Safety: What to Know for Your Tank Mates
Your aquarium inhabitants determine which LEGO elements are safe. What works in a betta tank could be disastrous in a cichlid aquarium.
Species-Specific Build Guidelines
For Small Shrimp/Tetra Tanks:
– Minimum gap size: 2×2 studs to prevent entrapment
– Avoid all 1×1 plates and cheese slopes (perfect for shrimp to get stuck)
– Use smooth slopes instead of angular pieces
For Cichlid or Oscar Tanks:
– Anchor structures to slate bases with aquarium silicone
– Eliminate all small parts (cichlids will disassemble and swallow them)
– Build with extra-wide foundations (at least 6-brick width)
Red Flag Materials to Avoid:
– Pre-1980s bricks (possible cadmium in pigments)
– Rubber tires or fabric elements
– Any pieces with metal components
– Electronic bricks or light-up elements
Long-Term Maintenance Schedule to Prevent Algae Disasters
LEGO’s smooth surfaces attract algae faster than natural decorations, but proper maintenance turns this into an advantage—algae-covered LEGO becomes biological filtration.
Weekly Maintenance Routine
- During water changes, gently vacuum debris from LEGO surfaces
- Use a soft toothbrush to remove early-stage algae (before it becomes stubborn)
- Check for loose bricks that curious fish might dislodge
Monthly Deep-Cleaning Protocol
- Remove structure during water change
- Scrub in bucket of old tank water (never tap water)
- For heavy algae, soak in 3% hydrogen peroxide solution (1:3 ratio with water) for 5 minutes
- Rinse thoroughly in dechlorinated water before return
Never use bleach except as absolute last resort—and always follow with hydrogen peroxide neutralization and multiple rinses.
Troubleshooting Common LEGO Aquarium Problems
Even properly prepared LEGO structures encounter issues. These solutions address the most frequent problems aquarists face.
Green Film Won’t Come Off
This harmless algae indicates excess nutrients. Instead of aggressive cleaning:
– Reduce feeding by 20% for one week
– Add 2-3 nerite snails specifically for LEGO surfaces
– Position structure away from direct filter outflow
Structure Keeps Tipping Over
This signals inadequate ballast or poor foundation:
1. Remove and disassemble the base
2. Add 25% more silicone-sand mixture to hollow compartment
3. Rebuild with wider foundation (minimum 8-brick width for tall structures)
4. Partially bury baseplate in substrate for additional stability
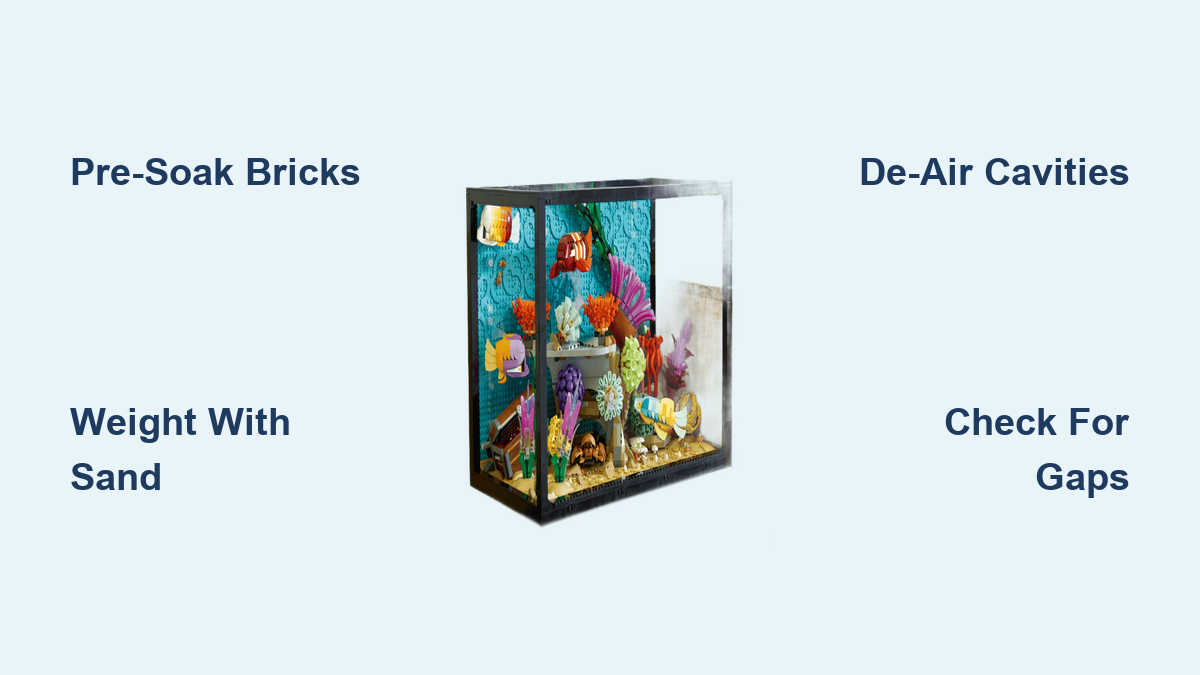
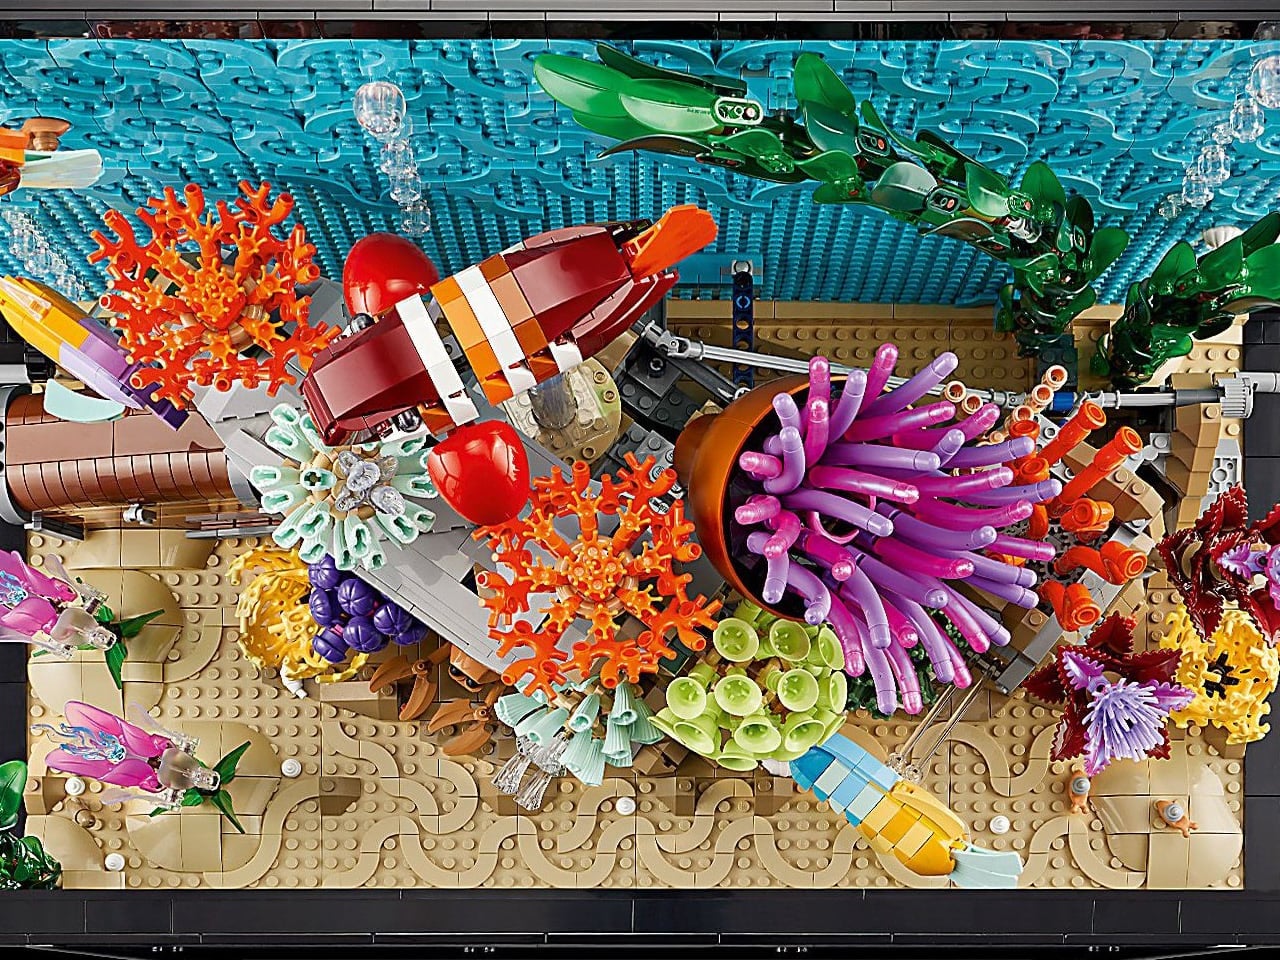
Step-by-Step: Building a Sunken LEGO Castle That Won’t Tip Over
Follow this proven method for stable, fish-safe underwater builds:
- Design with water flow in mind: Create channels between towers for proper circulation
- Build hollow foundation: 8×12 baseplate with 3-brick-high walls
- Add ballast: Fill with silicone-sand mixture (2:1 ratio)
- De-air before final assembly: Submerge foundation and shake to release bubbles
- Construct upward: Build castle walls with overlapping bricks (minimum 2-stud connection)
- Add fish-friendly details: Use 45-degree slopes instead of sharp corners
- Final bucket test: Submerge for 48 hours before tank installation
This method works for any LEGO aquarium project—from simple treasure chests to elaborate coral reef scenes—while keeping your aquatic ecosystem safe and stable.
Final Note: Never skip the pre-soak test or proper ballasting—these steps separate successful LEGO aquariums from tank disasters. Start with small, simple builds to test your methods before attempting large projects. With proper preparation, your LEGO creations can become safe, stable, and stunning features that enhance both your aquarium’s aesthetics and biological filtration. After three months of stable performance, your LEGO structure becomes a permanent, beneficial part of your tank’s ecosystem—just remember to maintain your regular cleaning schedule to keep it looking vibrant and healthy.