How to Clean Algae Off Plastic Aquarium Plants
You wake up to find your vibrant plastic aquarium plants coated in slippery green slime, turning your underwater paradise into a murky eyesore. That fuzzy green film or stubborn brown spots aren’t just ugly—they signal imbalanced tank conditions threatening your fish’s health. Left unchecked, algae chokes plant surfaces, blocks light, and consumes oxygen critical for your aquatic pets. But here’s the good news: cleaning algae off plastic aquarium plants is quick, safe, and requires zero harsh chemicals when you know the exact methods. Forget risky store-bought cleaners or dangerous shortcuts—this guide delivers proven techniques used by professional aquarists to restore crystal-clear plants in under 30 minutes. You’ll learn how to eliminate even the toughest green spot algae while protecting delicate fish, plus foolproof prevention strategies to keep your tank pristine for months.
Pre-Cleaning Checklist: 3 Must-Do Steps Before Touching Algae
Skipping preparation risks toxic residues or stressed fish. These non-negotiable steps protect your entire ecosystem before you remove a single plant.
Identify Your Algae Type in 60 Seconds
Grab the plant and examine it closely: Green dust algae feels powdery and wipes off easily with your finger. Green spot algae appears as hard, emerald-green dots that scrape like glass. Brown diatom algae forms a slimy film on shaded surfaces. Matching the algae to your cleaning method prevents wasted effort—vinegar dissolves green spots but won’t budge brown diatoms. Never guess: misidentifying algae leads to ineffective treatments that waste your time and prolong tank stress.
Gather Aquarium-Safe Tools (No Dish Soap!)
Your kitchen sponge is a death sentence for fish. Assemble only these items:
– A dedicated soft-bristled toothbrush (never used for human teeth)
– Food-grade bucket for soaking (separate from household cleaning)
– Dechlorinator like Seachem Prime (critical for bleach/peroxide rinses)
– Timer (prevents over-soaking that damages plastic)
Warning: Even trace soap residues kill beneficial bacteria. If you lack aquarium-specific tools, use an old toothbrush reserved only for tank maintenance.
Remove Plants Safely Without Tank Chaos
Tilt plants sideways as you lift them to avoid dumping algae-covered debris into the water. Place them immediately into a bucket of tank water—not tap water—to prevent temperature shock. Work in batches if heavily infested; removing all plants at once destabilizes your tank’s bacterial balance. Keep plants submerged in tank water until ready to clean to prevent algae from drying and embedding deeper.
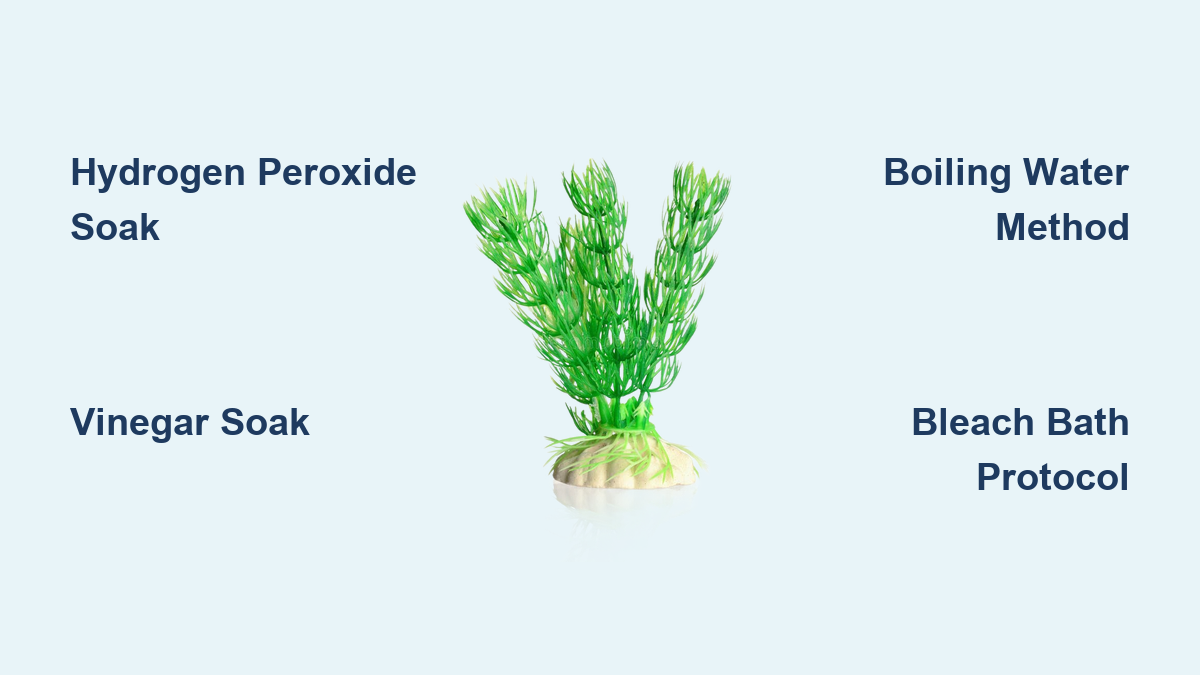
Hydrogen Peroxide vs Vinegar: Which Removes Algae Faster?

Stop scrubbing blindly. Match these targeted solutions to your specific algae for maximum results with minimal effort. Both methods work in under 20 minutes with zero fish risk when done correctly.
Hydrogen Peroxide Soak: Instant Green Dust Algae Killer
This method dissolves soft algae in 15 minutes with no rinsing nightmares. Fill your bucket with equal parts 3% hydrogen peroxide and tank water. Submerge plants for exactly 15 minutes—set a timer! Longer exposure weakens plastic stems. Watch as bubbles form on algae, breaking it down at a molecular level. After soaking, gently agitate plants in the solution; algae should detach like wet tissue paper. Rinse once under cool tap water for 30 seconds, then dip in dechlorinated water. Pro Tip: For stubborn spots, dip a cotton swab in undiluted peroxide and dab directly on algae before soaking—this spot-treatment cuts cleaning time by 50%.
Vinegar Soak: Erase Hard Green Spot Algae in 10 Minutes
When algae feels like gritty sandpaper, vinegar’s acidity dissolves mineral bonds holding it to plastic. Mix one part white vinegar with one part water in your bucket. Submerge plants for 10 minutes max—vinegar won’t harm plastic but prolonged exposure fades colors. After soaking, algae lifts off with light brushing. Critical step: Rinse under running water for 2 full minutes to eliminate vinegar odor (fish are sensitive to residual smells). For severe cases, add 1 tablespoon of baking soda to the rinse water to neutralize acidity. Expect results within 24 hours as remaining vinegar dissipates harmlessly.
Boiling Water Method: Chemical-Free Fix for Brown Diatom Algae
Skip chemicals entirely for fuzzy brown algae using this heat-based approach. Boil water in a kettle, then carefully pour it over plants in a heat-safe bowl. Let sit for 8 minutes—enough to kill algae without warping plastic. The heat loosens algae’s grip, allowing a single wipe with a soft cloth to remove 90% of growth. Visual cue: Water turns green/brown as algae releases. Discard this water immediately—never pour it back into your tank. Rinse plants under cool water for 1 minute before returning. Works best on smooth plastic plants; avoid for delicate ferns or thin leaves.
Bleach Bath Protocol: Emergency Algae Removal When All Else Fails
Reserve bleach for black beard algae or thick slime that resists gentler methods. One misstep here can kill your entire tank—follow this exact sequence to eliminate risk.
Step 1: Mix the Exact 5% Bleach Solution
Combine 1 cup unscented bleach with 4 cups cold water in a well-ventilated area (never near tank). Never use splashless or scented bleach—additives poison fish. Wear gloves and eye protection. Dip a hidden plant section into the solution for 2 minutes; if discoloration occurs, discard the solution—your plastic can’t handle bleach.
Step 2: 8-Minute Soak With Timer
Submerge plants for no longer than 8 minutes. Set multiple alarms—over-soaking dissolves plastic coatings. Agitate gently every 2 minutes. Algae should visibly detach within 5 minutes. Remove plants immediately if you see bubbling beyond normal off-gassing.
Step 3: Triple Rinse System (Non-Negotiable)
- Rinse under tap water for 3 minutes while scrubbing with toothbrush
- Soak in dechlorinator bath (follow product instructions) for 15 minutes
- Final soak in dechlorinated tank water for 24 hours
Smell test: Plants must have zero bleach odor before returning to tank. If detectable, repeat step 3.
Prevent Algae Before It Starts: 4 Proven Tank Maintenance Hacks
Cleaning takes minutes; prevention keeps plants algae-free for weeks. Implement these daily habits to avoid future scrubbing sessions.
Light Control That Actually Works
Run lights 6 hours daily using a $5 timer—set it for 10 AM to 4 PM to avoid peak sunlight hours. Cover tank sides facing windows with opaque film; direct sun triggers explosive algae growth. Pro Tip: Switch to programmable LED lights that gradually dim—sudden darkness stresses fish but mimics natural dusk, reducing algae spore production.
Water Change Technique That Targets Algae Fuel
During 20% weekly water changes, hover your gravel vacuum 1 inch above plastic plants to suck dislodged algae particles before they reattach. Use old tank water (not tap) for rinsing plants during maintenance—this preserves beneficial bacteria. Critical mistake to avoid: Never replace filter media and clean plants on the same day; you’ll crash your tank’s nitrogen cycle.
Algae-Eating Squad Deployment Guide
Add these tank cleaners before algae takes hold:
– 2 Nerite snails per 10 gallons (eats film algae on plastic)
– 1 Otocinclus catfish per 5 gallons (targets glass and plant stems)
Warning: Avoid Amano shrimp in tanks under 20 gallons—they starve and die, worsening water quality. Introduce cleaners gradually over 2 weeks.
Nutrient Lockdown Strategy
Feed fish once daily with pellets they consume in 90 seconds—excess food = algae fertilizer. Test water weekly; keep nitrates below 20 ppm using API Master Test Kit. If levels creep up, add fast-growing live plants like hornwort that outcompete algae for nutrients.
When to Toss Plastic Plants (Don’t Waste Time Cleaning These)

Not all algae battles are worth fighting. Replace plants immediately if you see:
– Deep-set black spots in crevices (common in fake driftwood)
– Brittle, chalky texture when bent (indicates plastic degradation)
– Persistent algae after 3 cleanings (spores embedded in micro-cracks)
Cost-saving tip: Soak questionable plants in hydrogen peroxide for 24 hours. If algae returns within days, discard them—repeated cleanings weaken plastic and leach chemicals into water.
Final Note: You now have a complete battle plan against aquarium algae—from emergency bleach protocols to foolproof prevention. Remember: the best way to clean algae off plastic aquarium plants starts before you see green. By controlling light, nutrients, and adding algae-eating allies, you’ll spend minutes on maintenance instead of hours scrubbing. Implement the weekly 6-hour light schedule and 20% water change ritual tonight, and within two weeks, your plastic plants will stay pristine with just 5 minutes of monthly upkeep. For severe outbreaks, the hydrogen peroxide soak remains your safest first response—effective, residue-free, and fish-friendly. Keep this guide bookmarked for your next algae scare, and share your success story in the comments below!