Axolotl Aquarium Setup Guide
You’ve brought home your new axolotl, but without the right environment, it could develop life-threatening health issues within days. These unique amphibians don’t just need water—they require meticulously controlled conditions that mimic their native Mexican lake habitats. Getting your axolotl aquarium setup wrong causes stress, impaction, and fatal ammonia poisoning before you even notice symptoms.
This isn’t a standard fish tank project. Your axolotl needs stable 60-68°F water, near-zero ammonia, and specialized flow control to thrive. Skip the cycling process or use gravel, and you’ll face emergency vet visits. But do it right, and you’ll create a habitat where your axolotl lives its full 10-15 year lifespan. We’ll walk through every critical step—from tank cycling to temperature control—so your aquatic pet stays healthy from day one.
Why Your Axolotl Tank Must Be Fully Cycled Before Adding Your Pet
How to Complete the Nitrogen Cycle in 4-8 Weeks
Introducing your axolotl to an uncycled tank is like forcing it to breathe toxic fumes. The nitrogen cycle establishes beneficial bacteria that convert deadly ammonia (from waste) into safer nitrates. Start by adding pure ammonia or fish food to your empty tank, then test daily with a liquid kit like API Freshwater Master. Track these critical milestones:
- Ammonia spike (Week 1-2): Add 2ppm ammonia daily
- Nitrite surge (Week 3-4): Ammonia drops, nitrites rise
- Nitrate detection (Week 5-8): Nitrites fall to zero, nitrates appear
Your tank is ready when it processes 2ppm ammonia to nitrate within 24 hours with no ammonia/nitrite spikes. Never skip this step—axolotls lack scales and absorb toxins directly through their skin.
Emergency Protocol for Uncycled Tanks
If you must add your axolotl before cycling completes (e.g., during transport emergencies), perform 100% daily water changes. Use this exact procedure:
- Match new water temperature within 1°F of tank water
- Treat with double-dose Seachem Prime to neutralize toxins
- Change all water at once (don’t siphon near the axolotl)
- Test parameters immediately after changing
This high-effort method prevents ammonia burns but isn’t sustainable. Complete cycling within 2 weeks to stop exhausting yourself and stressing your pet.
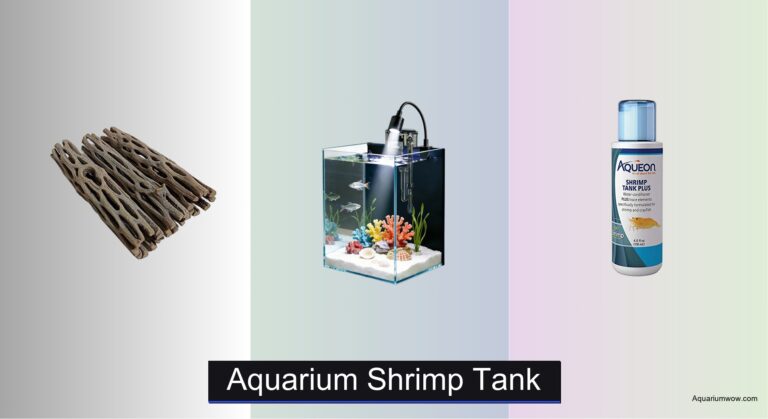
Choosing the Right Tank Size and Filtration System
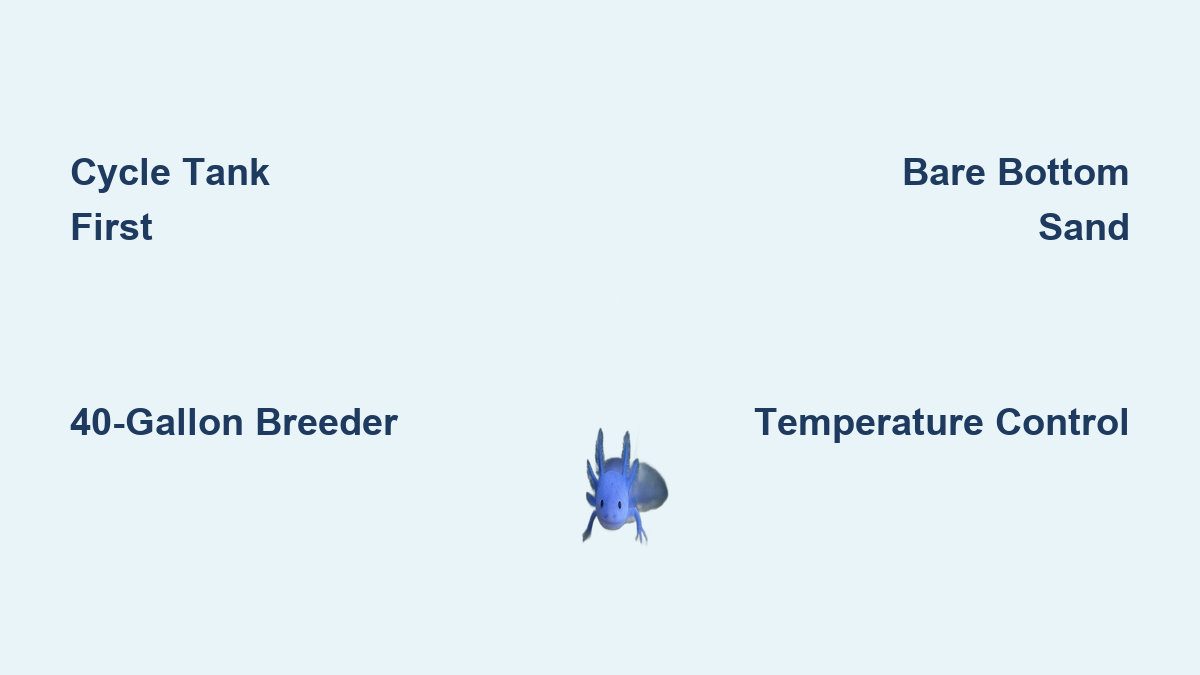
Why 40-Gallon Breeders Are Non-Negotiable for Axolotls

That cute 10-gallon tank? It’s a death sentence. Axolotls produce massive waste and need space to avoid toxic buildup. For one adult axolotl:
- Minimum: 20 gallons (only for juveniles under 6 months)
- Ideal: 40-gallon breeder (36″L × 18″W × 16″H)
- For pairs: Add 10 gallons per additional axolotl
Smaller tanks cause deadly ammonia spikes within hours. The 40-gallon breeder’s wide footprint also prevents injury—axolotls can’t turn around in narrow tanks, leading to spine damage. Always use a lid; these escape artists leap out during feeding.
Canister Filter Setup That Prevents Axolotl Injuries

Axolotls drown in strong currents, but poor filtration causes fatal ammonia. The Fluval 307/407 canister filter solves both problems when configured correctly:
- Intake: Cover with pre-filter sponge (prevents limb suction)
- Media layers:
– Top: Coarse filter floss (traps debris)
– Middle: Ceramic rings (bacterial housing)
– Bottom: Activated carbon (polishes water) - Outflow: Attach spray bar pointed at tank wall (diffuses flow to <0.5x tank volume/hour)
Rinse mechanical media weekly in old tank water (never tap water—it kills bacteria). Replace carbon monthly but never clean all media at once—preserve 50% of old media to maintain bacteria.
Maintaining Perfect Water Parameters Year-Round
Temperature Control Solutions That Prevent Lethal Heat Stress

Axolotls die when water exceeds 72°F for 48+ hours. Below 60°F slows their digestion; above 68°F causes fatal fungal outbreaks. Use these cooling methods based on your climate:
| Method | Temperature Drop | Best For |
|---|---|---|
| Clip-on fan | 2-5°F | Moderate climates |
| Frozen water bottles | 3-8°F (temporary) | Heat emergencies |
| Foam insulation | Stabilizes temps | All setups |
| Aquarium chiller | 5-10°F | Hot climates (essential above 75°F room temp) |
Critical tip: Never use standard aquarium heaters unless your room stays below 55°F. Axolotls don’t need warmth—their ideal range is cooler than room temperature.
Water Parameter Checklist for Daily Survival
Test these parameters weekly with liquid kits (strips are inaccurate):
- Ammonia/Nitrite: 0 ppm (any detection requires immediate 50% water change)
- Nitrate: <20 ppm (keep under 40 ppm with weekly 30% water changes)
- pH: 6.5-8.0 (stability matters more than exact number)
- GH/KH: 100-200 ppm GH / 3-8 dKH (use Seachem Equilibrium if soft water)
Always dechlorinate tap water with Seachem Prime—it neutralizes chloramine and detoxifies ammonia for 48 hours. Hard water is safer than soft; axolotls need mineral-rich water for gill health.
Substrate and Decor That Prevent Impaction Deaths
Why Bare Bottom or Sand Beats Gravel Every Time

Gravel kills axolotls through impaction—they swallow small stones while eating. Safe substrate options:
- Bare bottom: Easiest to clean (ideal for feeding zones)
- Pool filter sand: 1.5-2″ depth, 0.5-1.0mm grain size (rinse until water runs clear)
- Slate tiles: Creates natural feeding surfaces
Never use gravel—even large river rocks pose risks when axolotls root in substrate. If using sand, vacuum only 50% during water changes to avoid disturbing anaerobic bacteria pockets.
Essential Hiding Spots That Reduce Stress
Axolotls need 3+ secure hides to feel safe. Unsafe decor causes fin nips and gill damage. Use only:
- PVC pipes: 3-4″ diameter, filed smooth (no sharp edges)
- Ceramic caves: Glaze-free, rounded interiors
- Live plants: Anubias or java fern (no fertilizer needed)
- Terracotta pots: Filed smooth, weighted securely
Place hides near tank edges—axolotls avoid open centers. Remove any decor with rough surfaces; their delicate skin tears easily, leading to fatal infections.
Weekly Maintenance Routine That Prevents Emergencies
Water Change Protocol Saving You From Ammonia Crises
Skip weekly water changes, and ammonia will spike within 72 hours. Follow this exact schedule:
- Weekly: 30% water change with dechlorinated water (match temperature within 1°F)
- Vacuum: Only 50% of substrate per session (stirring all sand releases toxins)
- Test: Ammonia/nitrite immediately after changing
Critical mistake: Never clean all filter media at once. Rinse mechanical pads in old tank water during water changes—tap water destroys bacterial colonies.
Health Checks That Catch Problems Early
Inspect your axolotl during feeding for these danger signs:
- Gills: Pale or shriveled = poor water quality
- Waste: Stringy or white = impaction risk
- Swimming: Floating sideways = buoyancy issues
- Appetite: Skipping 2+ meals = urgent water test needed
If gills turn white or skin shows cotton-like fungus, perform 50% water change immediately and add Indian almond leaves (natural antifungal).
Budgeting for Your Axolotl Aquarium Setup
Realistic Costs to Avoid Cutting Corners
Underfunded setups cause 90% of axolotl deaths. Budget this minimum:
- Essential: $400 (40-gallon tank, Fluval 307 filter, chiller/fan, sand, test kits)
- Ongoing: $30/month (food, water conditioner, filter media)
Don’t skip: Chillers aren’t optional in warm climates—heat stress kills faster than cold. A $50 clip-on fan is the bare minimum; rooms above 75°F need $200+ chillers.
Your axolotl aquarium setup success hinges on two non-negotiables: completing the nitrogen cycle before adding your pet, and maintaining 60-68°F water year-round. Skip either, and you’ll face preventable emergencies. But get these right, and you’ll create a stable environment where your axolotl thrives for over a decade. Start with a 40-gallon breeder tank, invest in a properly configured canister filter, and commit to weekly water testing—your axolotl’s vibrant gills and playful hunting will reward your effort daily. Remember: this isn’t just a tank; it’s a life-support system demanding precision. Treat it like one, and you’ll enjoy one of nature’s most extraordinary amphibians as a healthy companion for years to come.